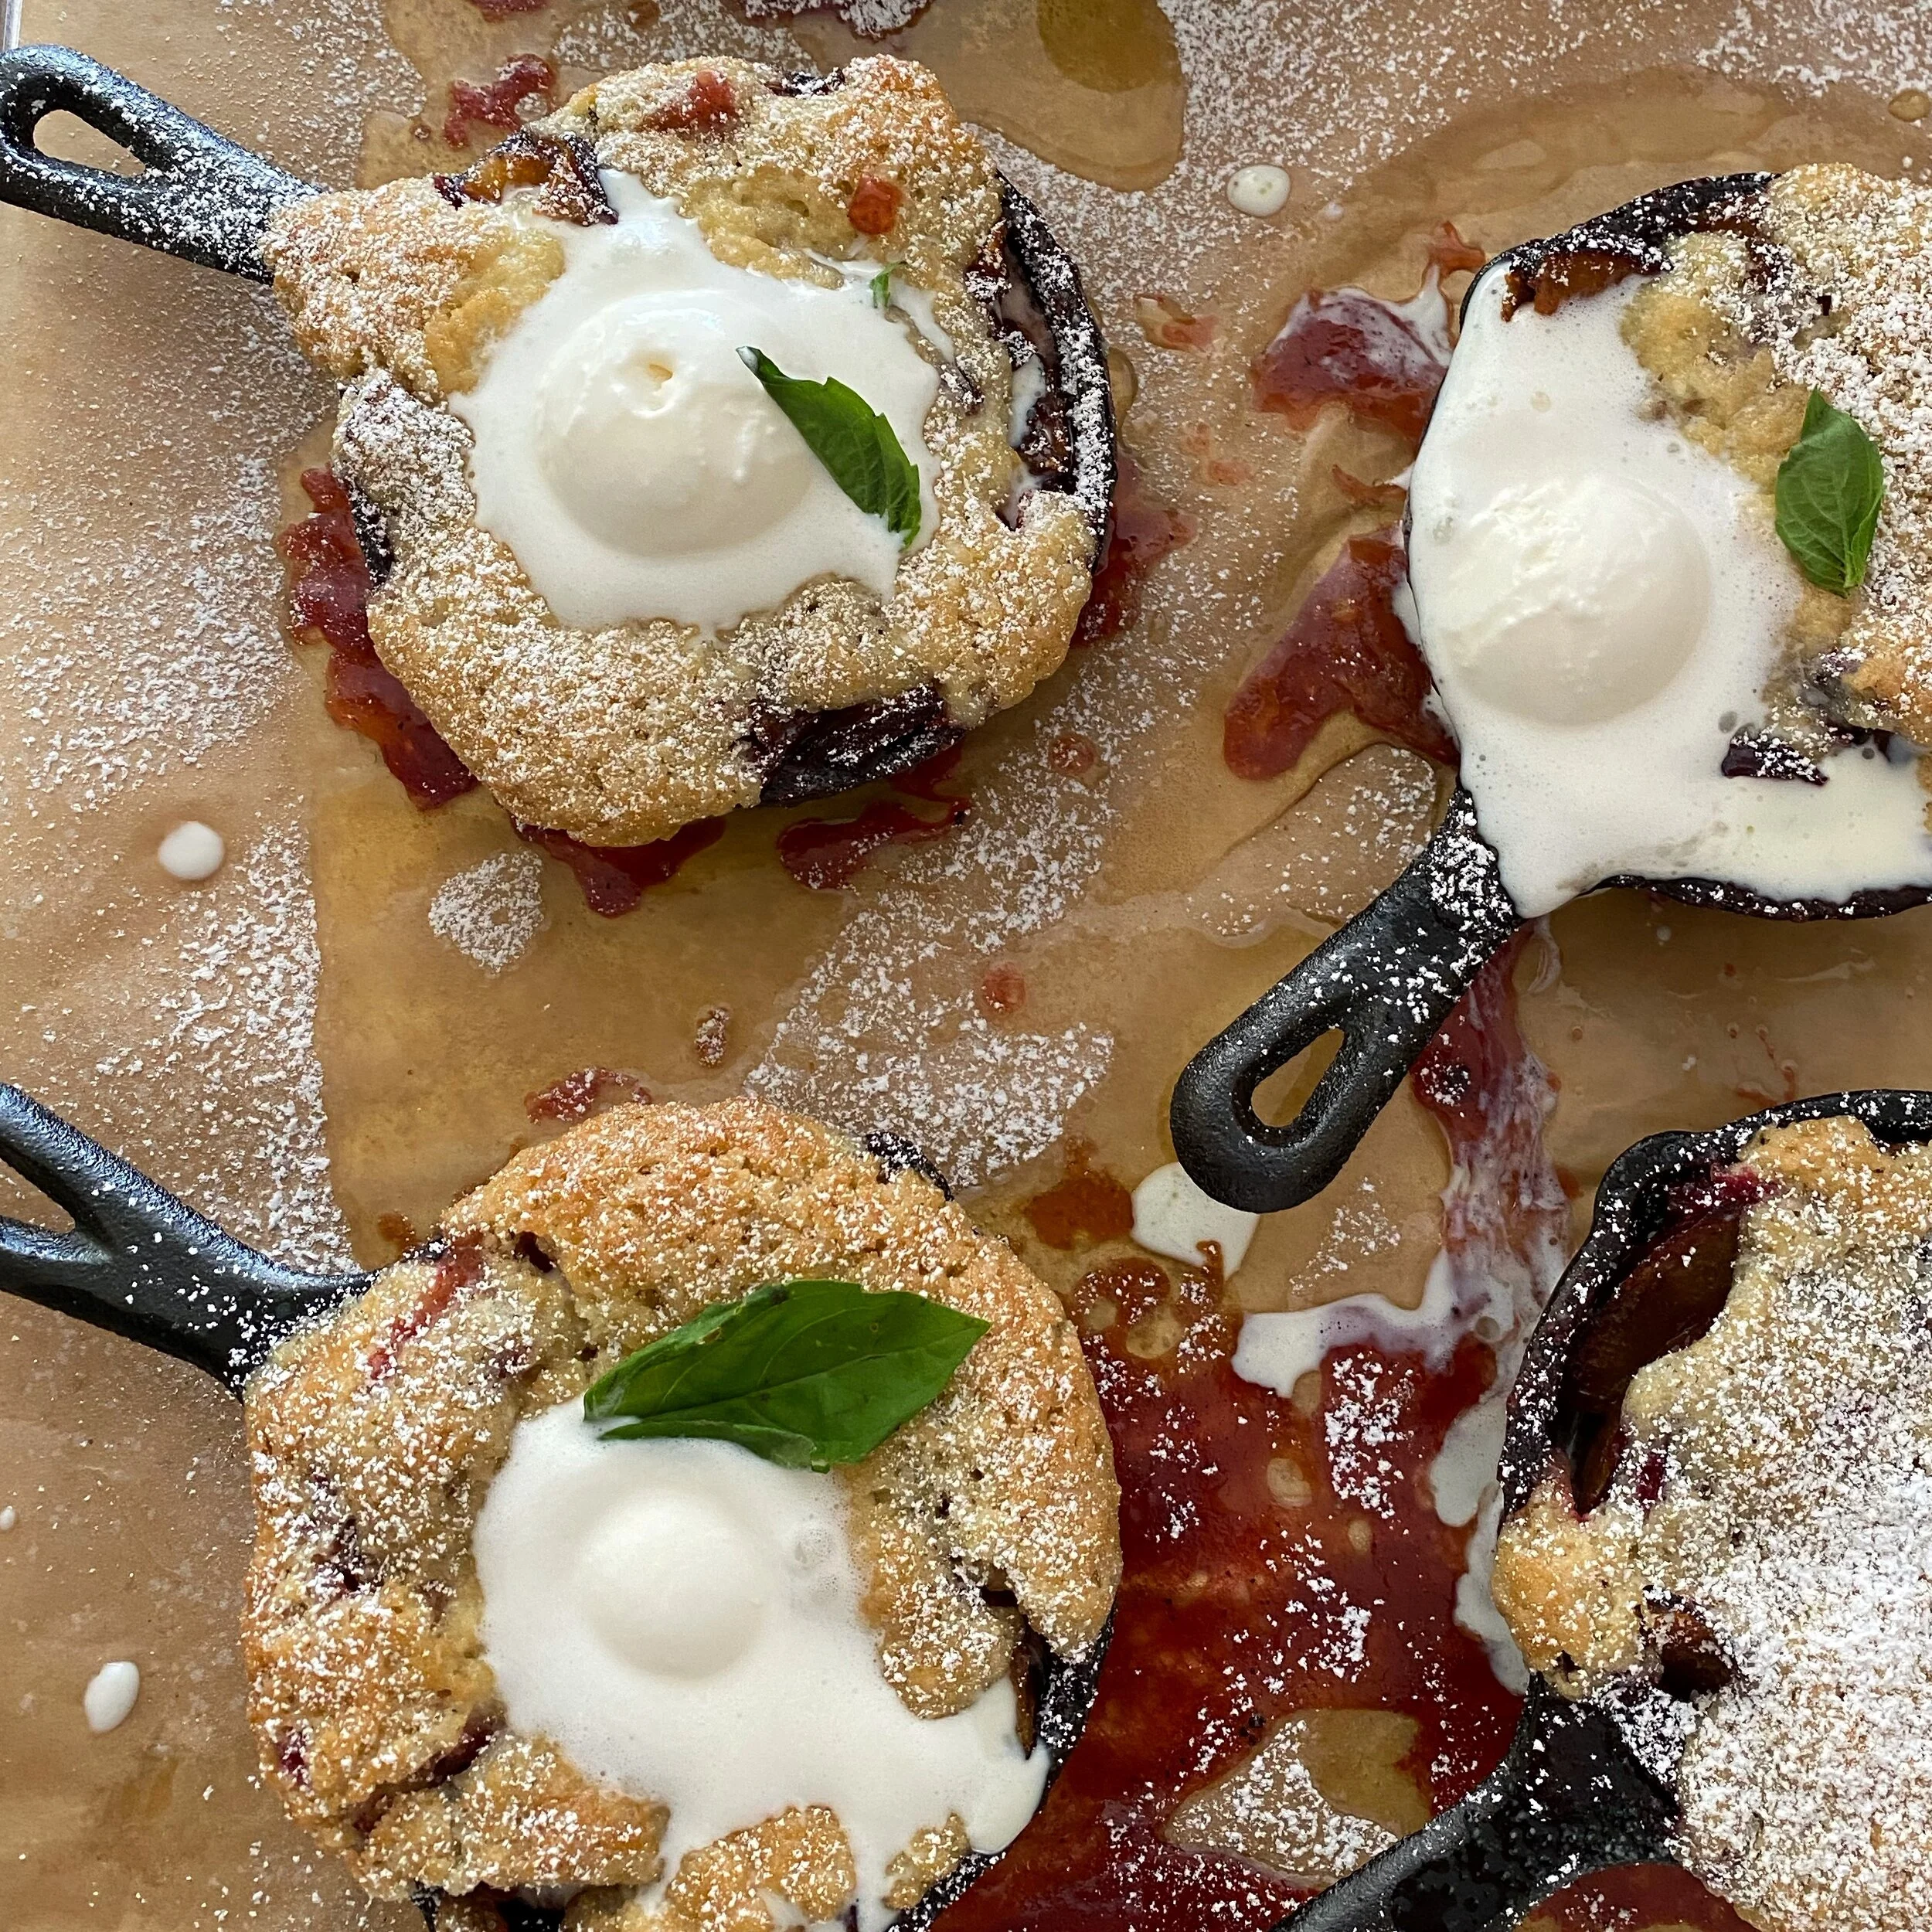
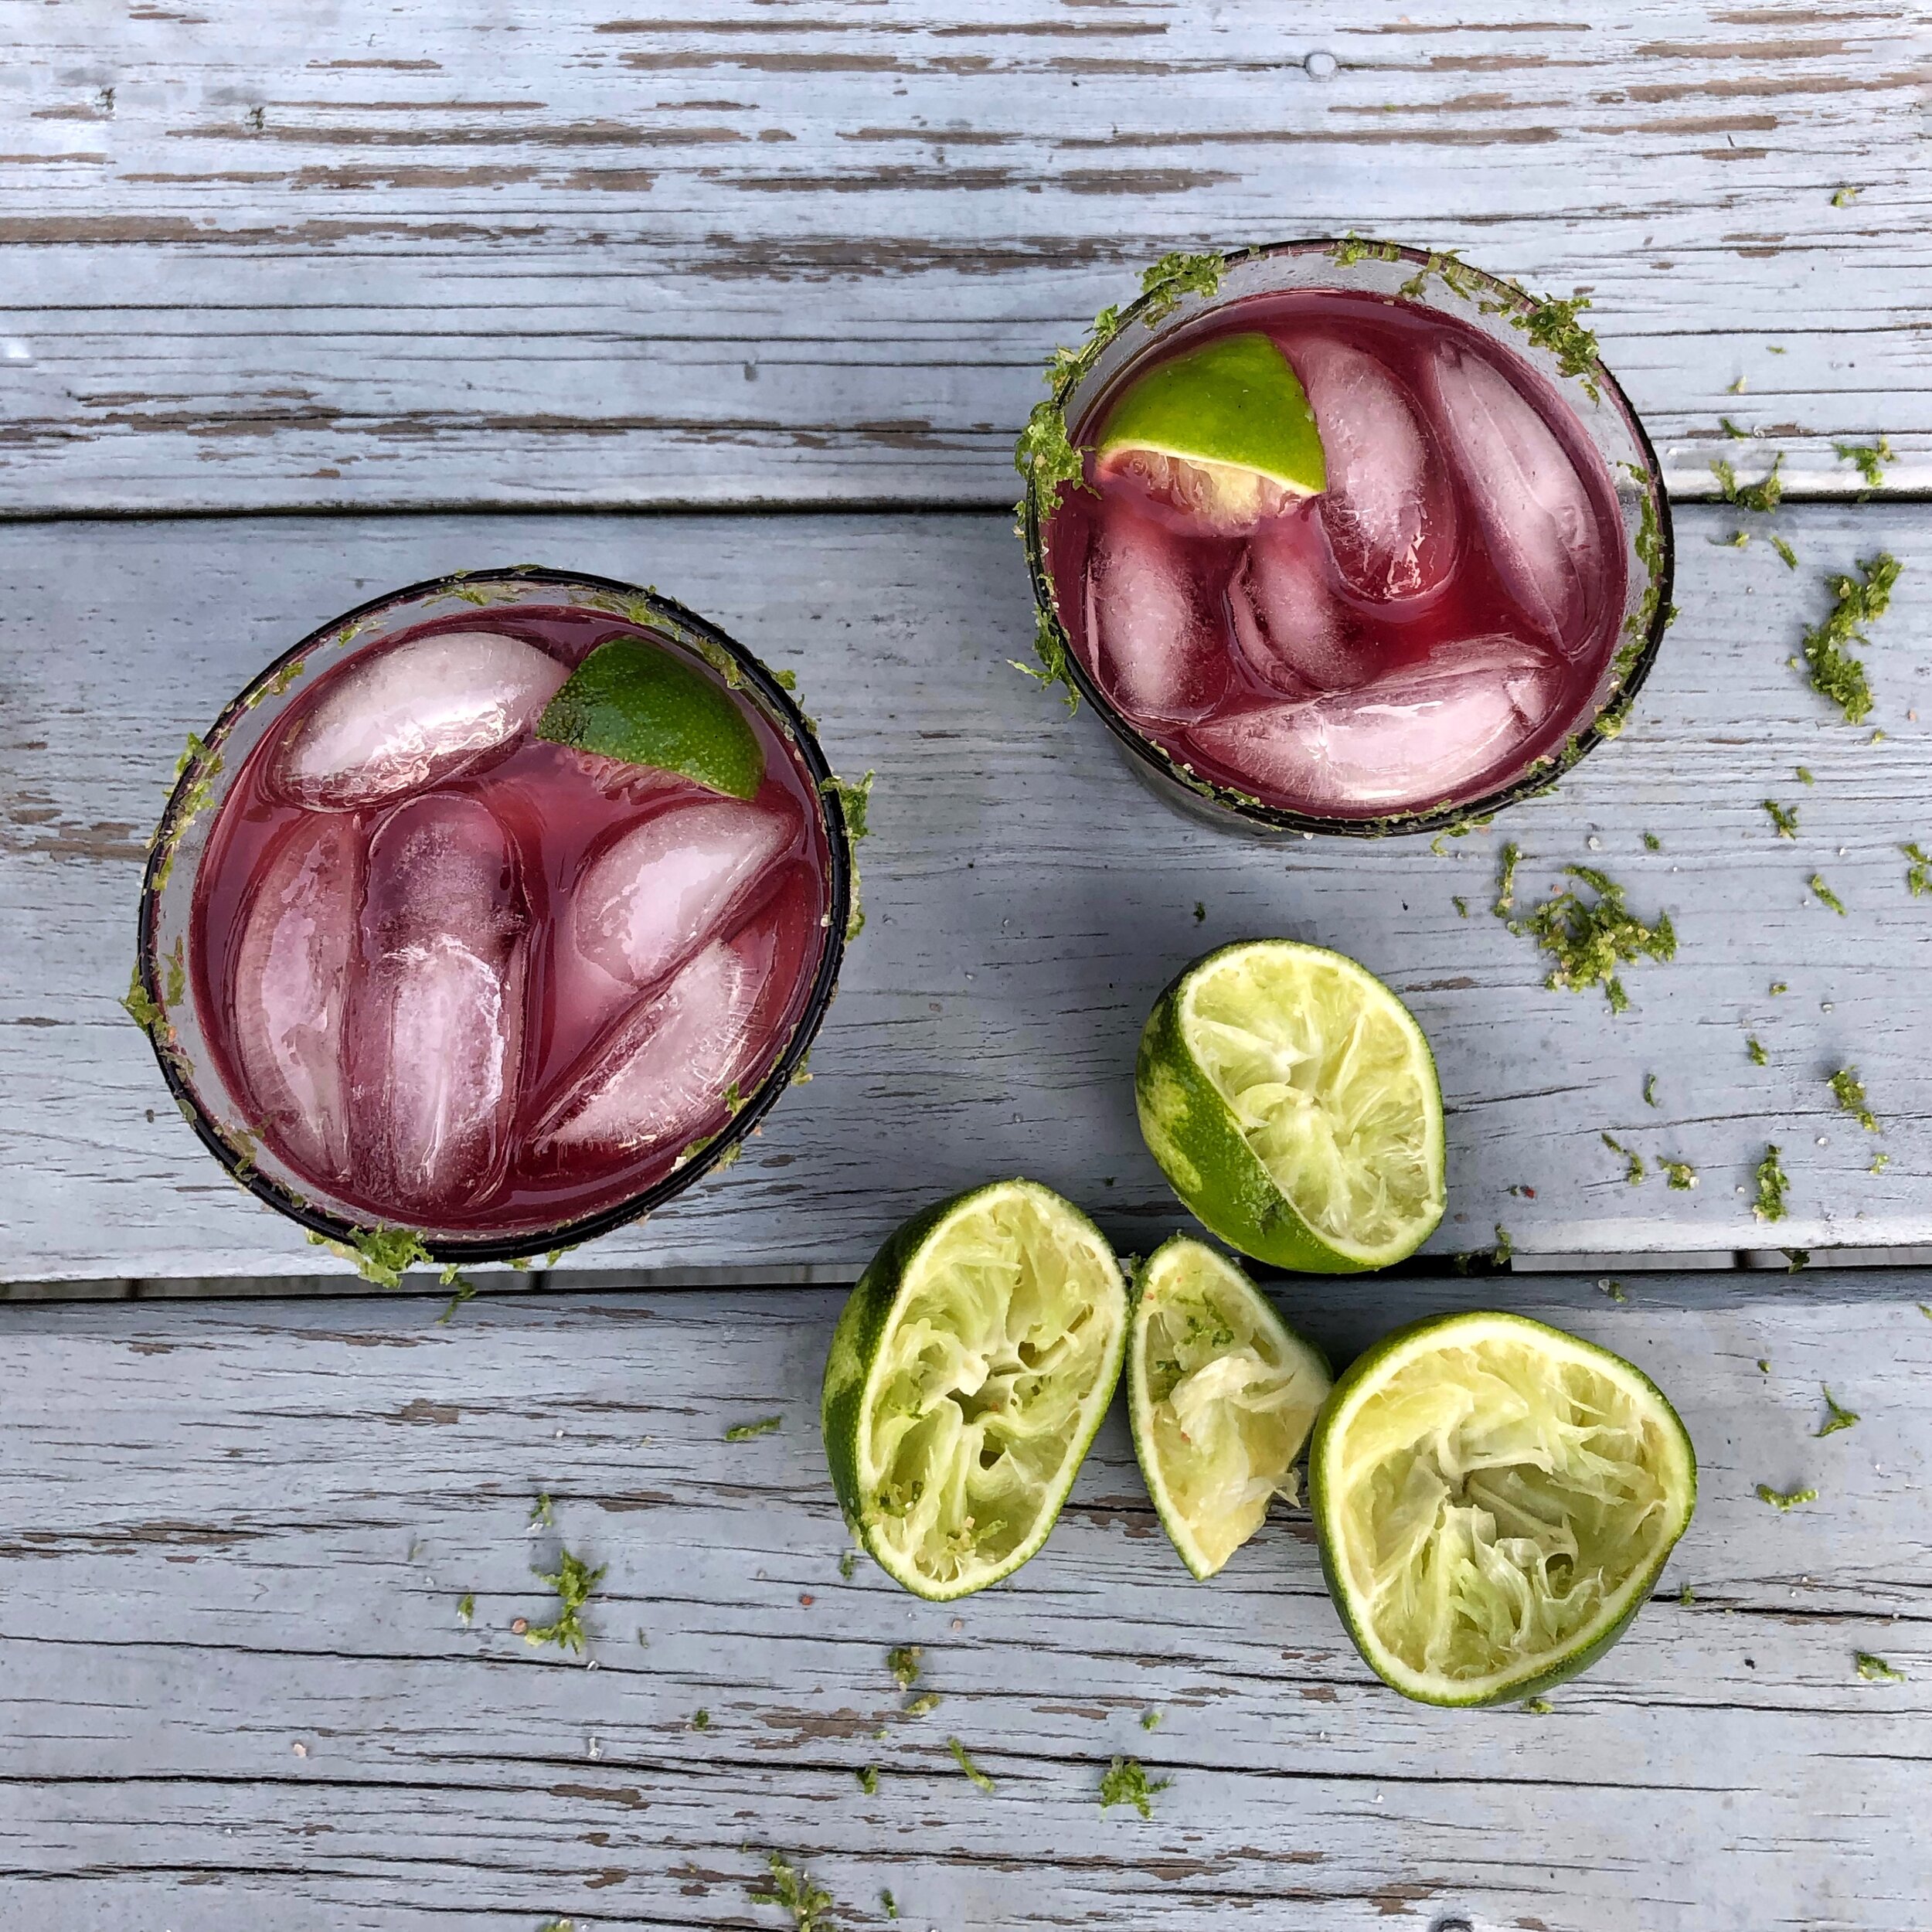
You won’t need another baked fruit recipe ever again because this post has you covered from berries and rhubarb to peaches and apples. With 6 baking variations (crisp, crumble, cobbler, pie, galettes, and crumb pie) that can be applied to at least 12 fruits, that’s 72 potential desserts for a year-round sweet tooth.
Herb Infused Syrups
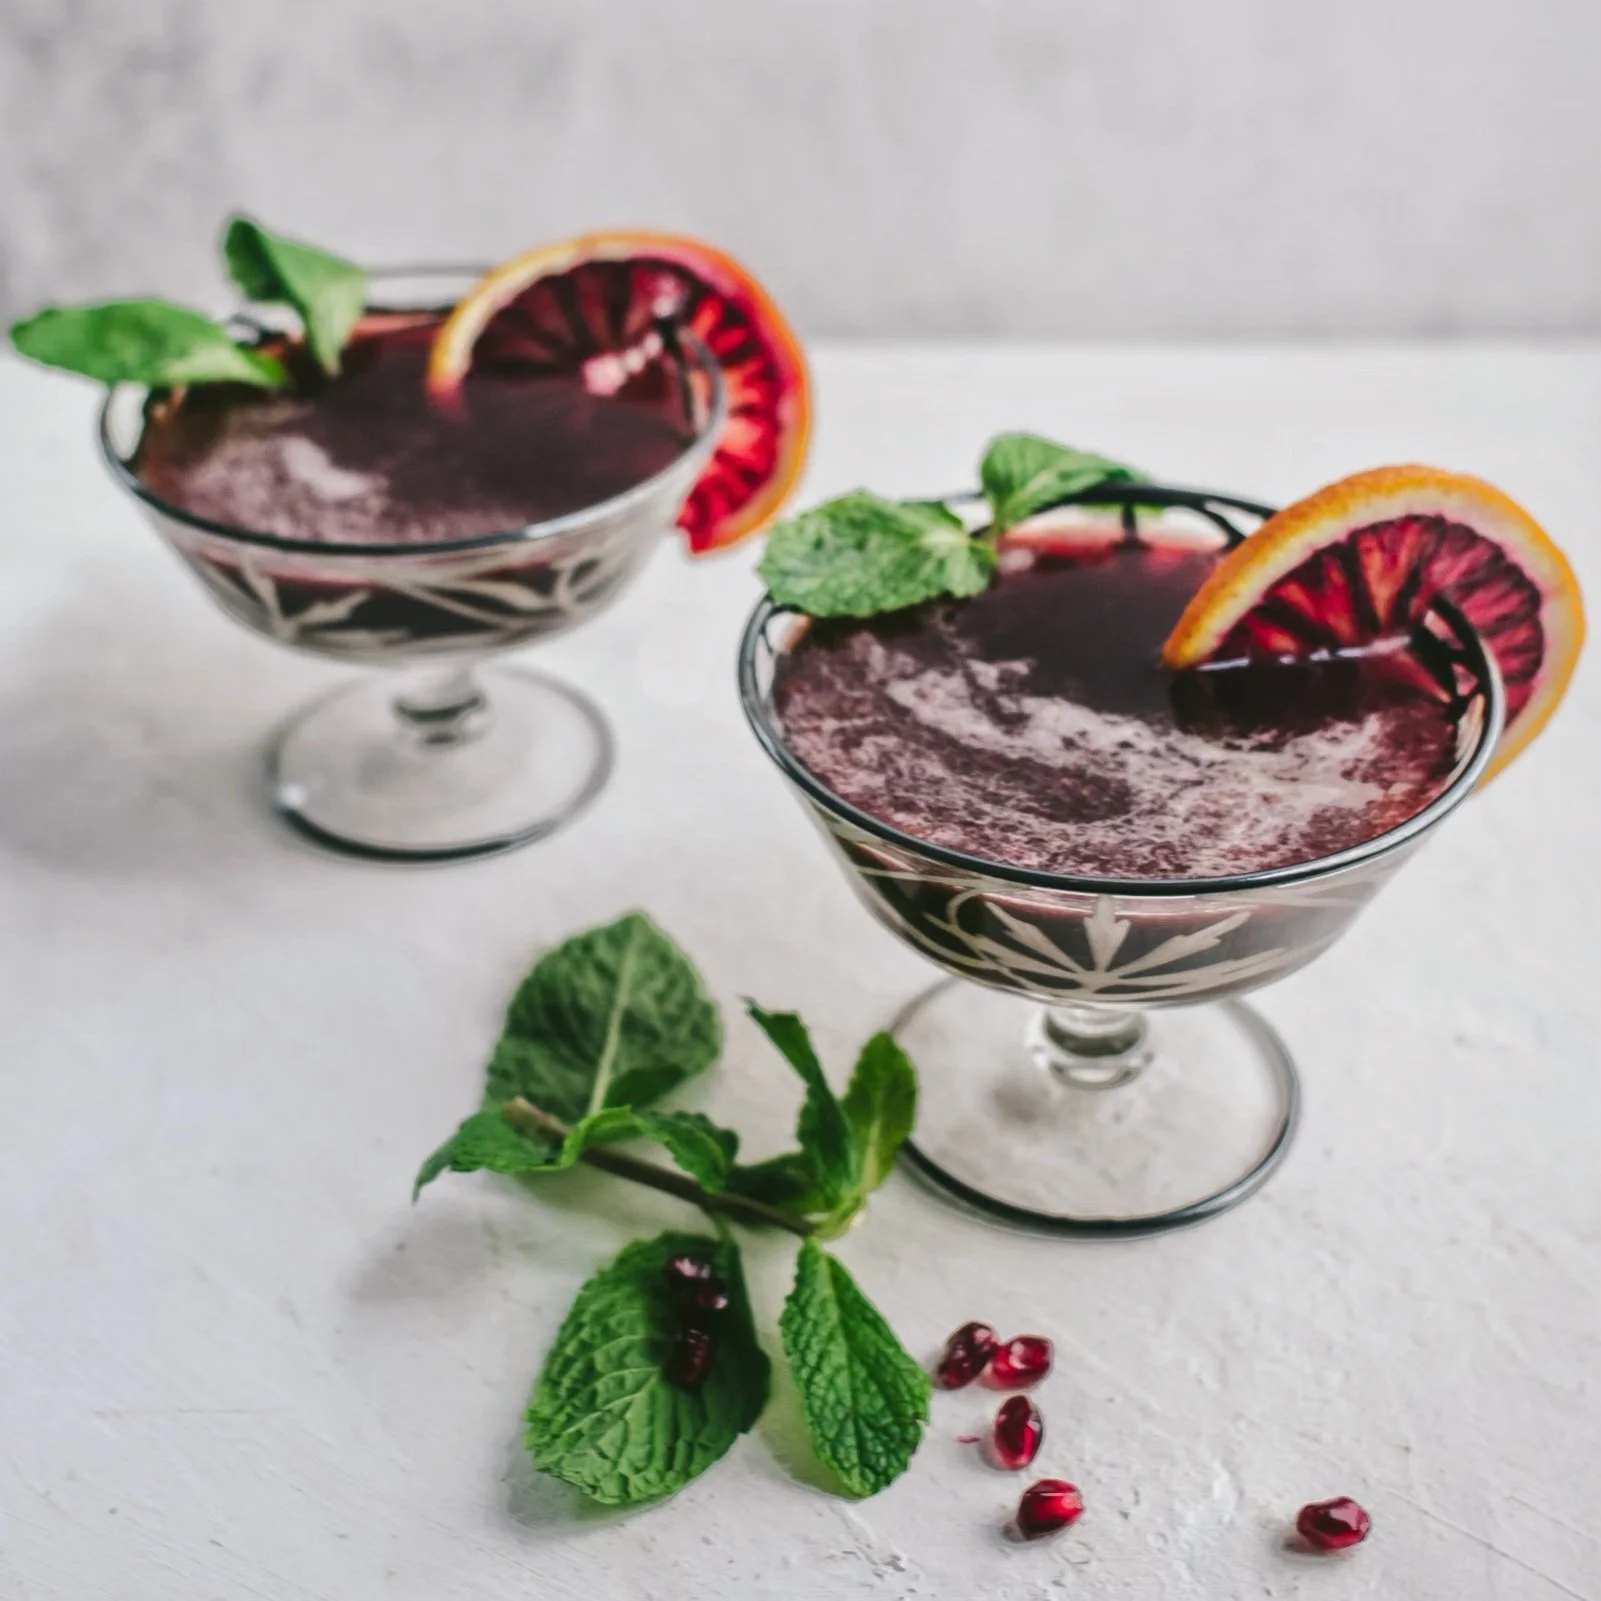
Wait! Stop! Despite what you’ve been told, you should not wrap your freshly harvested herbs in paper towels and store them in your freezer for future use. Let’s be real, you won’t use them. The future leaves, brittle and flavorless, won’t resemble the fresh greenery they once were, and this is a tremendous waste of paper towels, plastic bags and freezer space! Transform those herbs into something that is preservable, portable and ripe with many uses. Some typical creations include pesto, chimichurri, salad dressings and marinades, but have you tried herb infused syrups for use in cocktails, mocktails or baked goods? This recipe requires only about 5 minutes of active time, 3 ingredients [including water] and produces something with countless uses that lasts for months.
Herb Infused Simple Syrups
Yield: 1 cup syrup
What You Need:
½ cup sugar
¾ cup water
1 loosely packed cup of leaves of mild herbs such as mint, thyme, and basil or ½ cup stronger herbs such as rosemary, lavender and sage
What You Do:
In a small pot, combine sugar and water. Over high heat, stir until sugar dissolves. Add the herb leaves and bring to a boil.
Remove from heat and allow herbs to steep and cool for about 30 minutes.
Strain through a fine mesh strainer. Discard the solids.
Note: For a more concentrated, thicker syrup to use in or on baked goods in place of corn syrup, maple syrup or honey, return to stove. Heat on medium high for 5 minutes until reduced and syrupy.
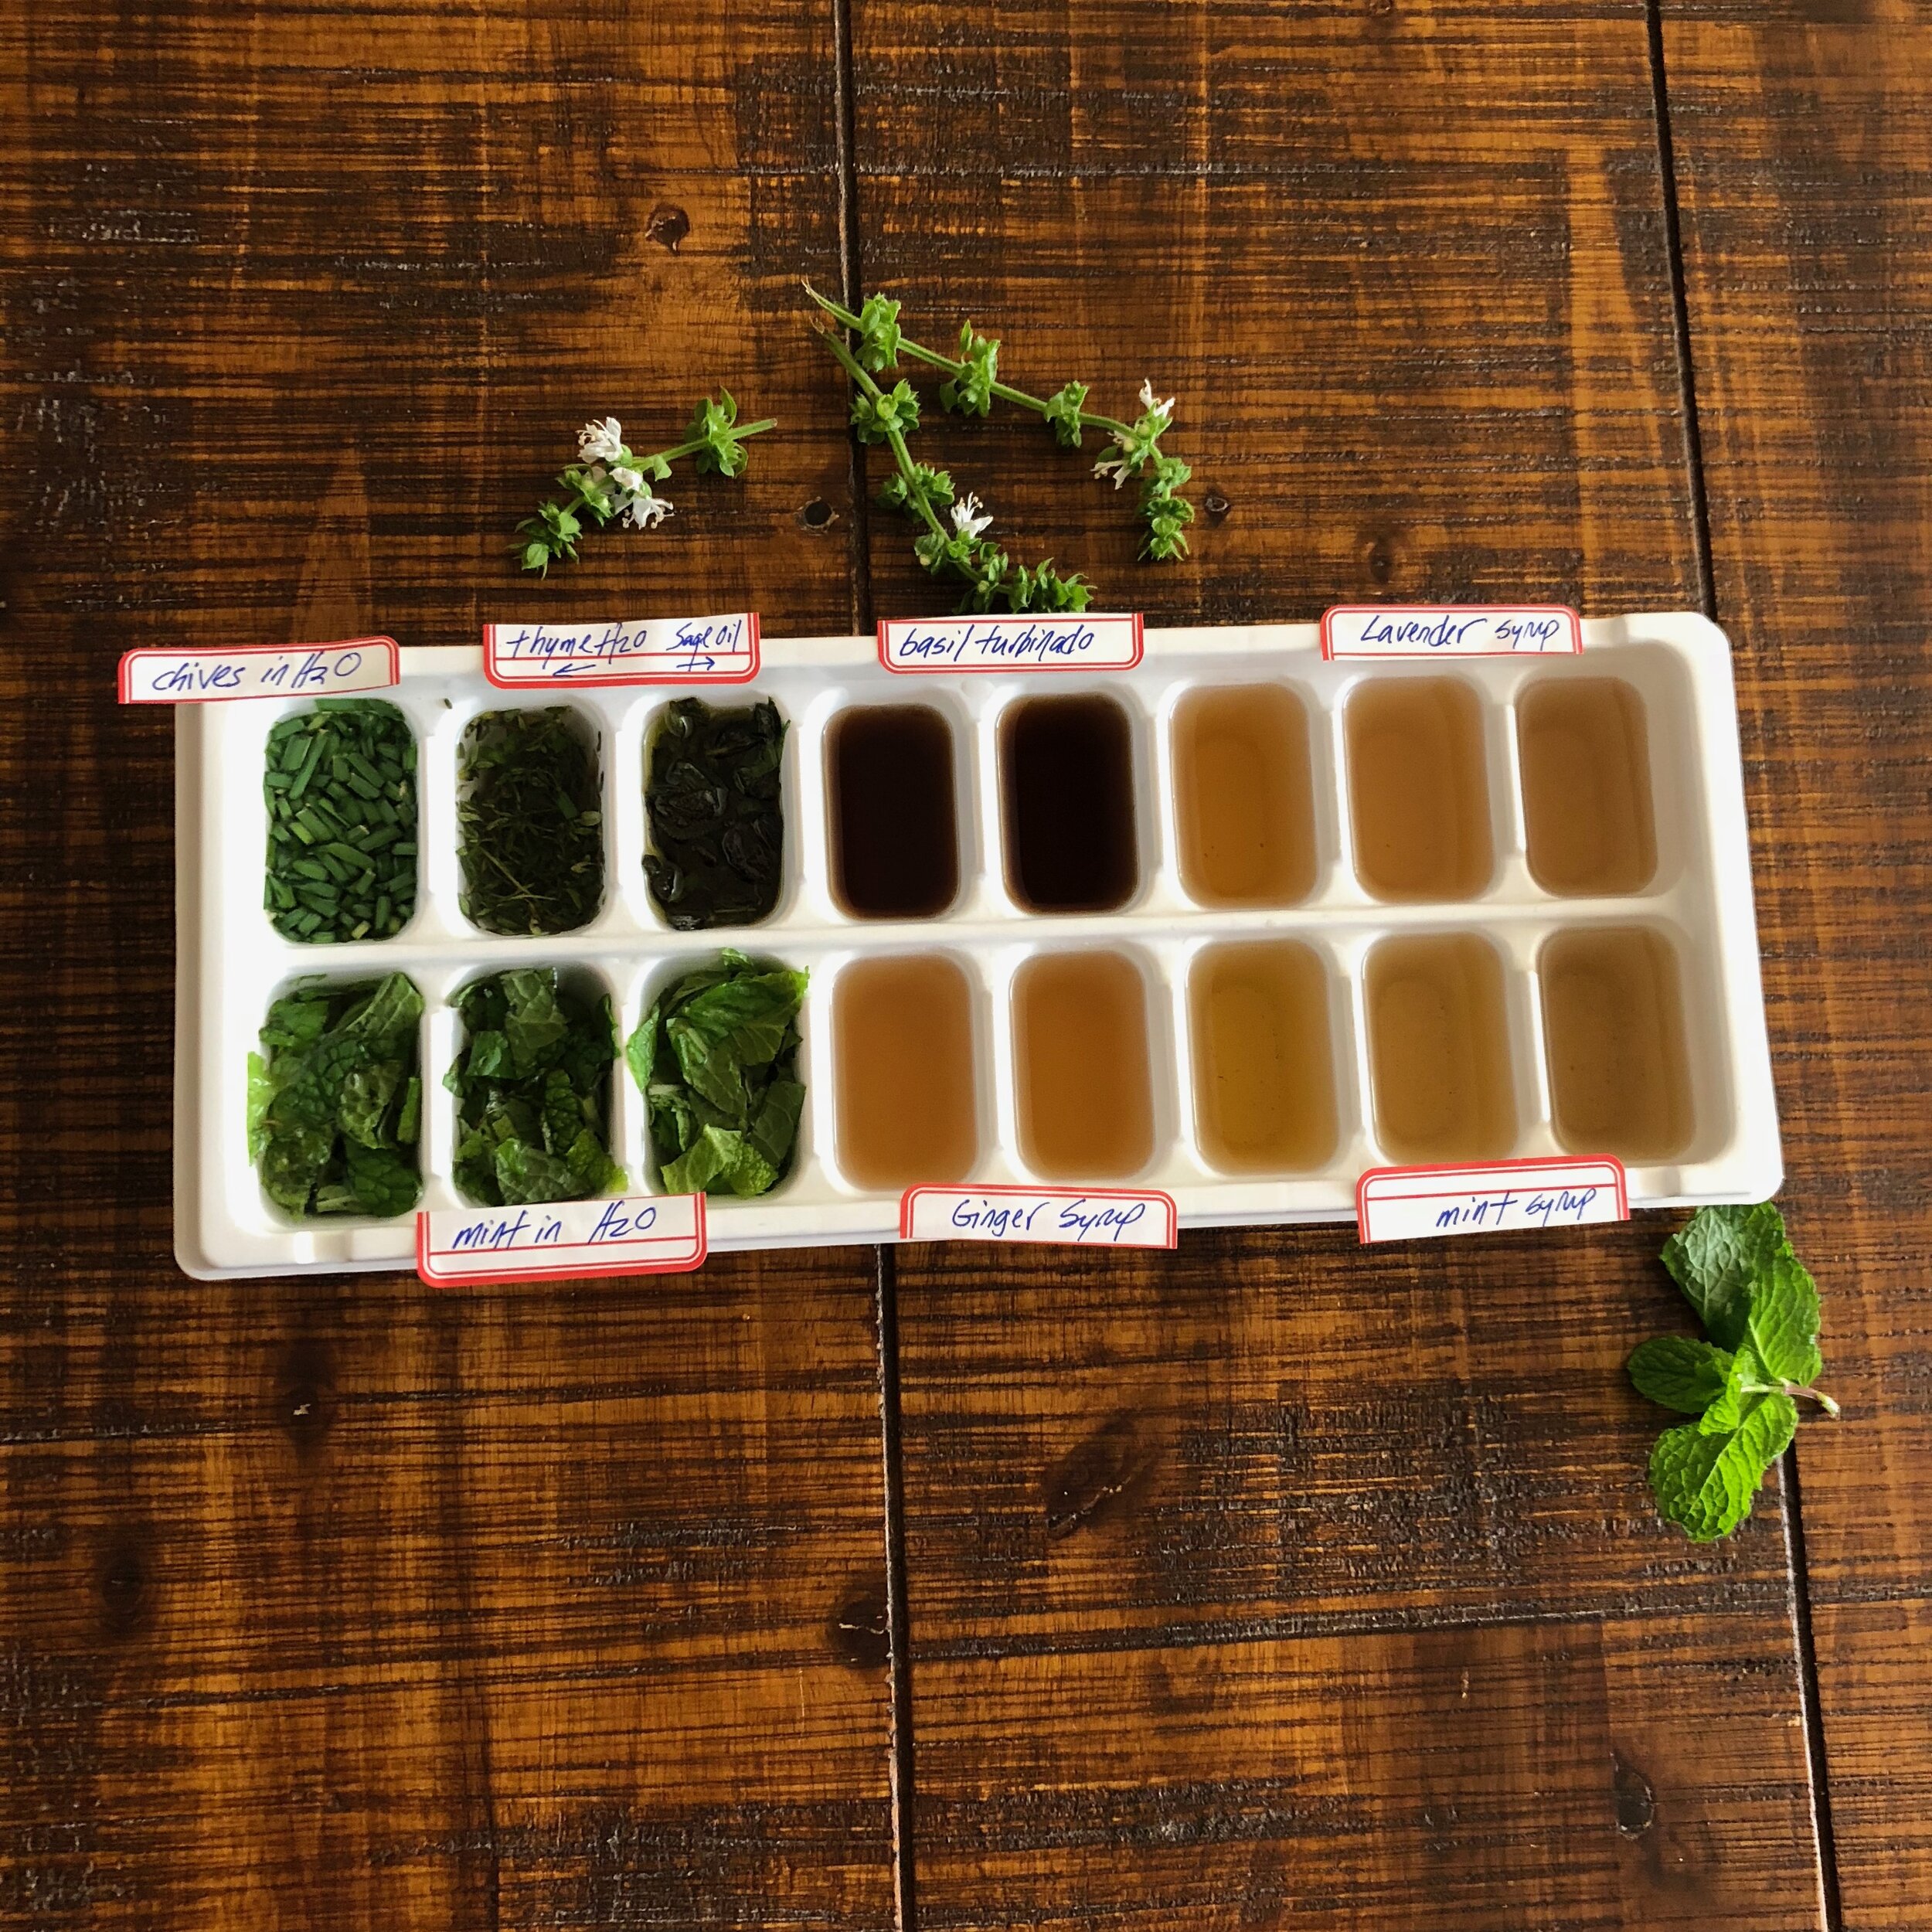
To freeze: Transfer to small jars or plastic containers with tightly fitting lids. Due to the sugar content, the liquid will not freeze completely solid. You can freeze in ice cube trays and then transfer to plastic bags, but beware that cubes will remain slightly soft. Use within 6 months.
Variations:
Ginger Syrup - Use ½ cup sliced ginger root instead of herbs or in combination with herbs to make ginger syrup. Ginger + Mint is particularly nice.
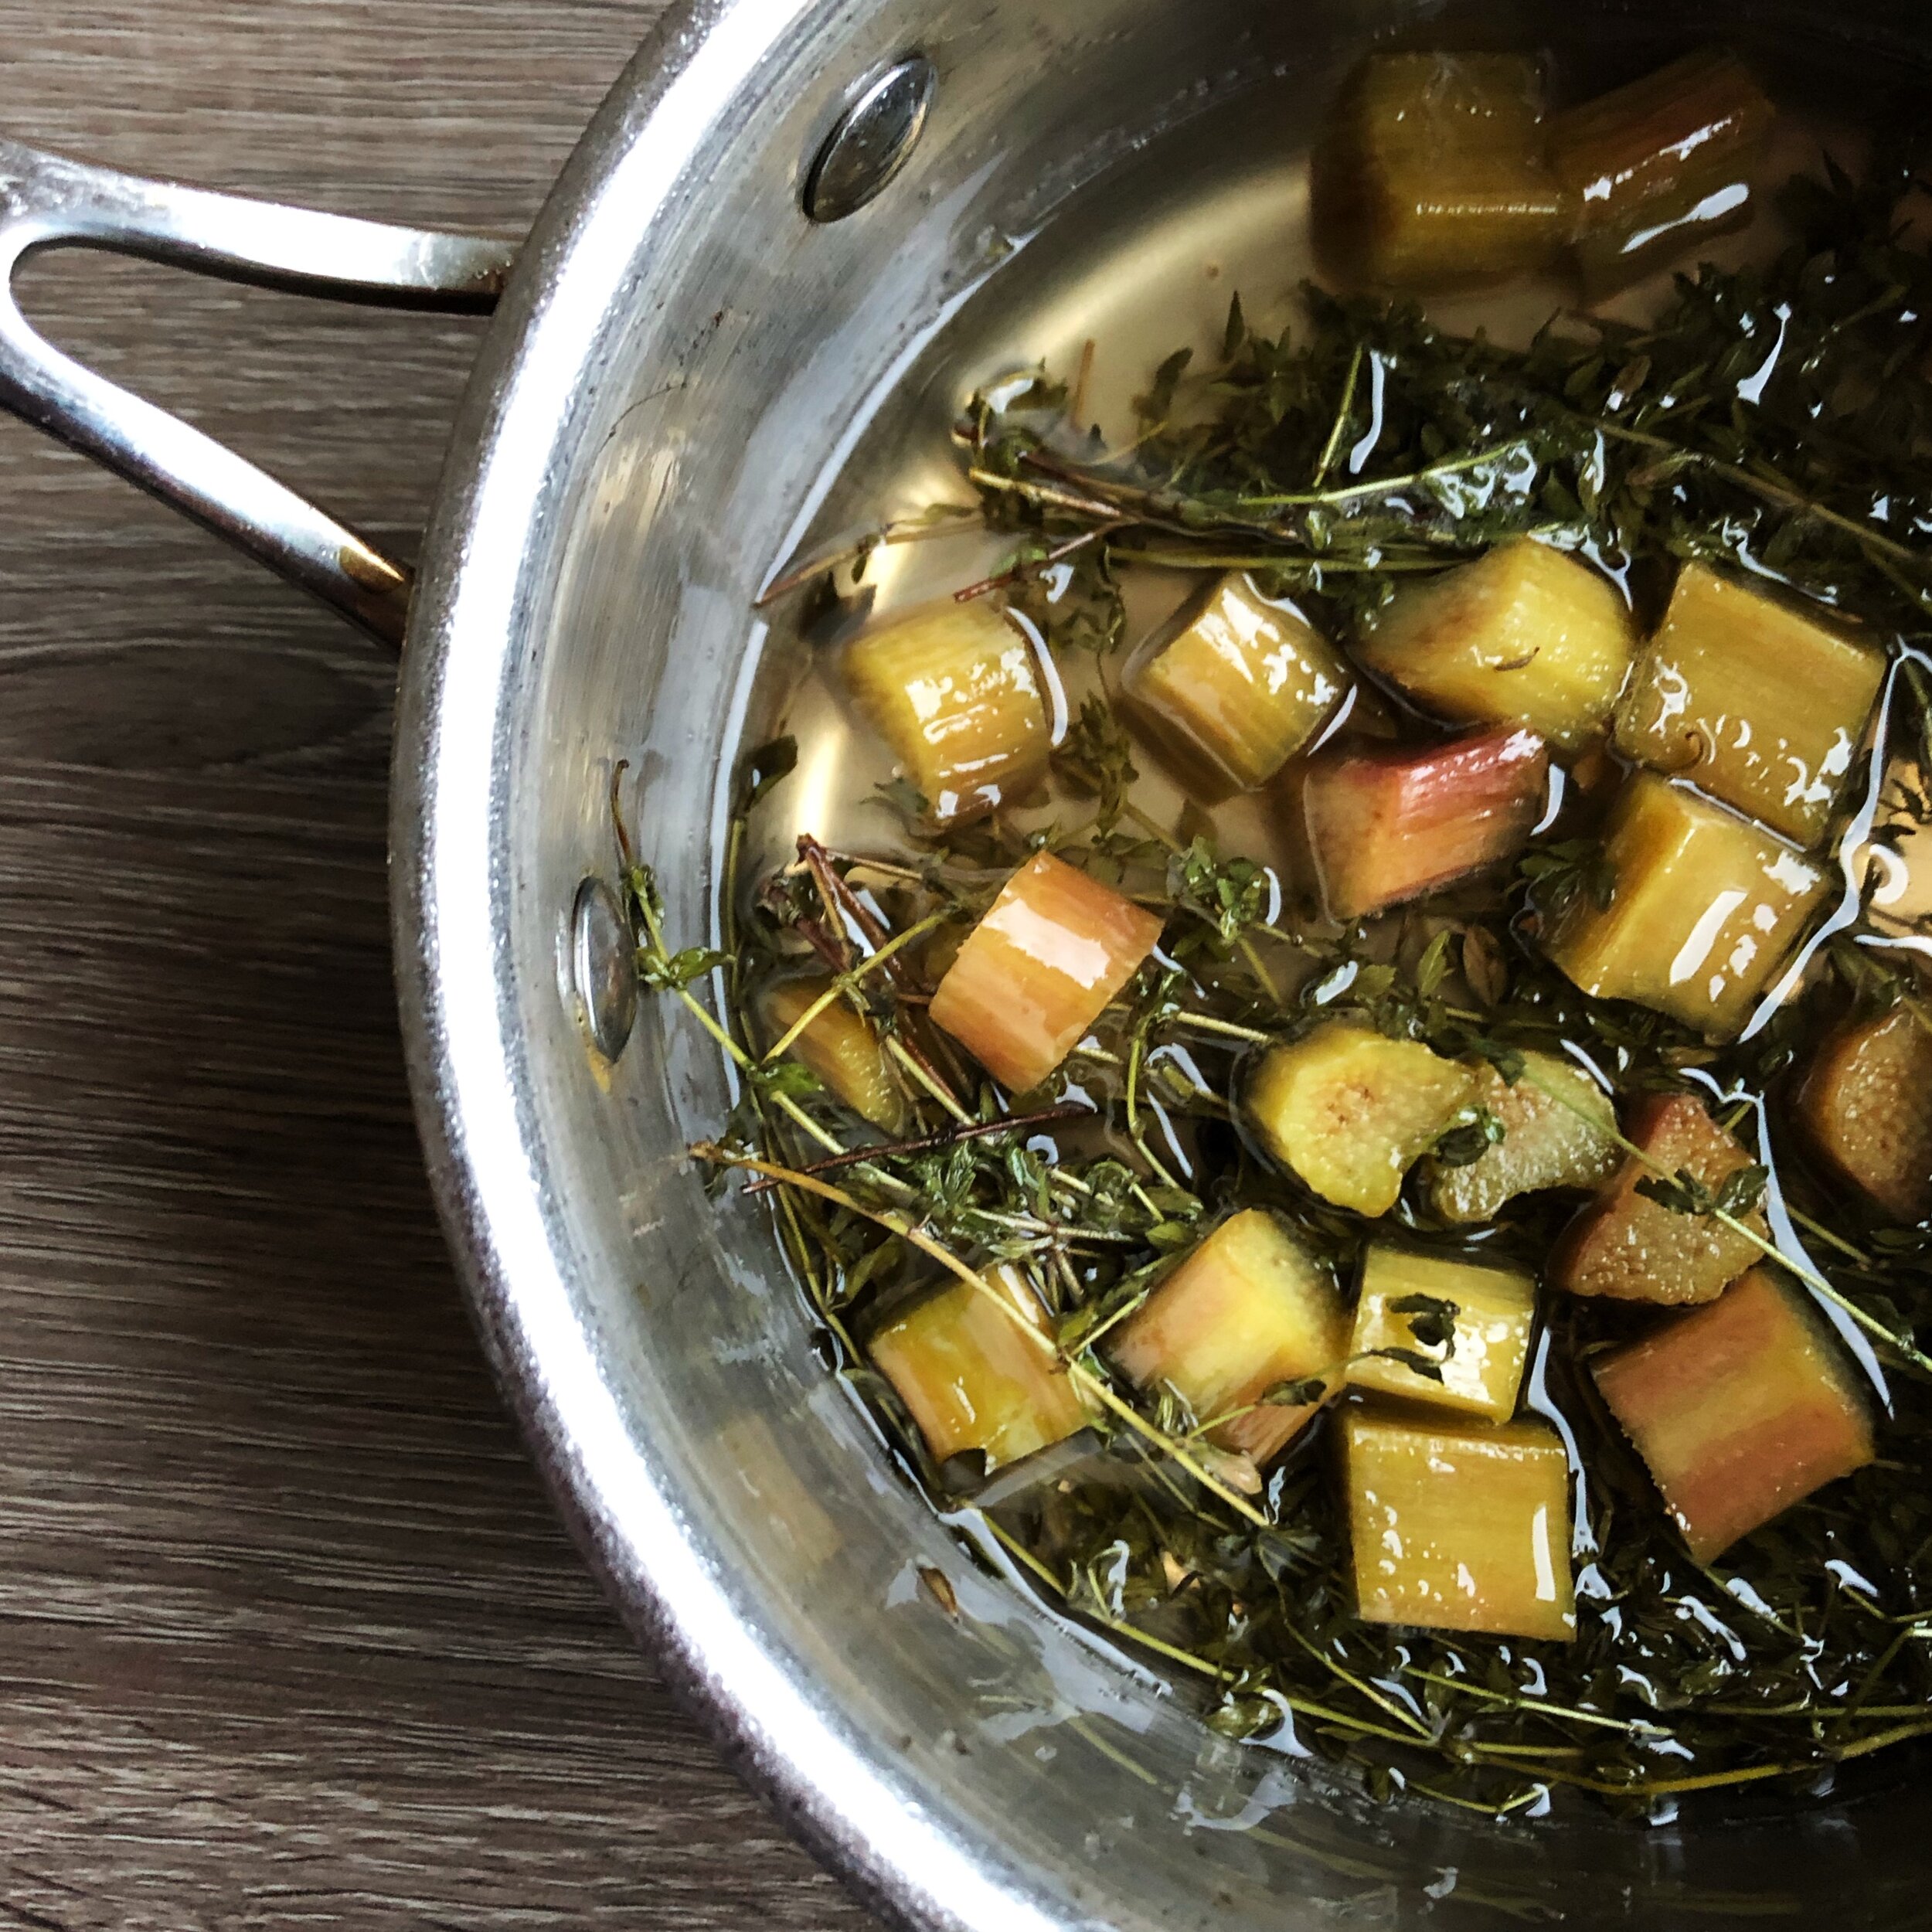
Rhubarb Syrup - Add one stalk of rhubarb, cut into 1 inch chunks. Rhubarb + Thyme is a great pairing.
Citrus Syrup - In place of some of the water, use ¼ cup orange juice or 2 tablespoons lemon juice. You should still have ¾ cup total liquid. Sage + Orange is a great combination. Lemon + Lavender is another.
Cool as a Cucumber
Plant Based Gluten Free BLT
My Shiitake Mushroom “Bacon” Lettuce and Tomato with homemade Cashew Mayo on a Collard Green Wrap is the summer recipe for those who need alternatives to the traditional elements of the BLT but still want to celebrate the tomato. Of course you can mix and match these elements - try a vegan or vegetarian version on your favorite bread or work your usual bacon into a collard wrap to keep it gluten free. Bottom line is, you have options and don’t have to skip the BLT this summer. Just don’t replace the tomato.
Kohlrabi Clarified
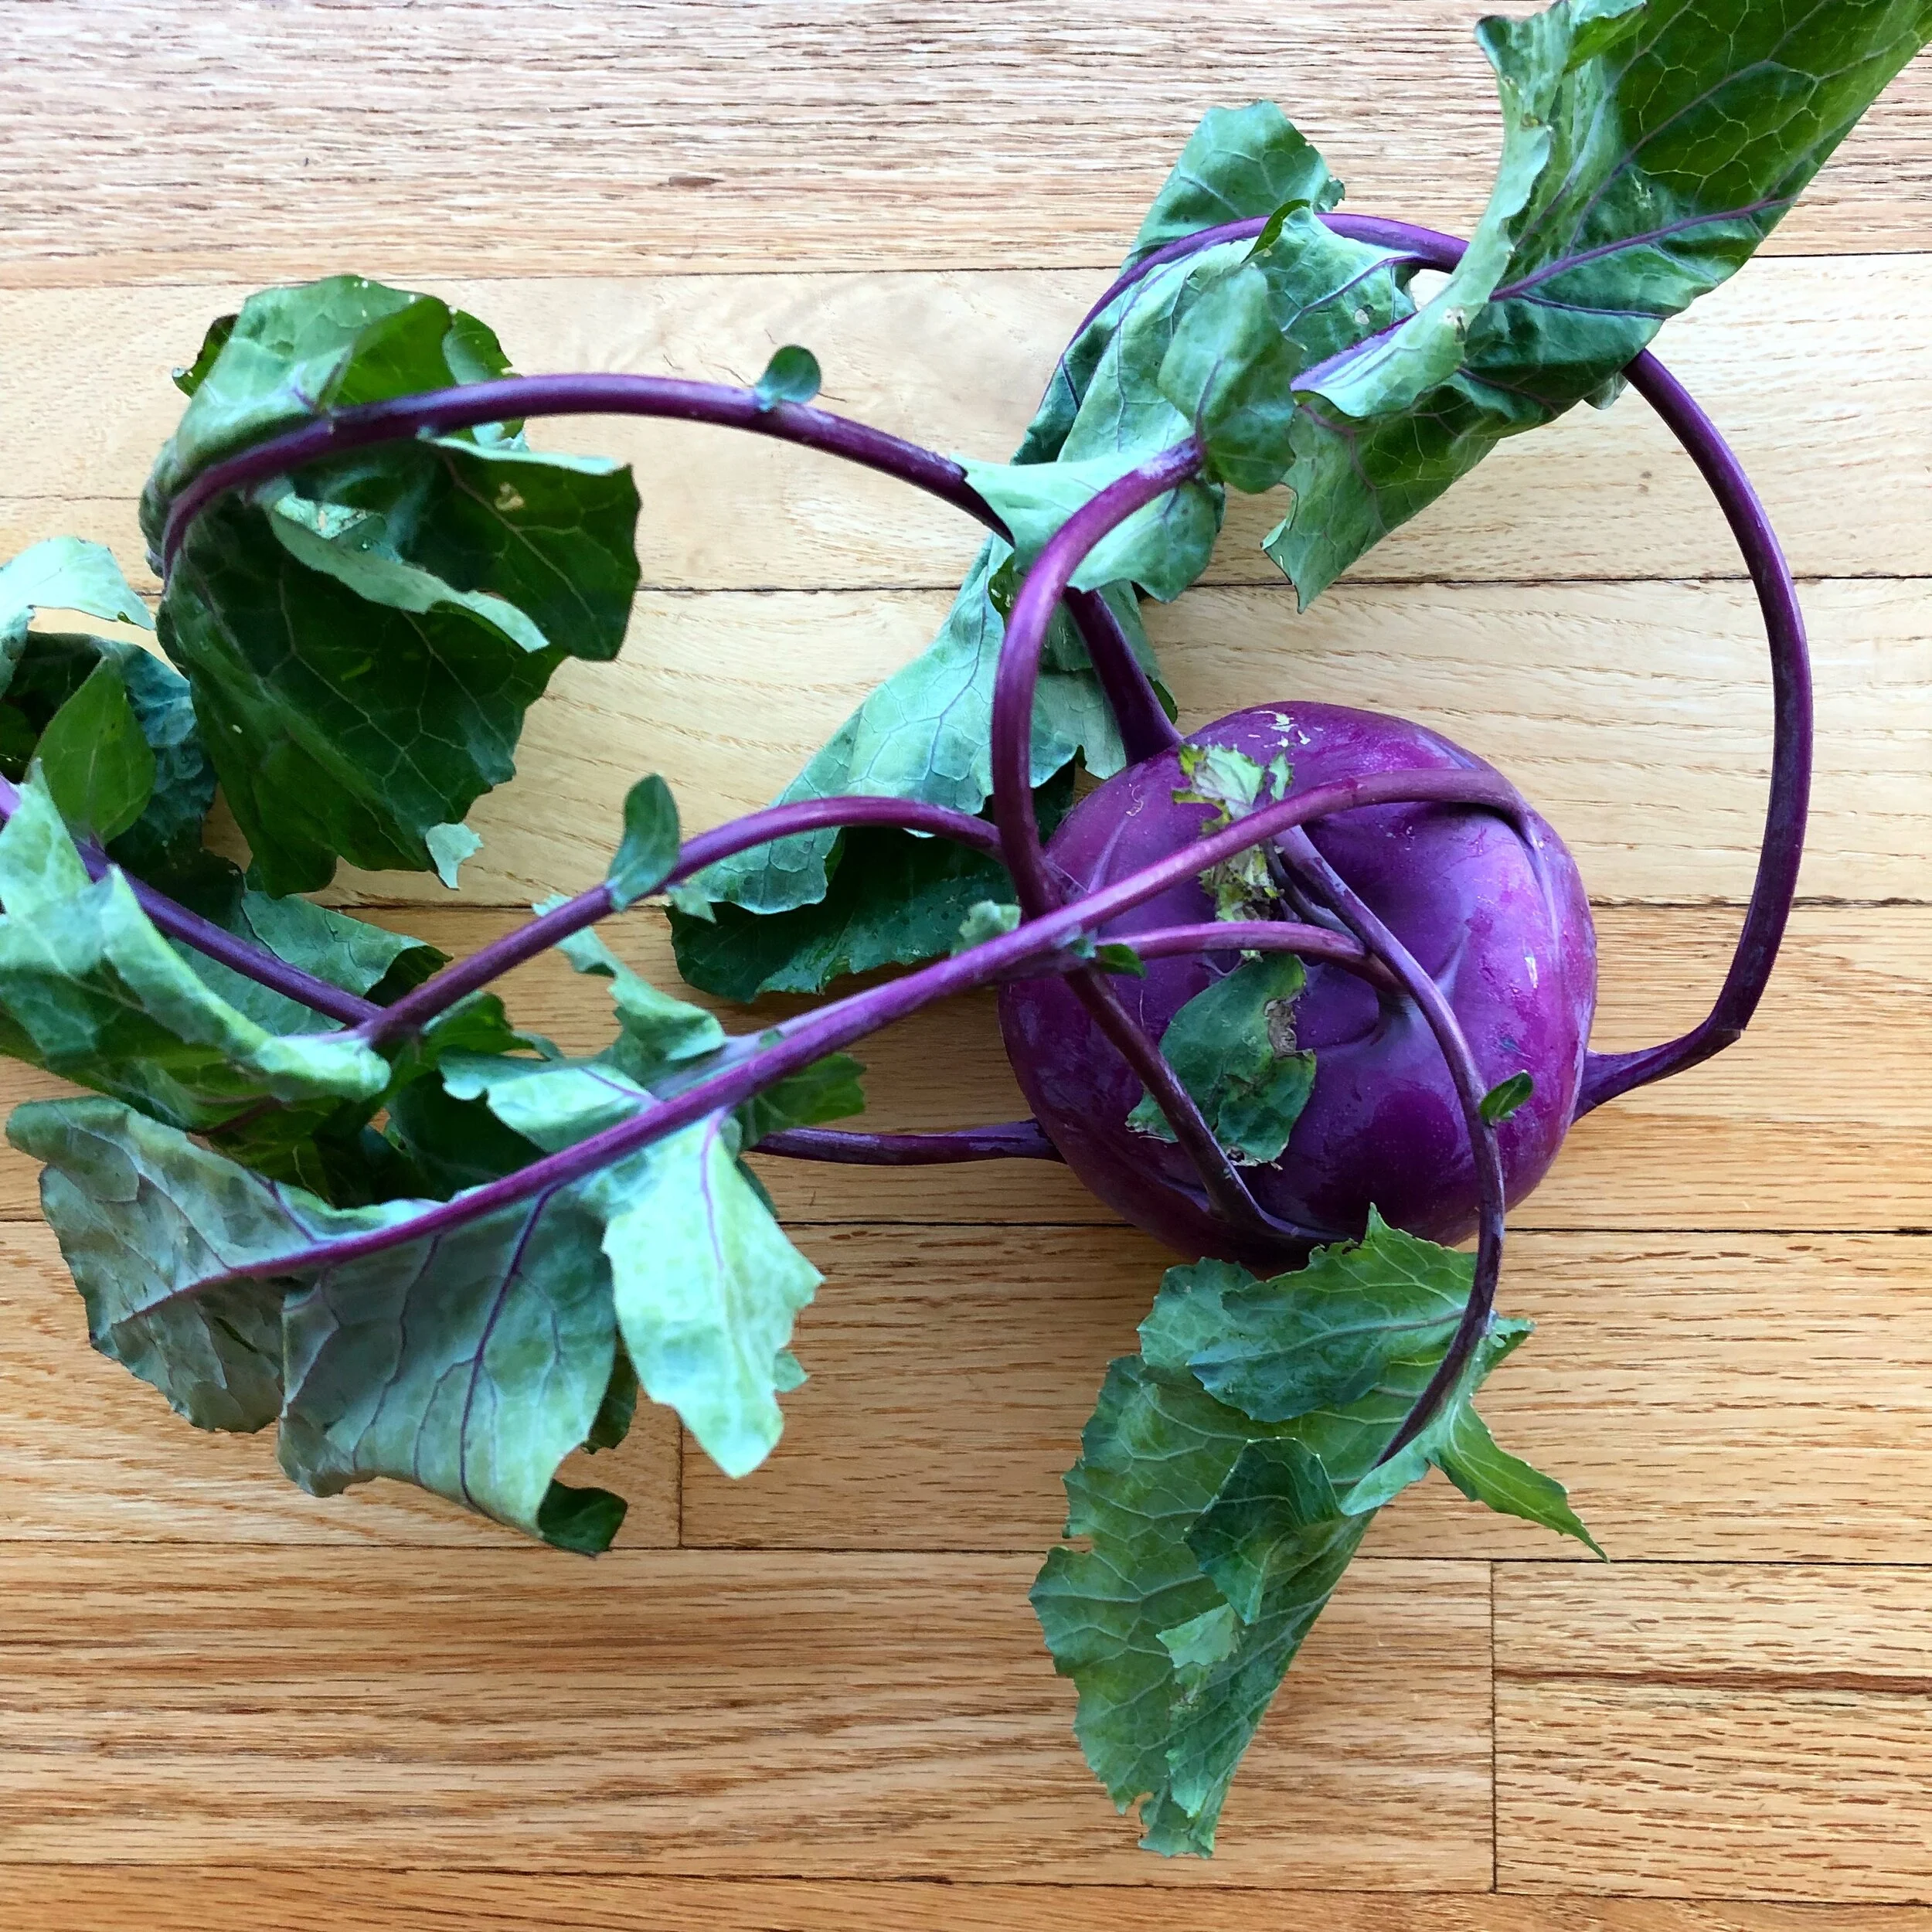
This space-like brassica bulb tends to baffle even the most adventurous vegetable eaters. Here’s a quick list of ideas for your bounty of bulbs, concluding with my recipe for Kohlrabi Latkes that will have you looking for kohlrabi at the grocery store (good luck with that).
Herb and Olive Oil Sourdough Crackers
An excellent use of sourdough starter discard, these crackers are addictively crispy, with a cheesy and nutty tang from the sourdough starter. And they are versatile. I like this combination of rosemary, thyme and parsley with the olive oil, but sometimes swap a blend with a broader assortment of flavors like fennel and lavender. My son likes replacing the rosemary and thyme with smoked paprika, garlic powder and cumin seeds.
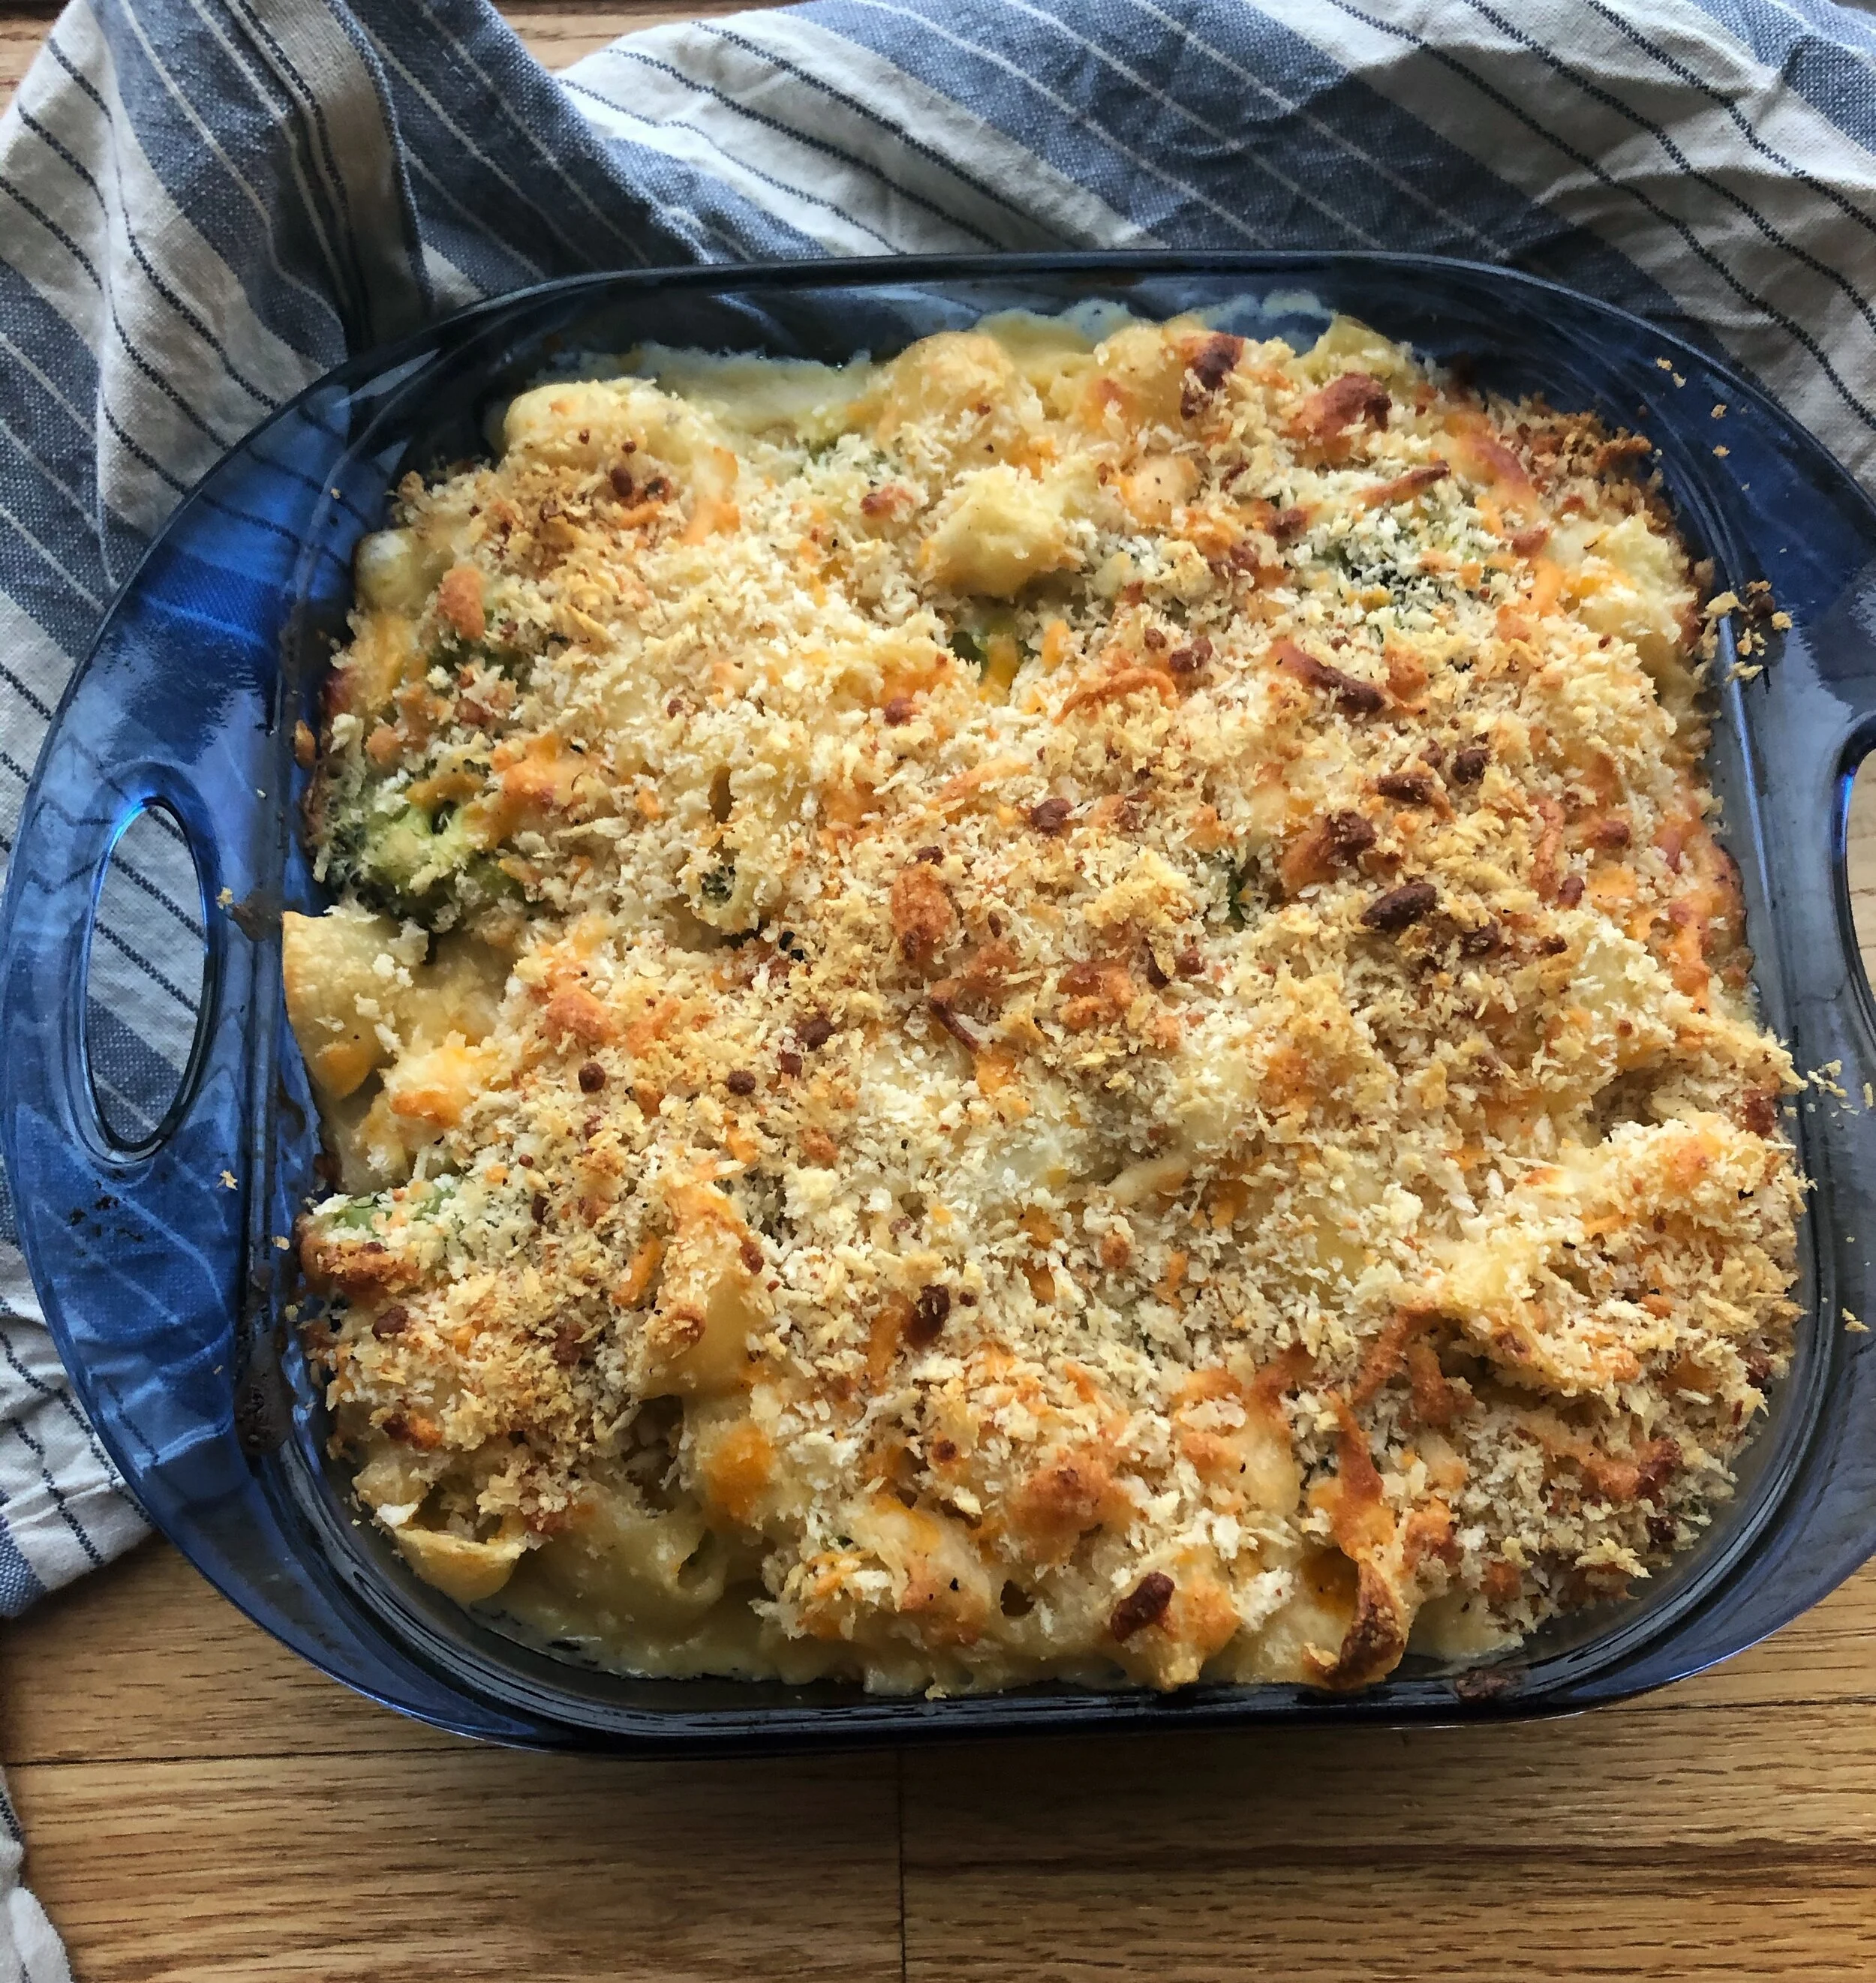
Baked Cauliflower Macaroni and Cheese
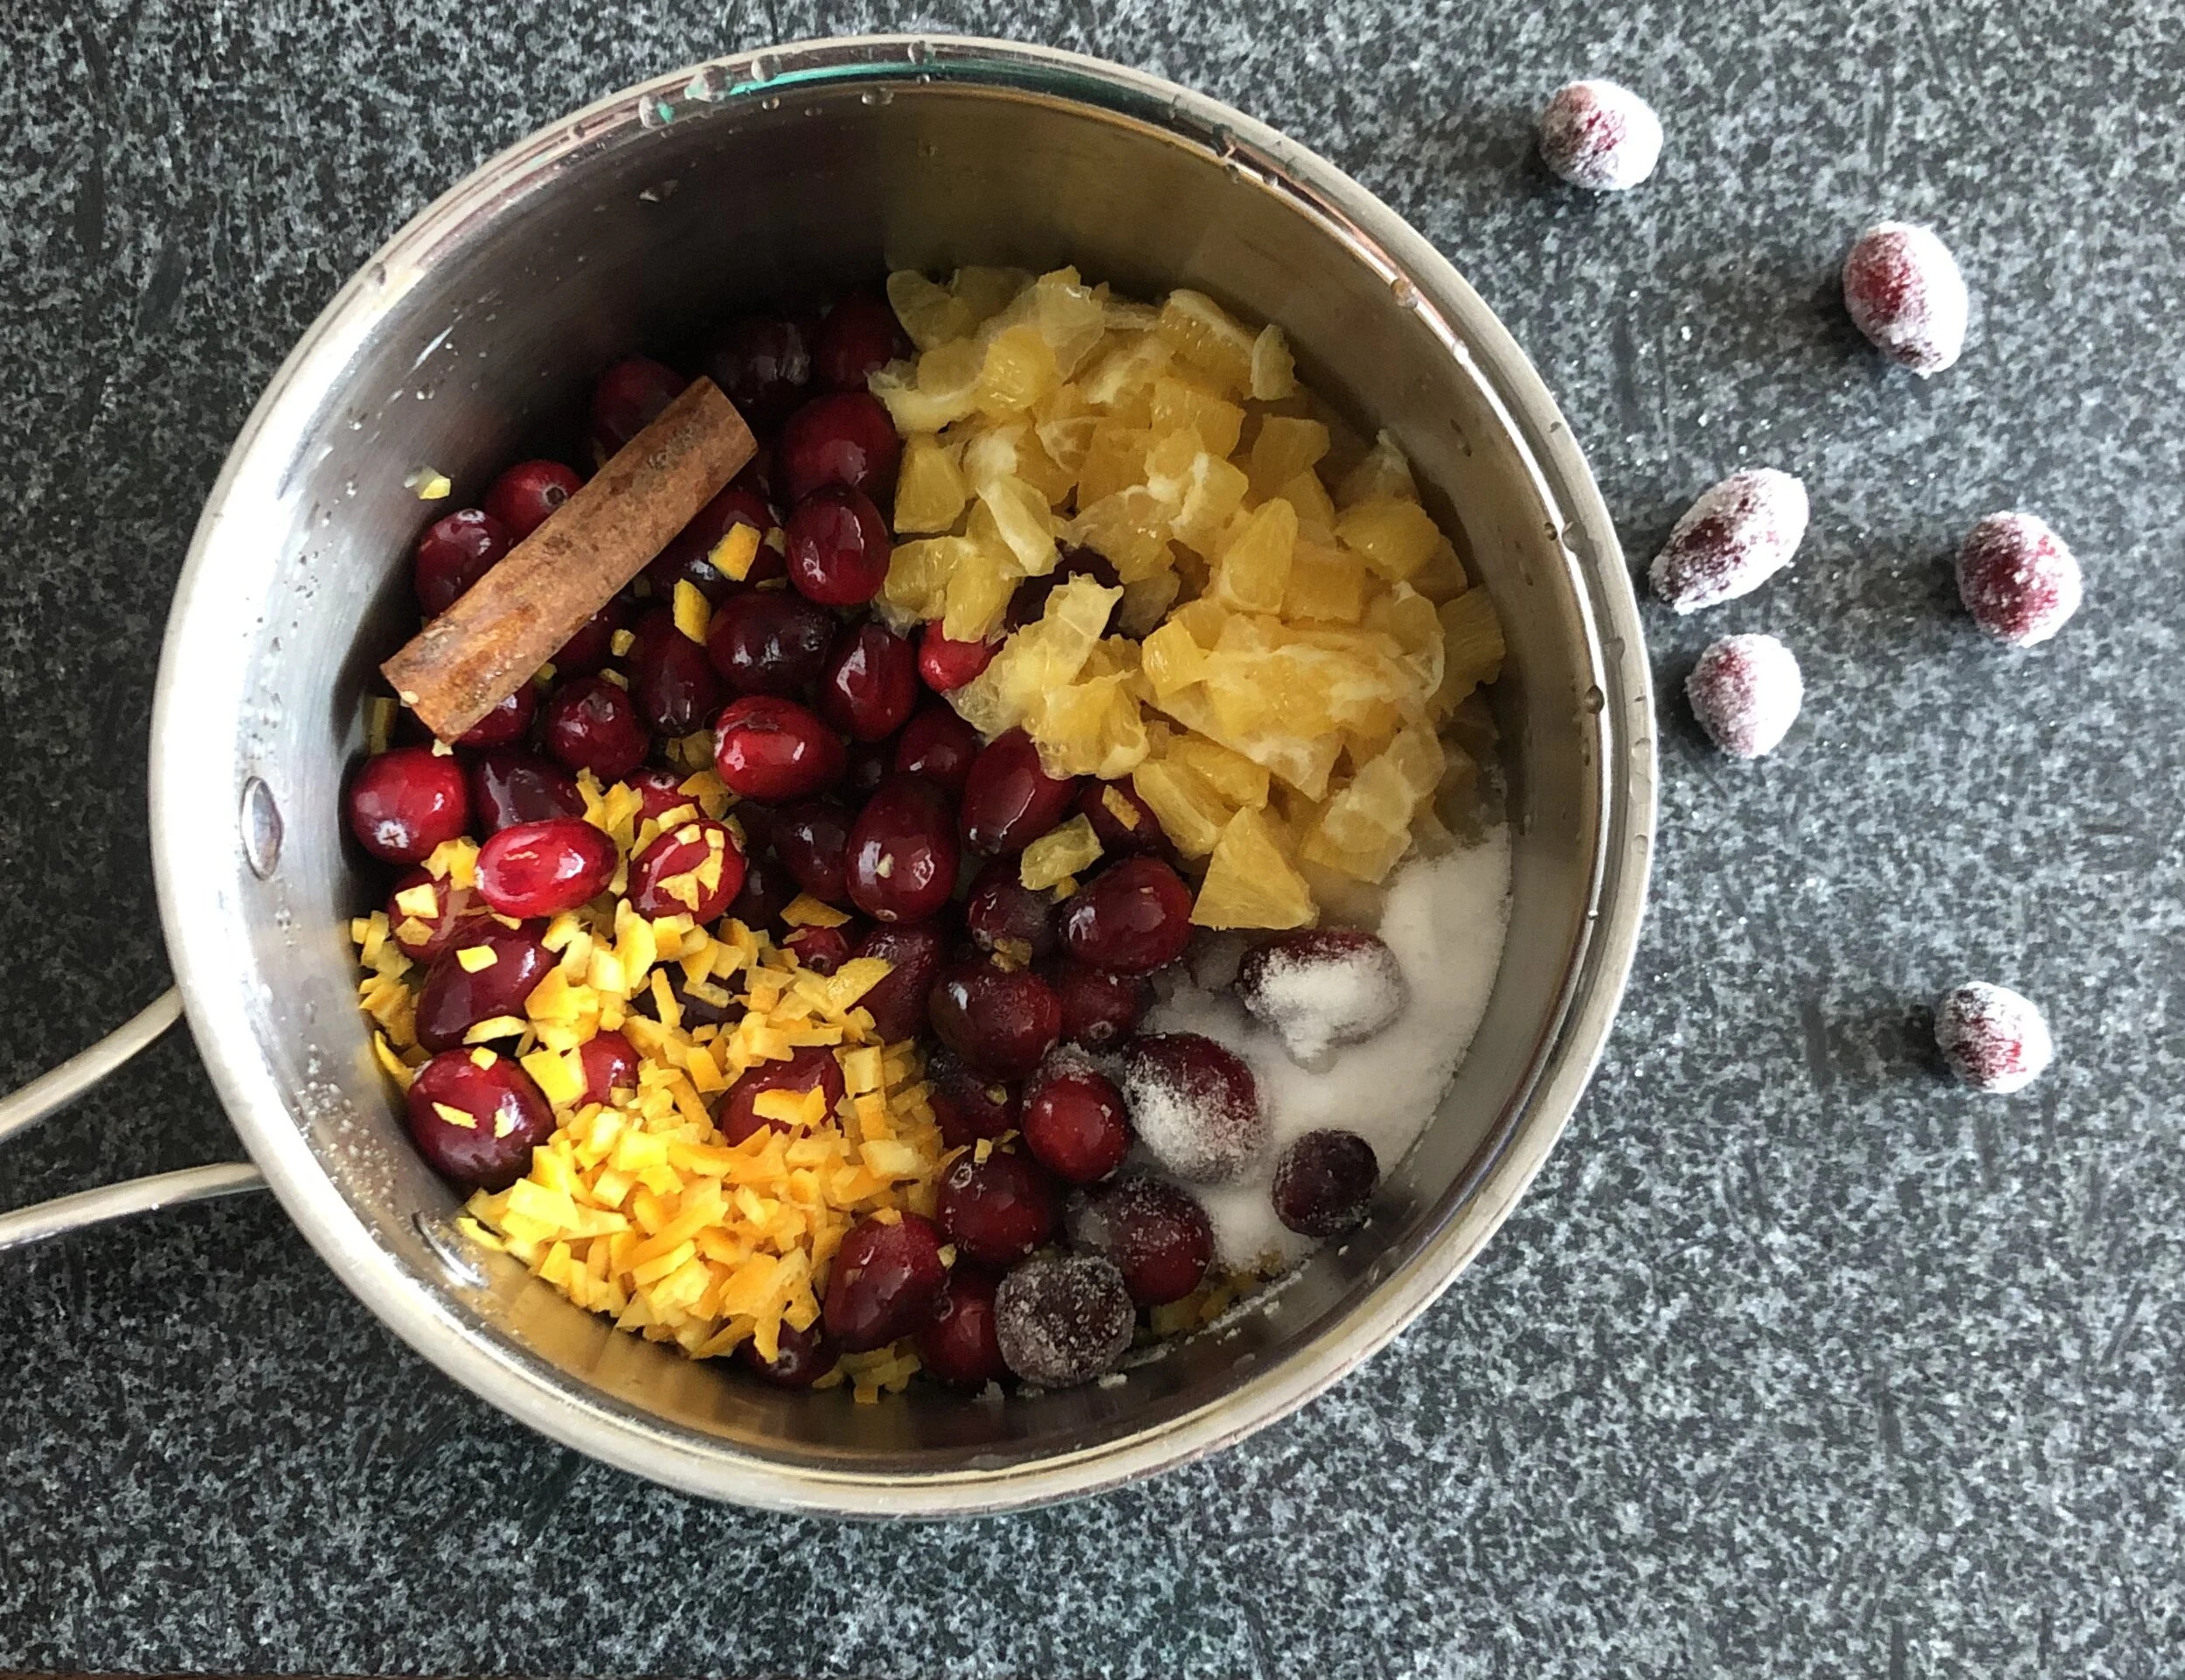
Cranberry Orange Compote
This cranberry orange compote is everything I like about homemade cranberry sauce and the opposite of everything I dislike about canned cranberry jelly. It’s chunky so that you can actually recognize the star ingredient. It maintains the bright sourness of the cranberries and bitterness of the orange rind. It’s subtly sweet without being cloying. It's 100% worth making your own.
Creamy Mashed Cauliflower with Garlic and Herb Pistou
Once you try creamy mashed cauliflower, you may turn your back on mashed potatoes for good. You’ll be the hero of the holiday feast, providing a light, healthful and vegan option that is still killing it with fall flavor. We recommend topping it with a fresh garlic, rosemary, parsley and thyme pistou.
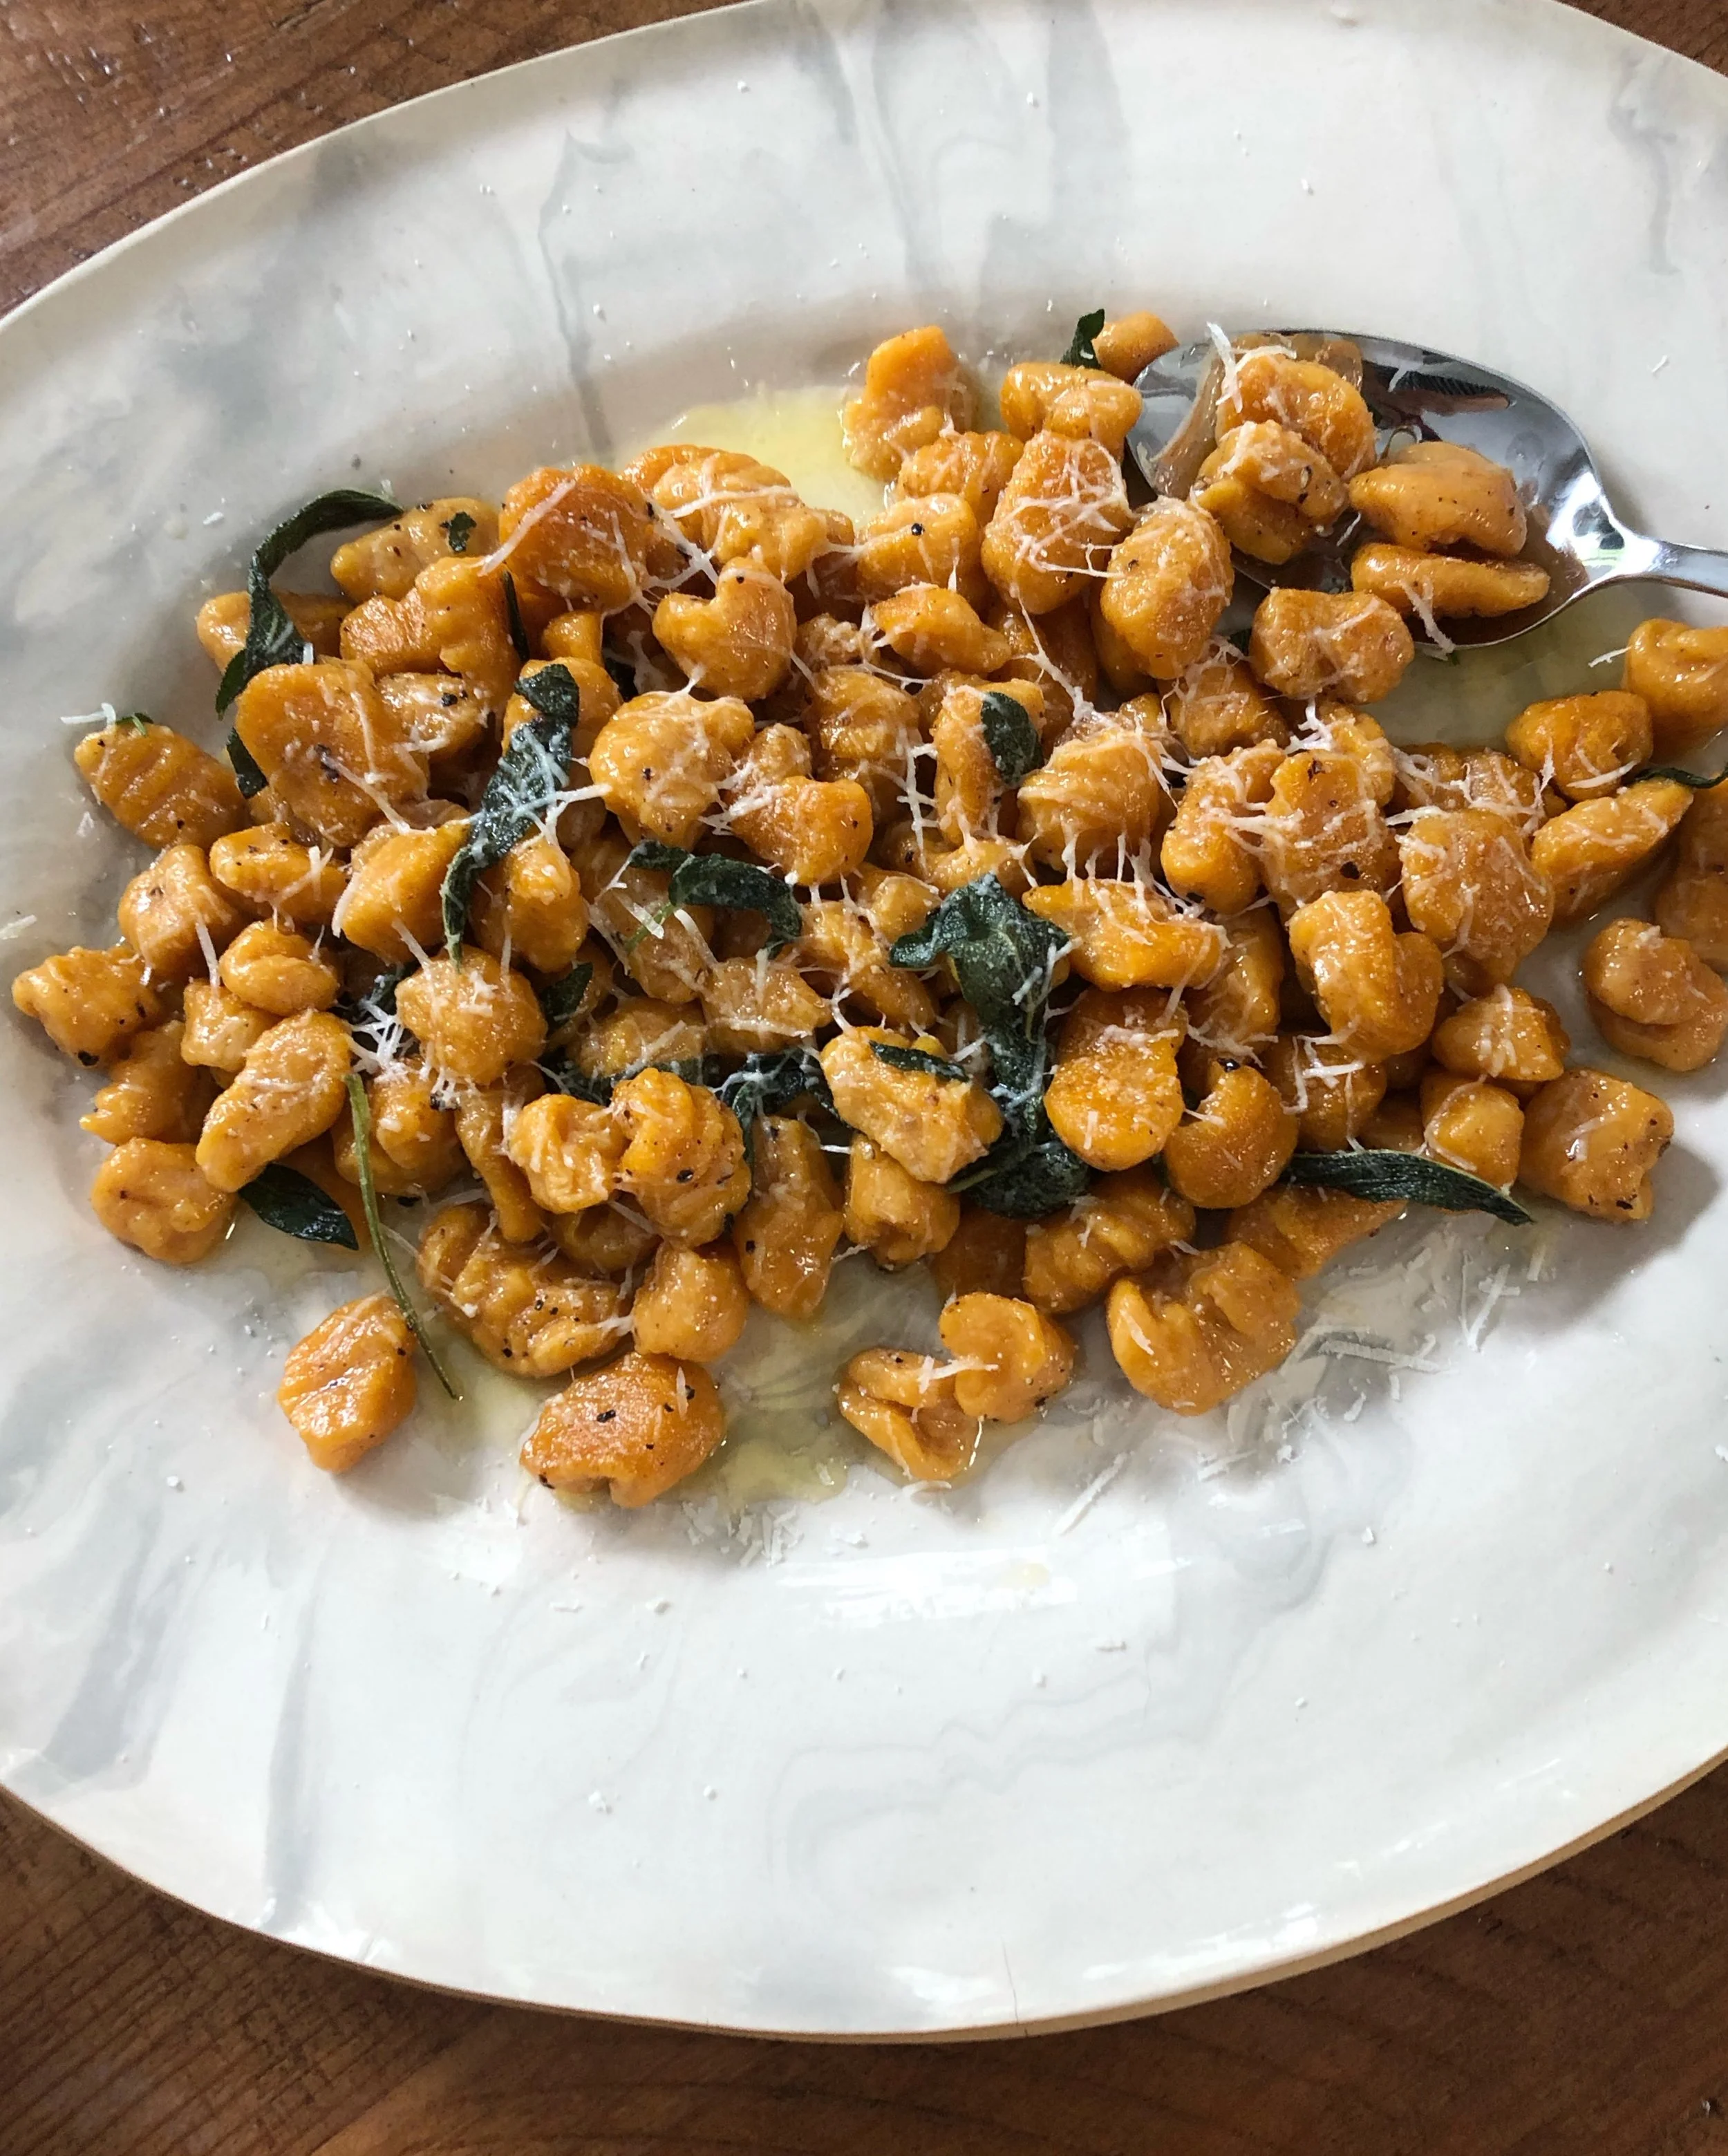
Plump Pasta Pillows in 3 Preparations
While the shape of a gnoccho might resemble a knuckle or a small knot, the texture mimics a pillow - light, fluffy, and airy when prepared properly. Vegetables gently mixed into the dough along with flour and an egg help ensure this airiness. What follows is a method for preparing gnocchi with squash or pumpkin, sweet potatoes and beets, three ingredients in abundance all fall and winter long around here.
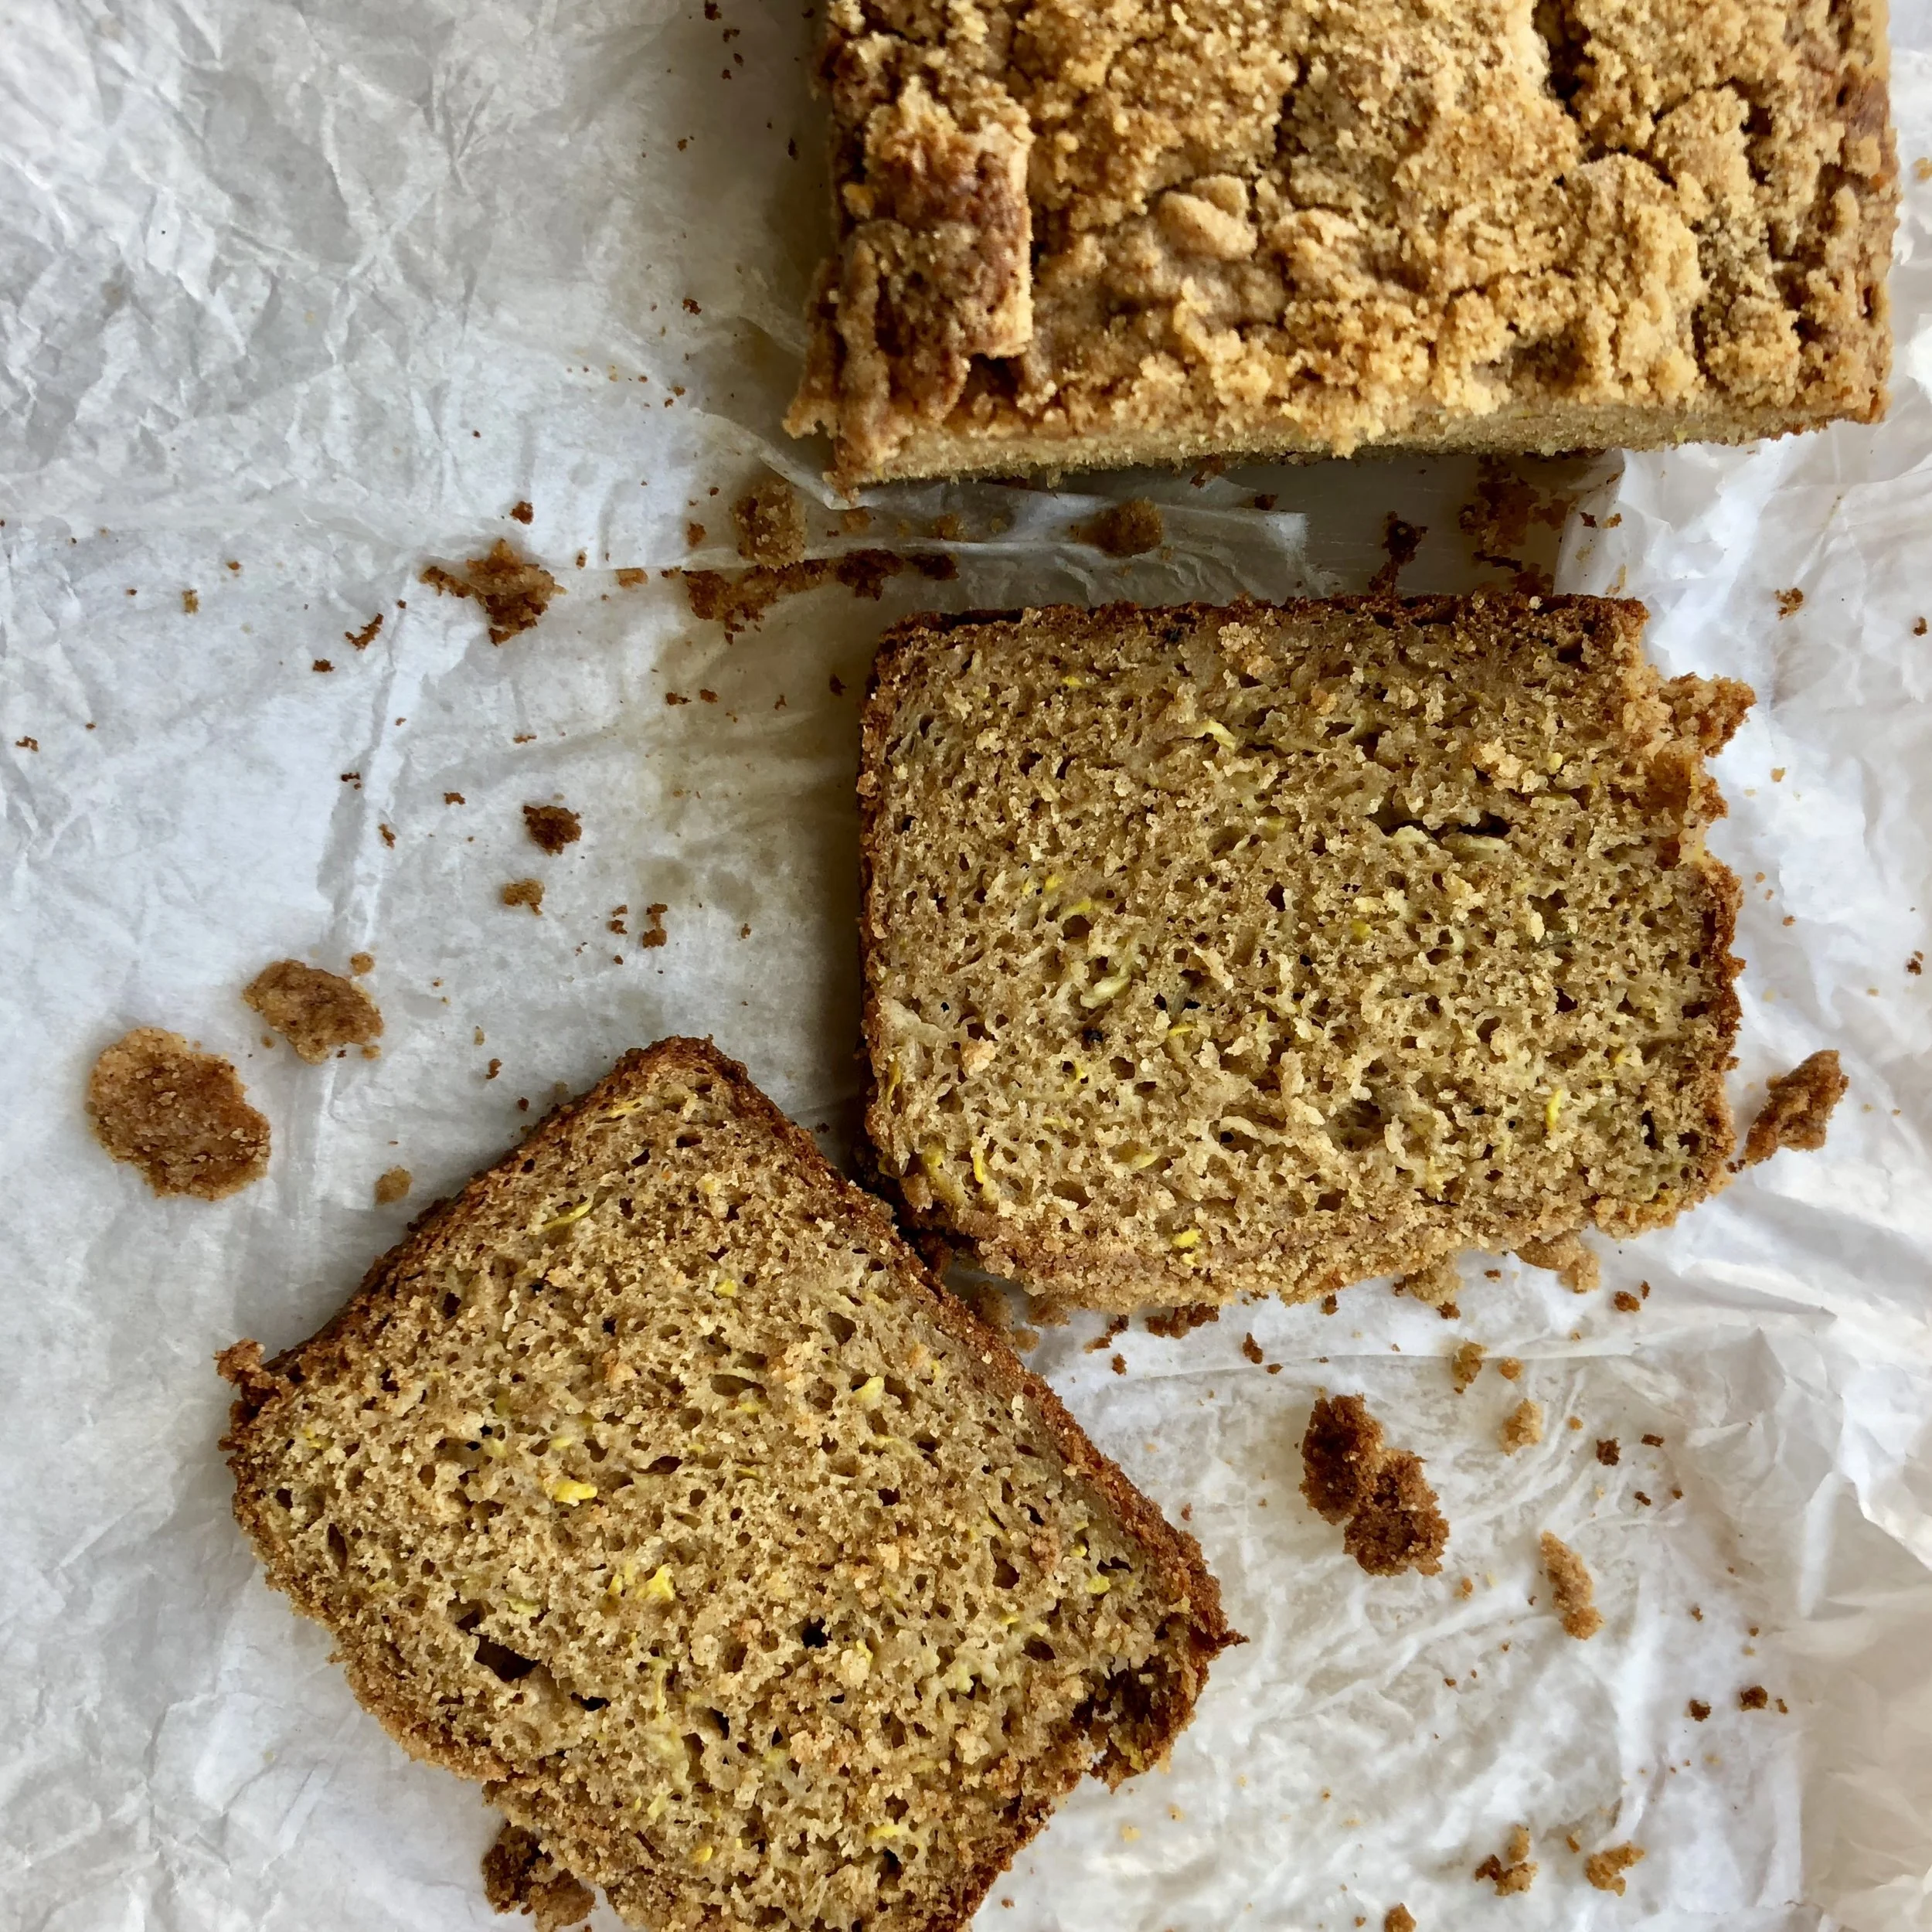
Spiced Summer Squash and Apple Bread with Crunchy Cinnamon Topping
When the yellow squash melts into the bread under cover of apple and spice, kids (and adults like me) don’t even realize they’re gobbling up the vegetable. This recipe combines the oddly matched produce of late September, as is to say, "hey, I know fall is right around the corner, but summer is not quite over yet." You don’t have to wait until October to spice this up like a decadent warming pumpkin loaf.
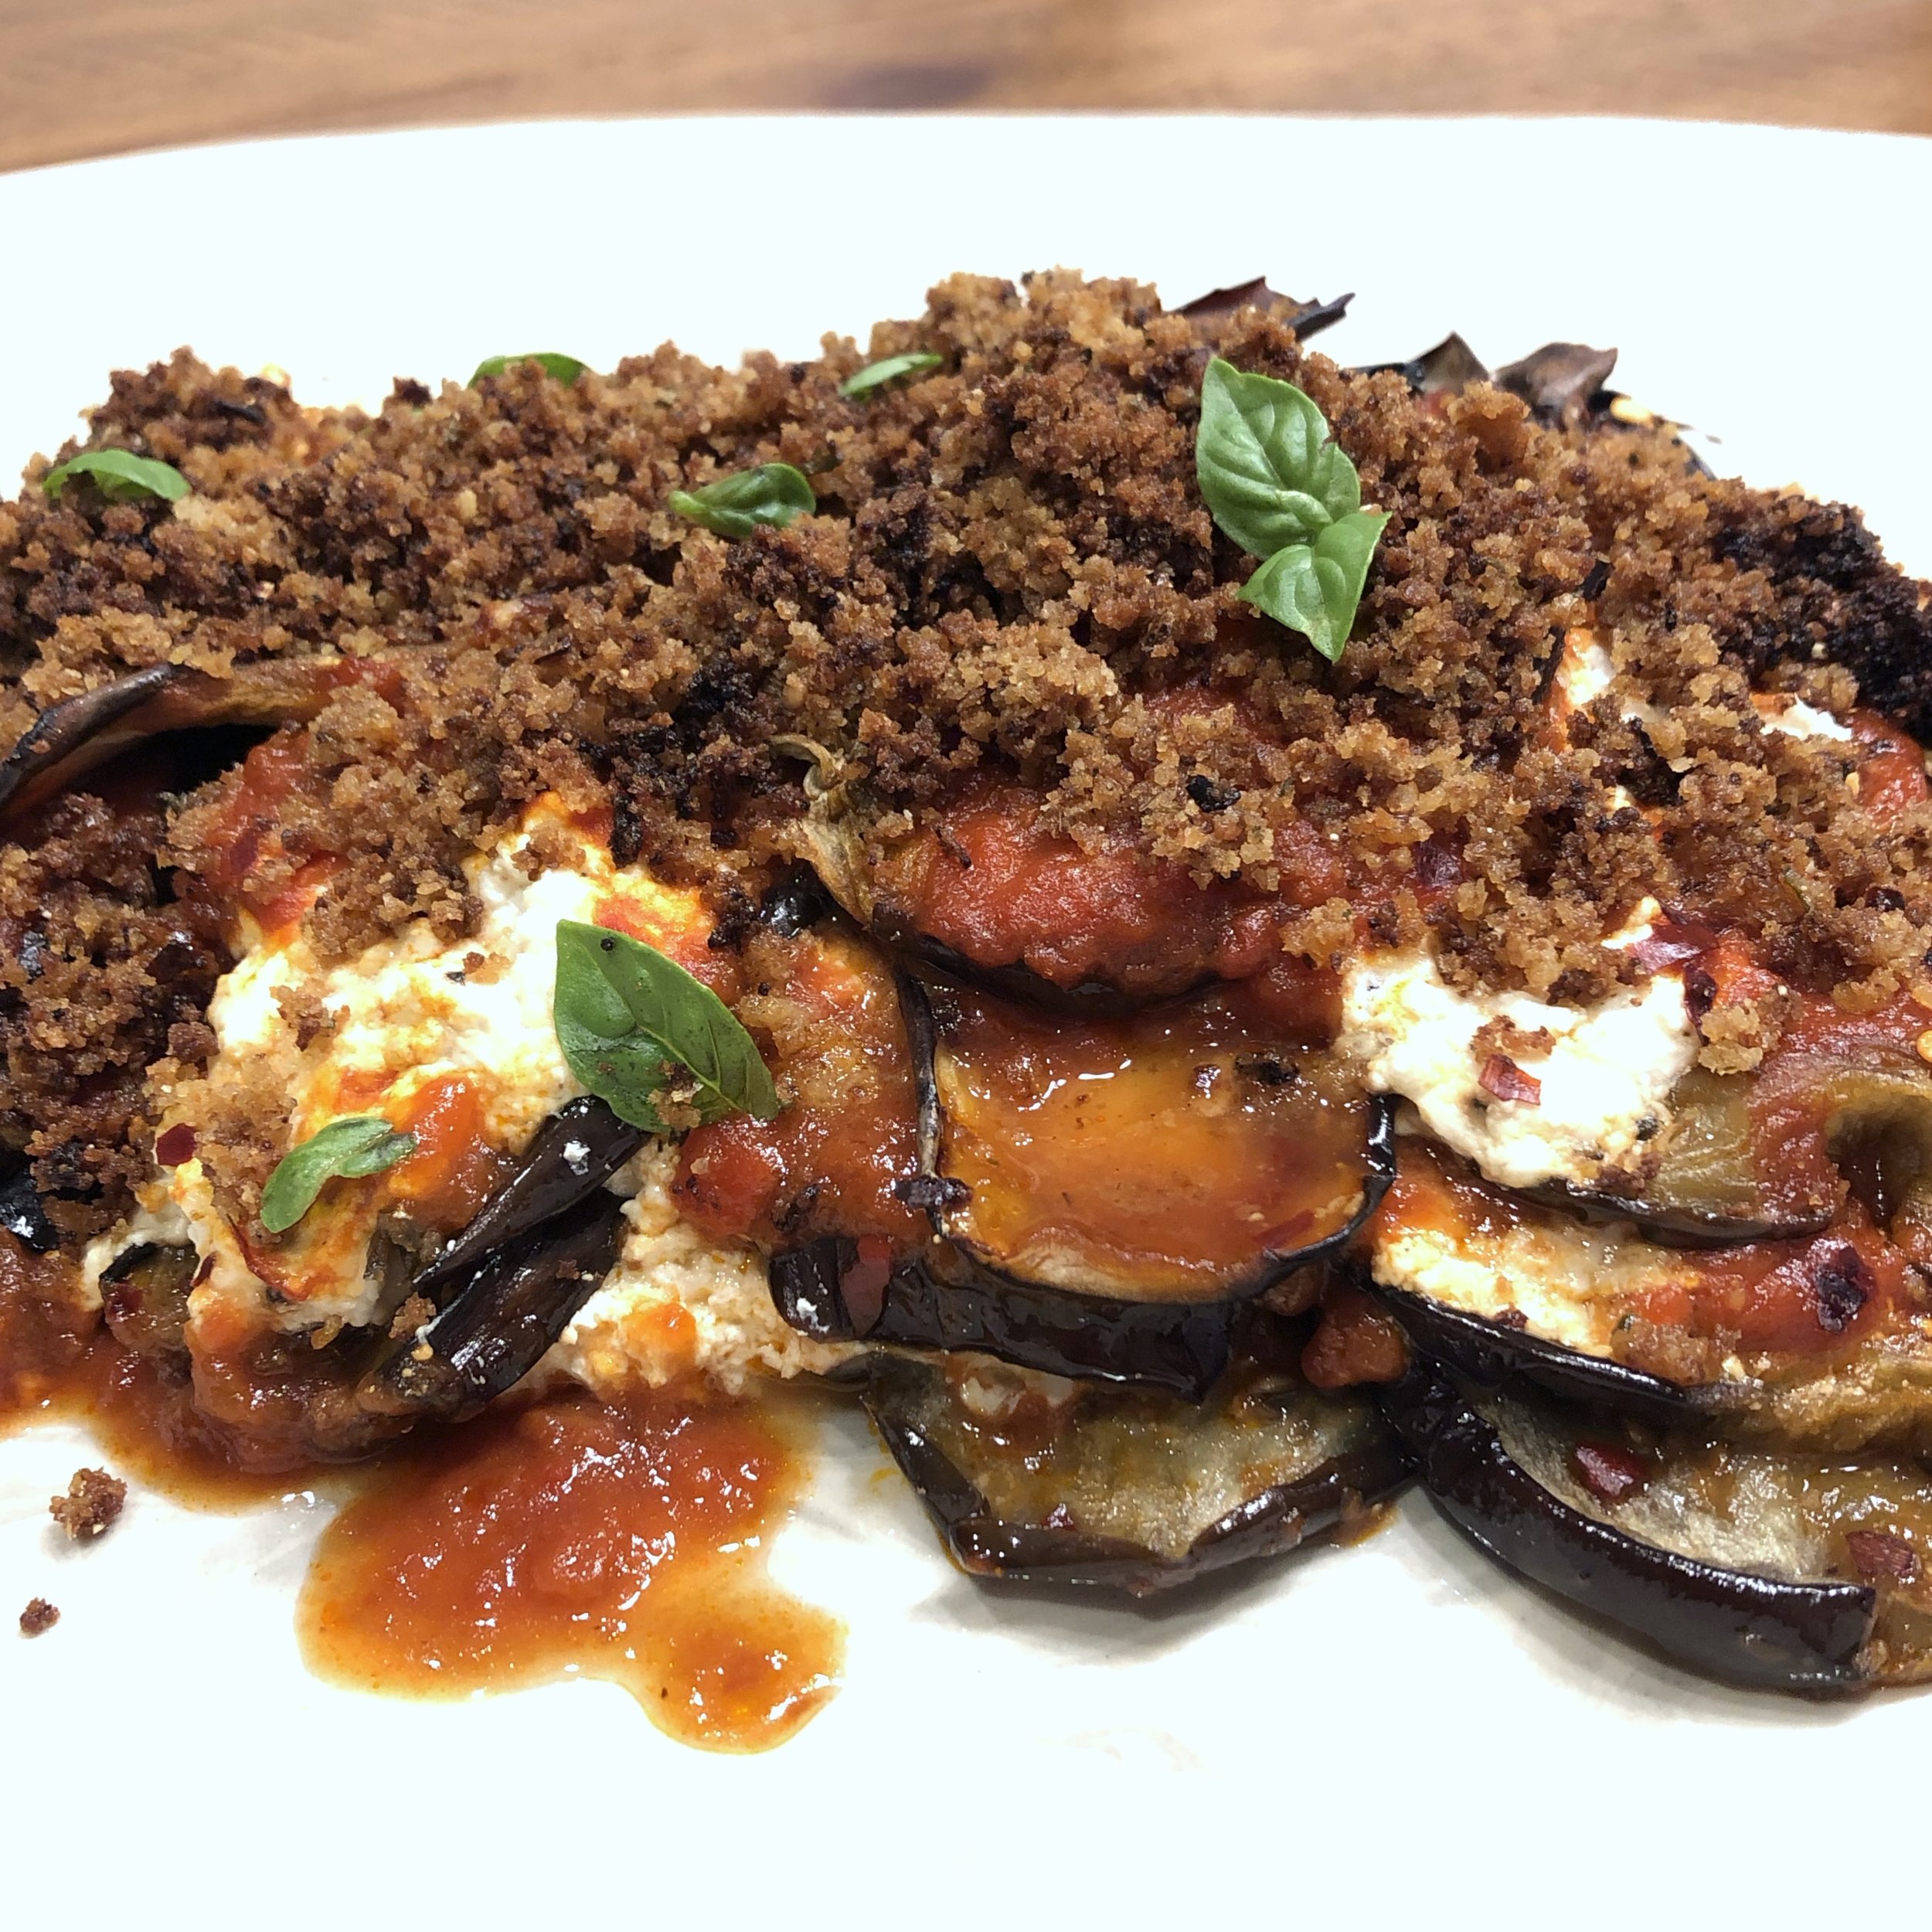
Rustic No Fuss Eggplant Arrabbiata
Arrabbiata is a spicy tomato sauce made with lots of garlic and chili peppers. Although it literally translates to “angry,” no one, unless perhaps Tom Brady, will be angry if you make this Rustic No Fuss Eggplant Arrabbiata for dinner tonight. This dish can be adjusted, with equally delicious results, to suit vegans, those who eat gluten free, and/or eaters who are allergic to eggs! Win-win-win.
The spicy kick is not the only thing setting this apart from your average eggplant parmesan or eggplant rollatini. Those traditional configurations of eggplant, sauce and cheese are much more particular, and I dare say, unnecessary. Admittedly, I appreciate an impeccable eggplant parmesan. And my mother’s meticulously rolled eggplant rollatini, held together by toothpicks before being baked in the oven might just be the inspiration for this dish. But here’s why this Rustic No Fuss Eggplant Arrabbiata should replace all of that…well…fuss:
No frying. No mess. No three step dredge resulting in a once-normal hand transformed into 5 breaded thumbs.
It can be made gluten free — easily. See #1. Toasted breadcrumb topping is 100% optional.
All plant. No egg. Since the eggplant is not breaded, we skip the egg dredge.
Mix and match or even omit (gasp!) the cheese. Fresh Mozzarella is a classic in eggplant parmesan and ricotta makes for a luscious rollatini, but here you can use either, both, add parmesan or pecorino romano, or leave out the cheese entirely. And thus (see #3), this dish can be made vegan without any of those questionable imitation vegan “cheeses”.
Any sized casserole or baking dish with high sides will work. This fuss free eggplant bake doesn’t require a perfect fit, normally forcing you to transfer the partially layered contents of your eggplant bake into another better fitting vessel, three times, creating a sink full of dishes before you’ve put anything in the oven.
No rolling. No toothpicks. Sorry to take away your fun, mom.
I’m sure there is a 7th reason and perhaps even an 8th, but I want to share this with you before eggplant season has passed.
Rustic No Fuss Eggplant Arrabbiata
Serves: 4-6
What You Need:
2 medium eggplant
1-2 teaspoons kosher salt, plus more to taste
4-5 tablespoons extra virgin olive oil, divided
red pepper flakes (crushed red pepper), to taste
1 cup ricotta cheese or 8 ounces fresh mozzarella, sliced or 3-4 tablespoons pecorino romano or combination
freshly ground black pepper, to taste
1-2 cups Quick Spicy Tomato Basil Marinara or your favorite version
1/2 cup bread crumbs (seasoned if you like), optional
What You Do:
Preheat the oven to 400 degrees.
If desired, peel the eggplant. (Note: I always leave the skin intact for color, flavor and nutrients but if you want your overall bite to have a more silky texture, peel the eggplant). Slice eggplant into 1/4 inch thick slabs (or rounds if that is your preference).
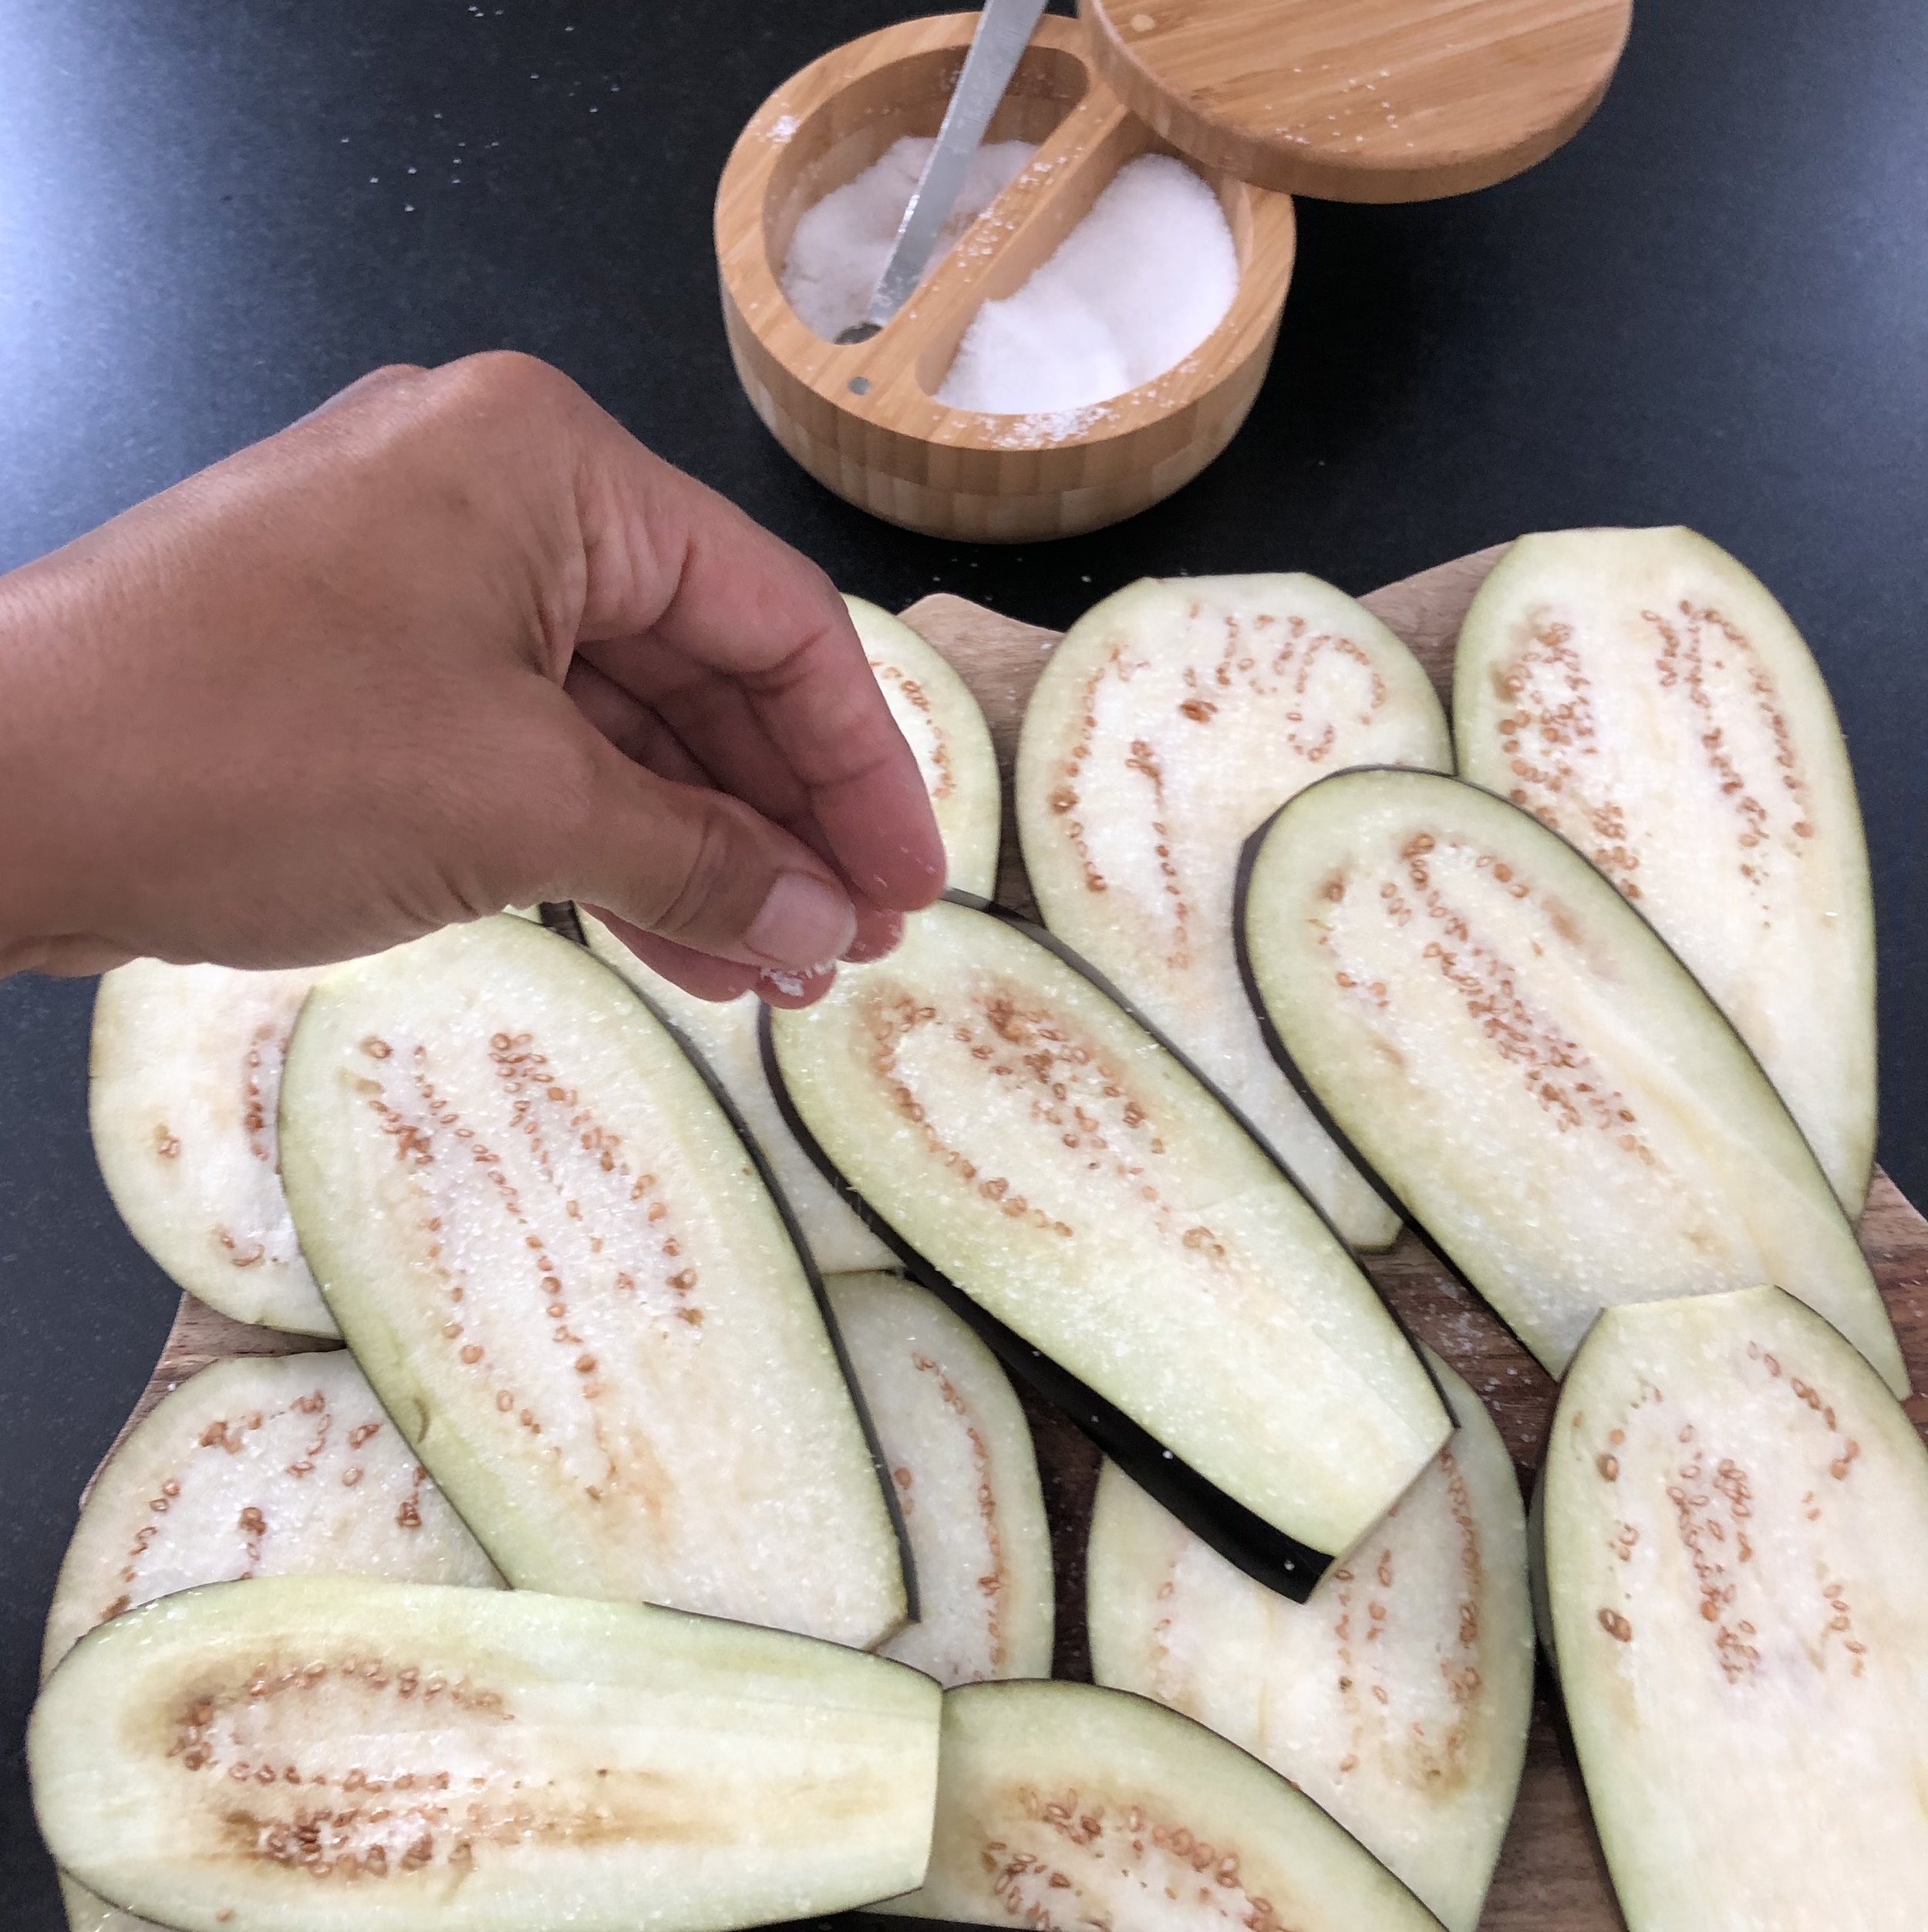
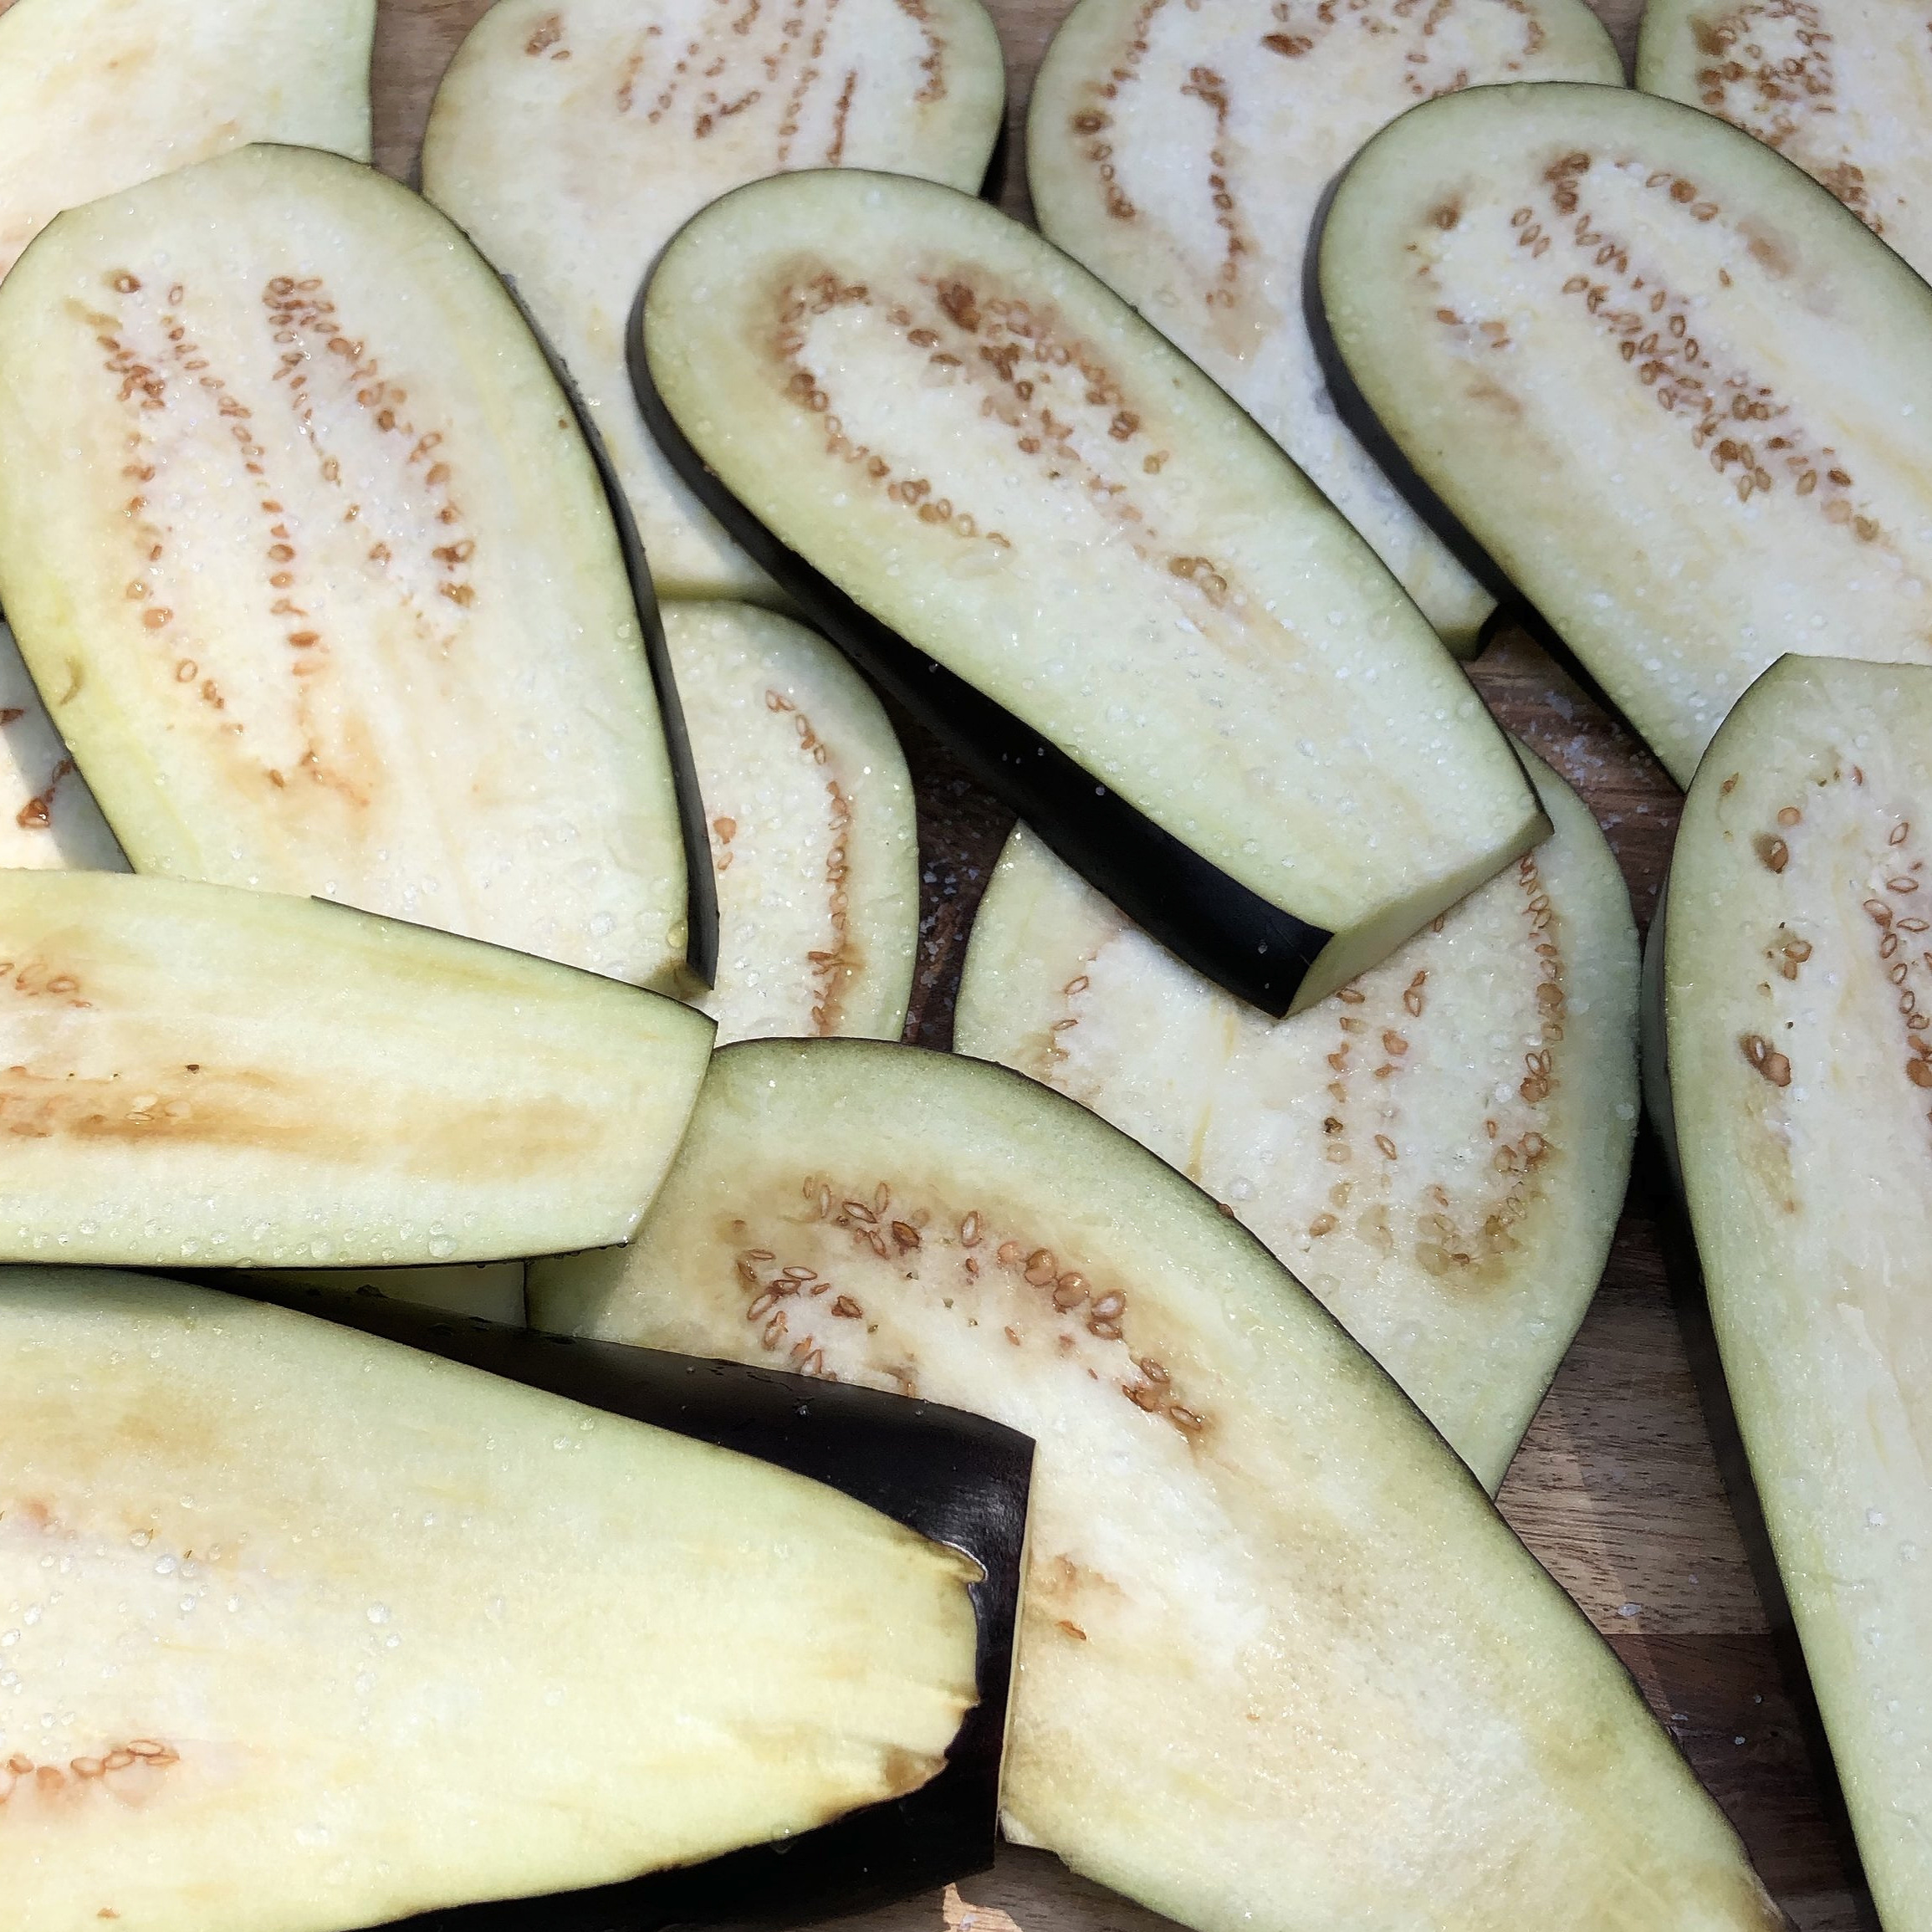
Lay the eggplant slices out in a single layer on the cutting board or baking sheets. Sprinkle liberally with kosher salt. Flip and sprinkle salt on the other side. Allow to sit for at least 10 minutes so that the moisture sweats out of the eggplant.
Using a clean kitchen towel, pat the eggplant dry. Flip and pat dry on the other side as well.
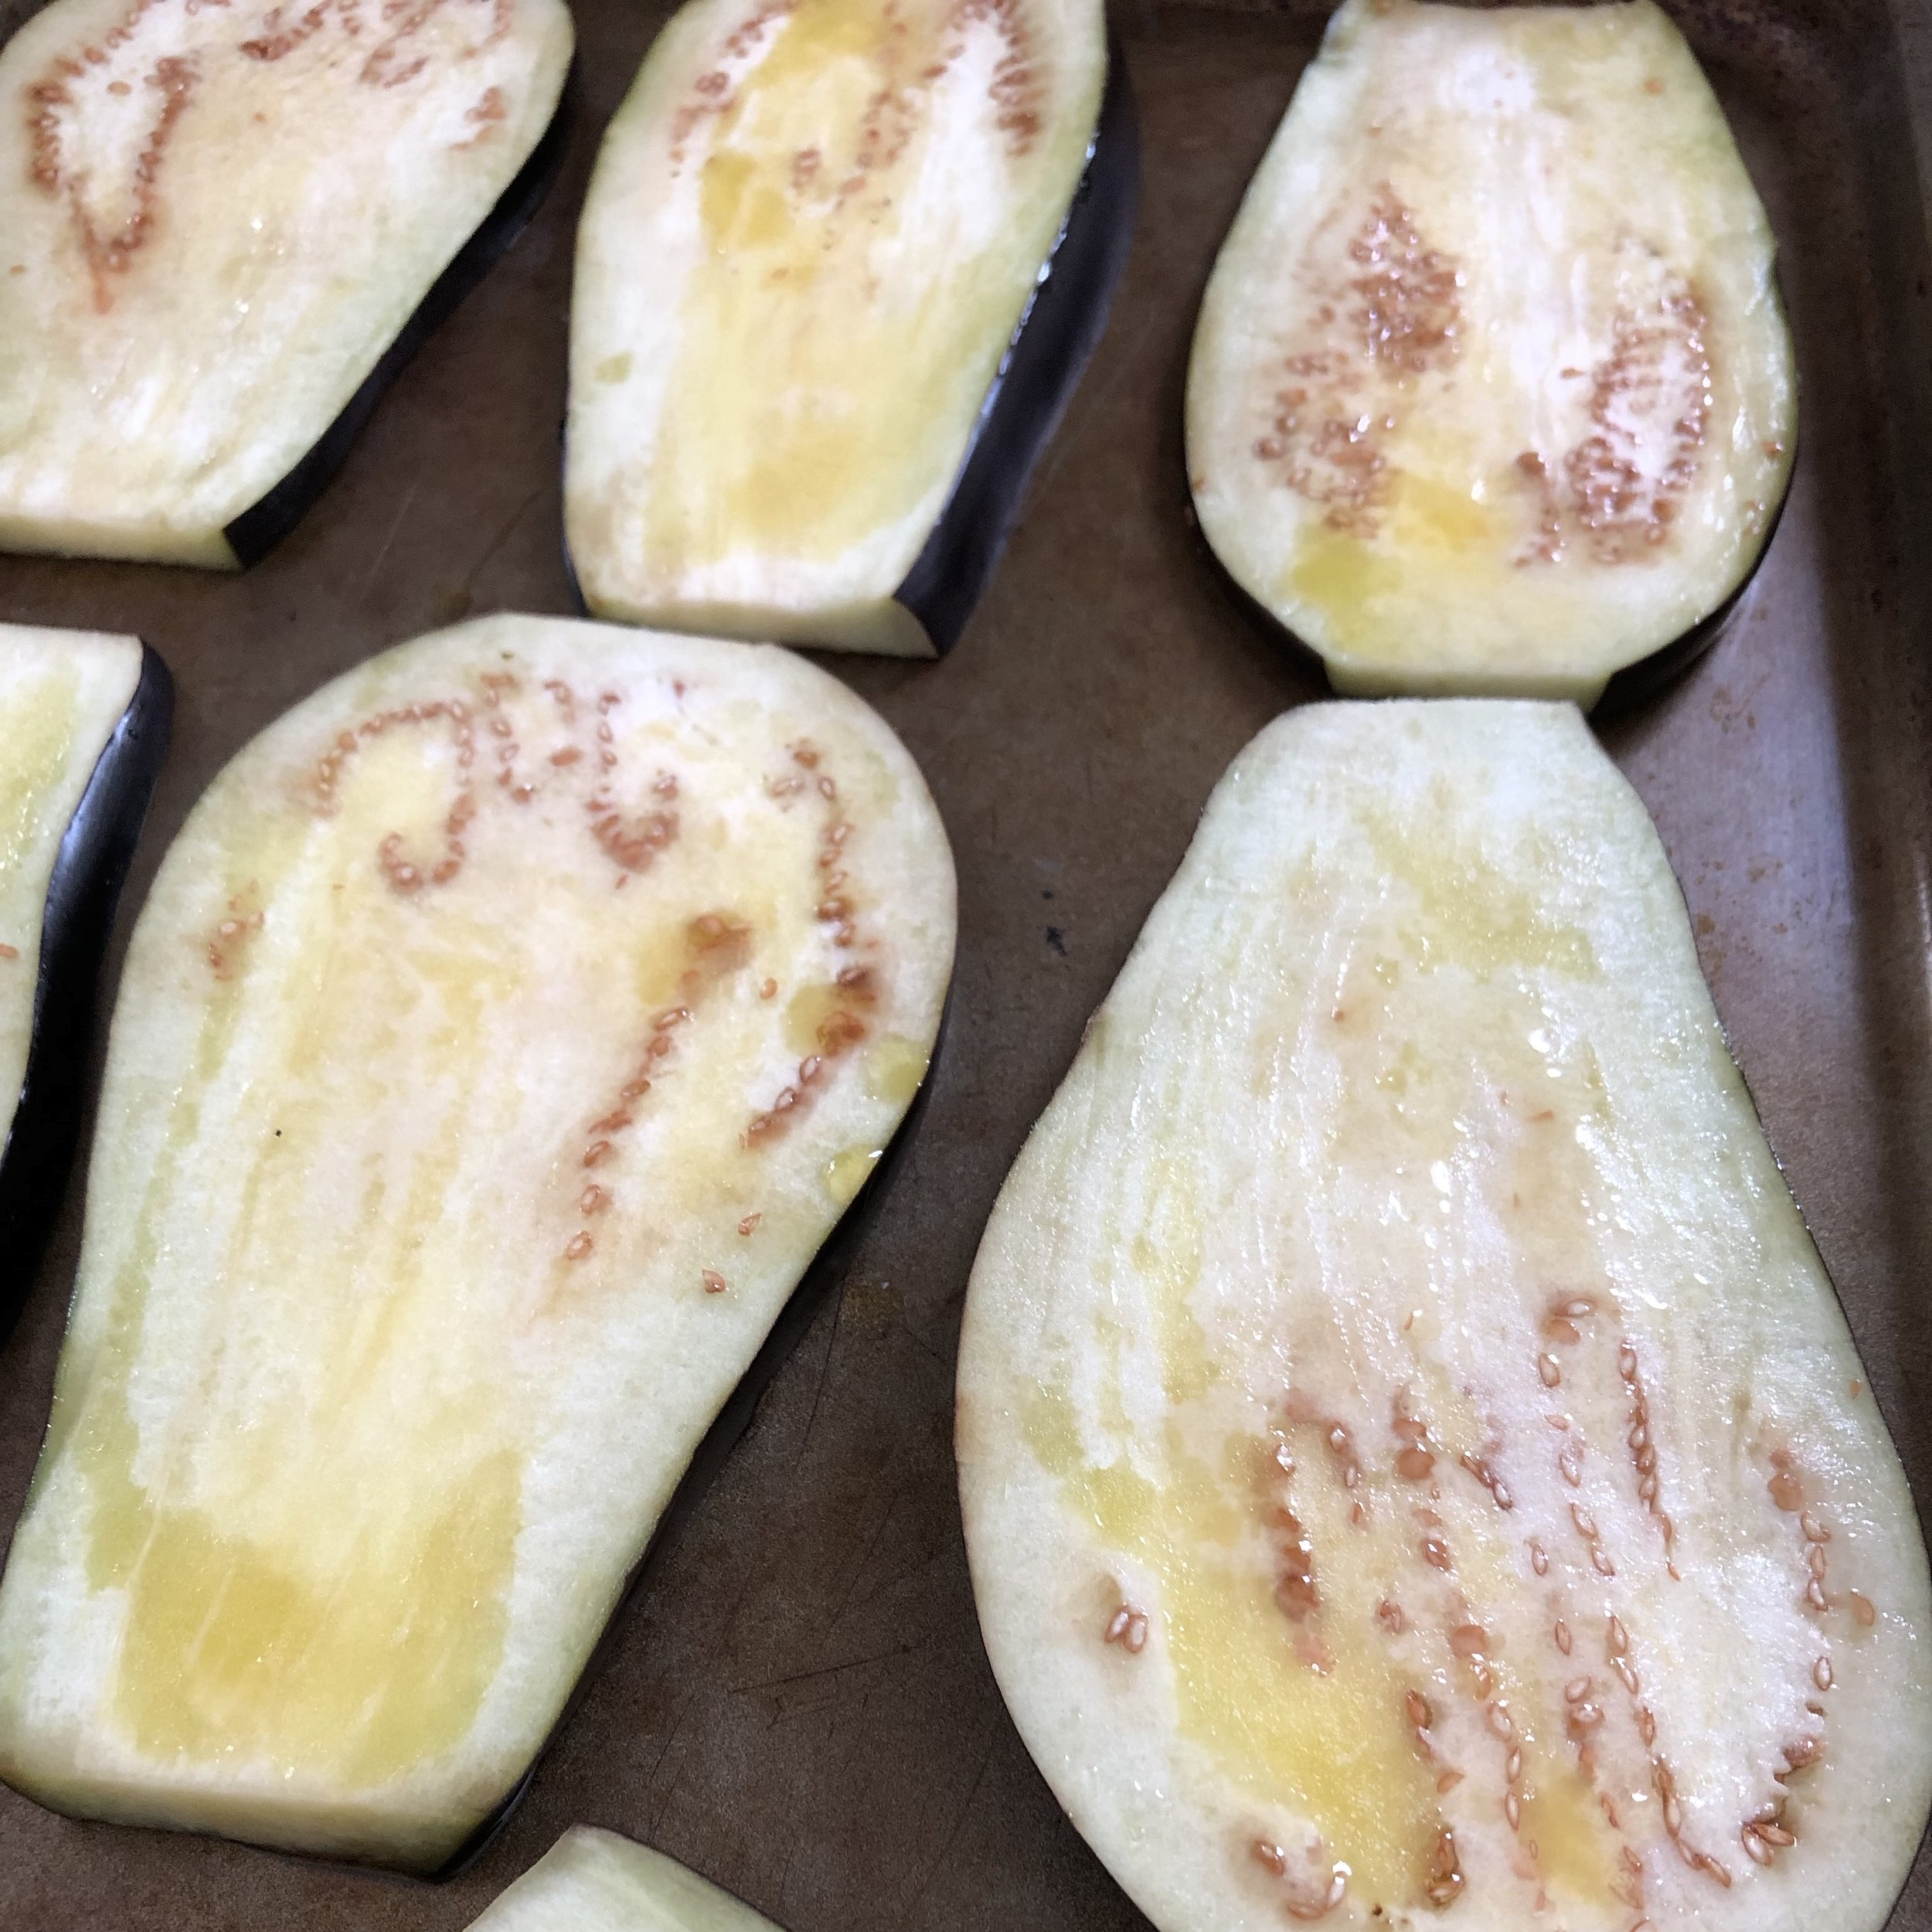
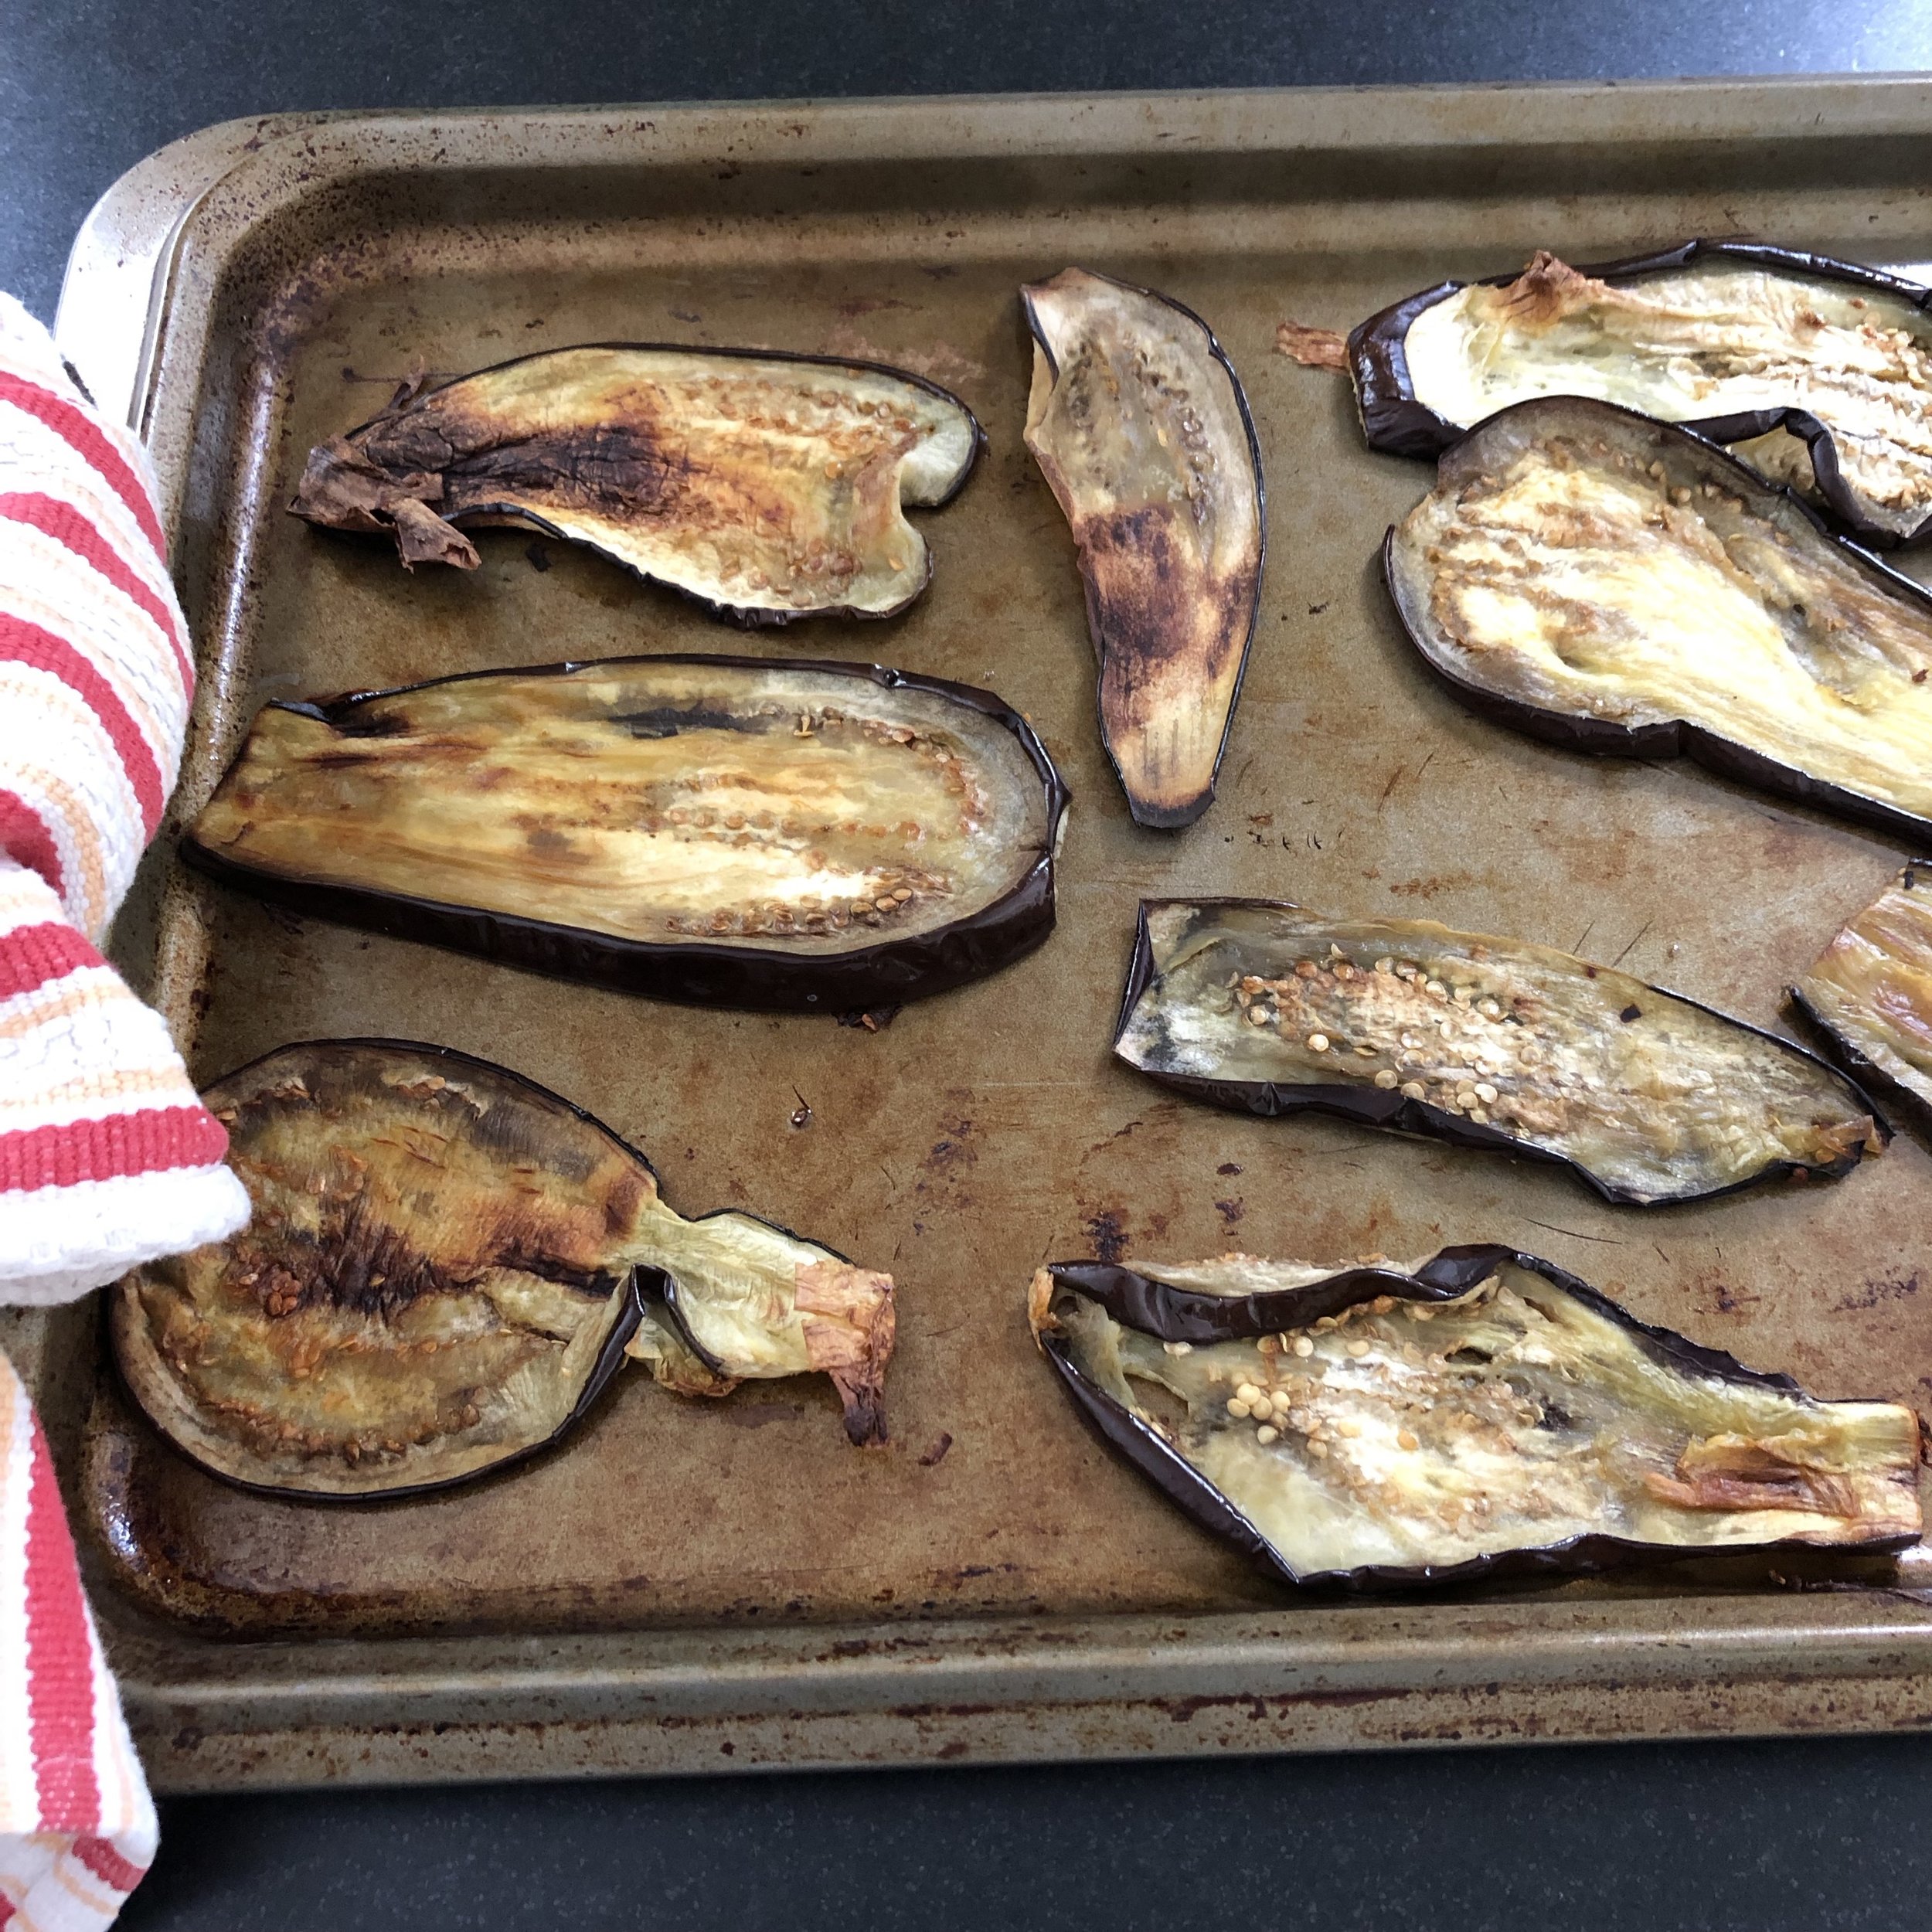
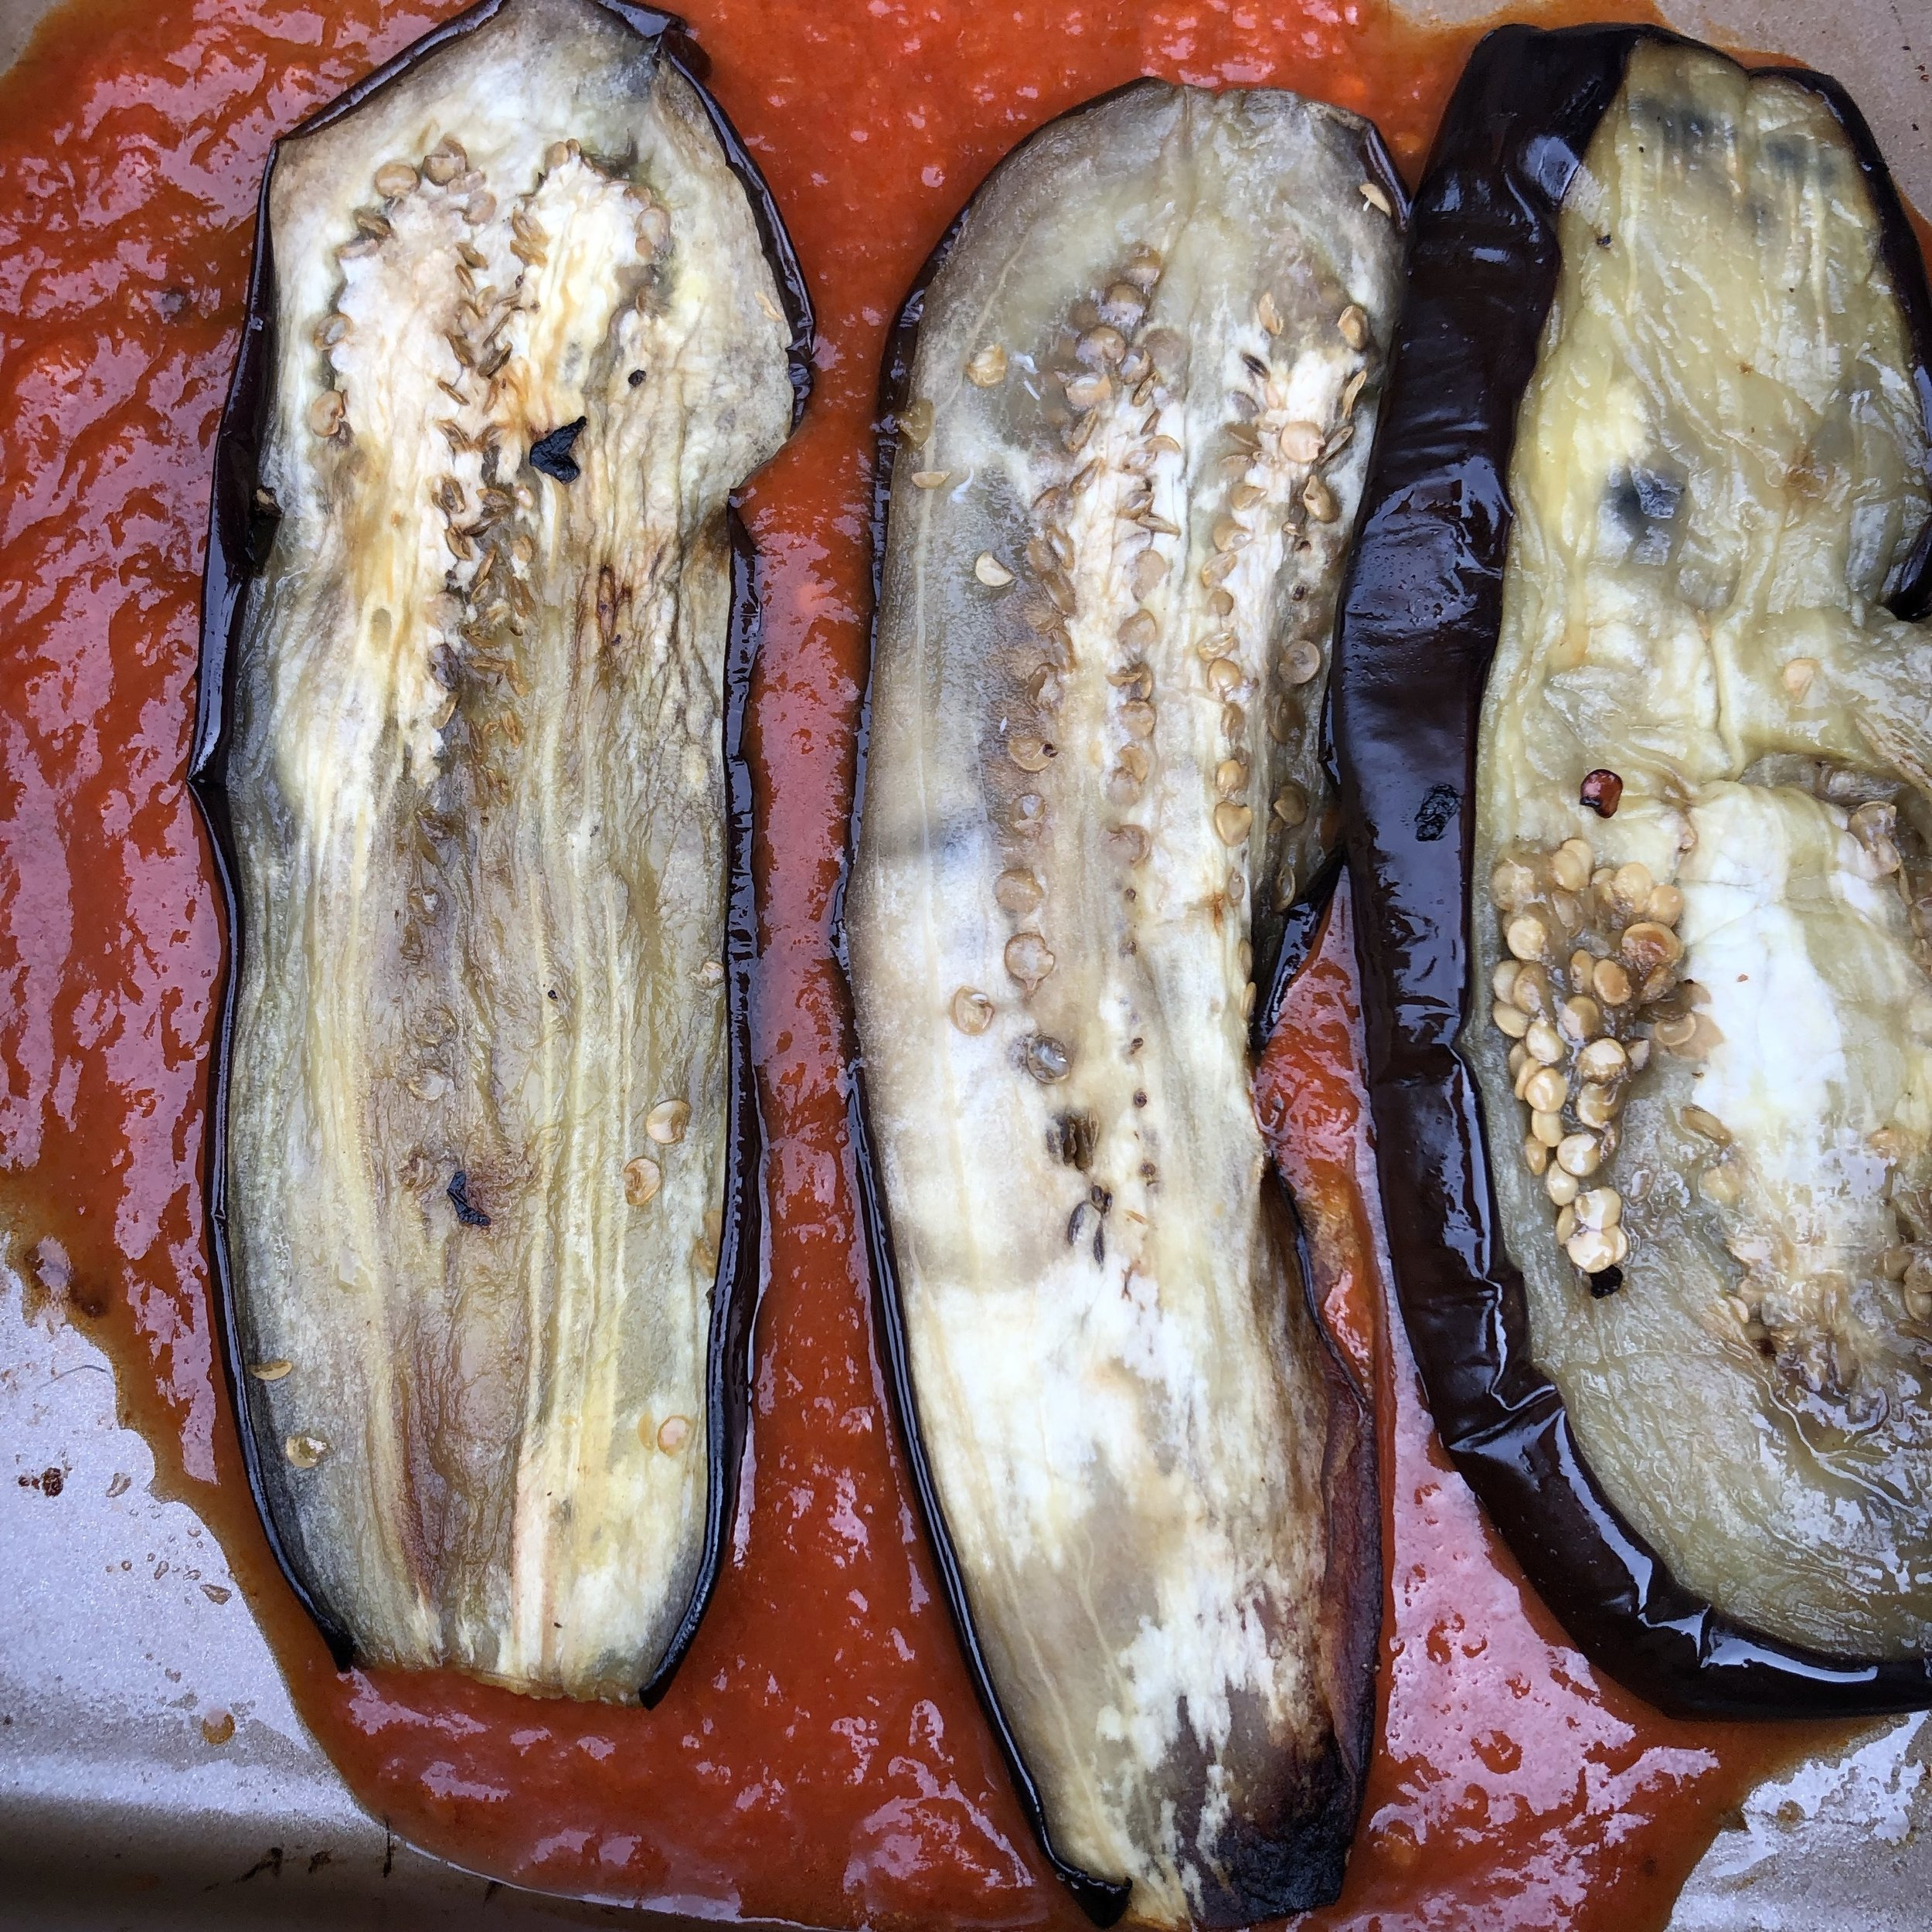
Transfer to a baking sheet and drizzle with about 2 tablespoons of extra virgin olive oil. Flip and drizzle olive oil on the other side. Sprinkle with red pepper flakes, if desired. Bake at 400 degrees for about 30 minutes or until eggplant is golden brown and crisp around the edges, flipping the eggplant slices and rotating the pan halfway through.
Meanwhile, in a small bowl, mix cheeses together with freshly ground black pepper.
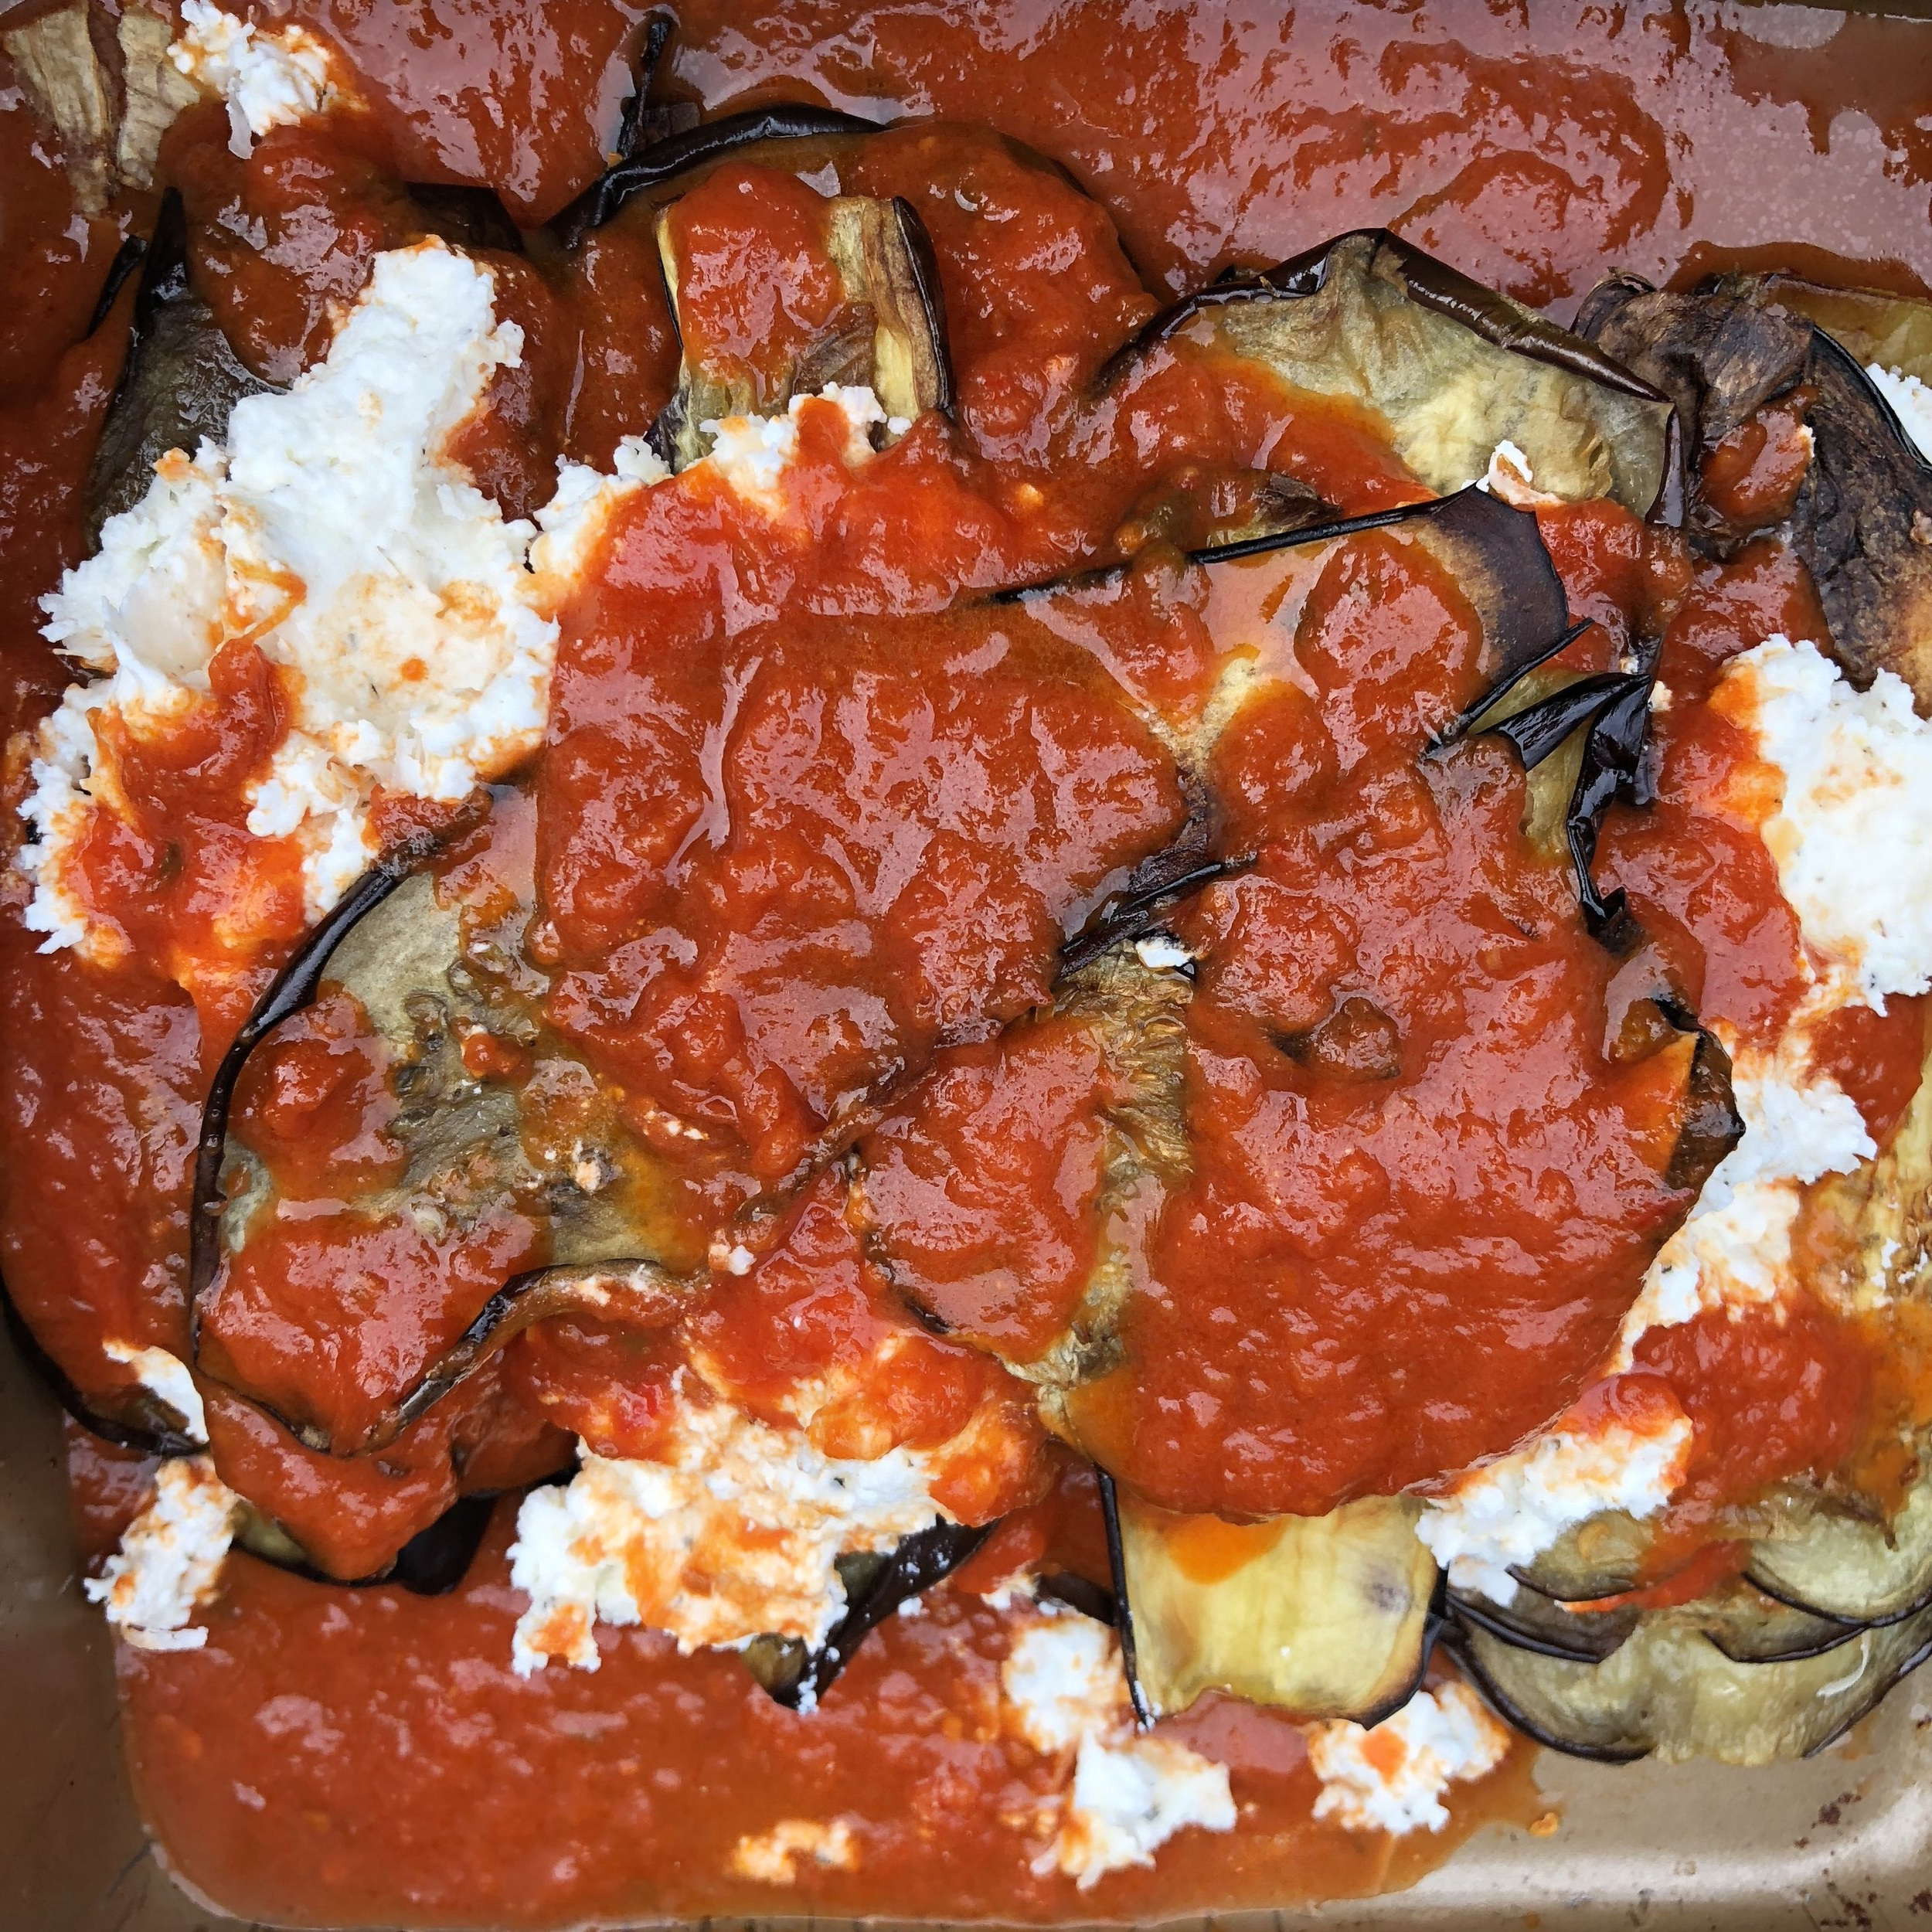
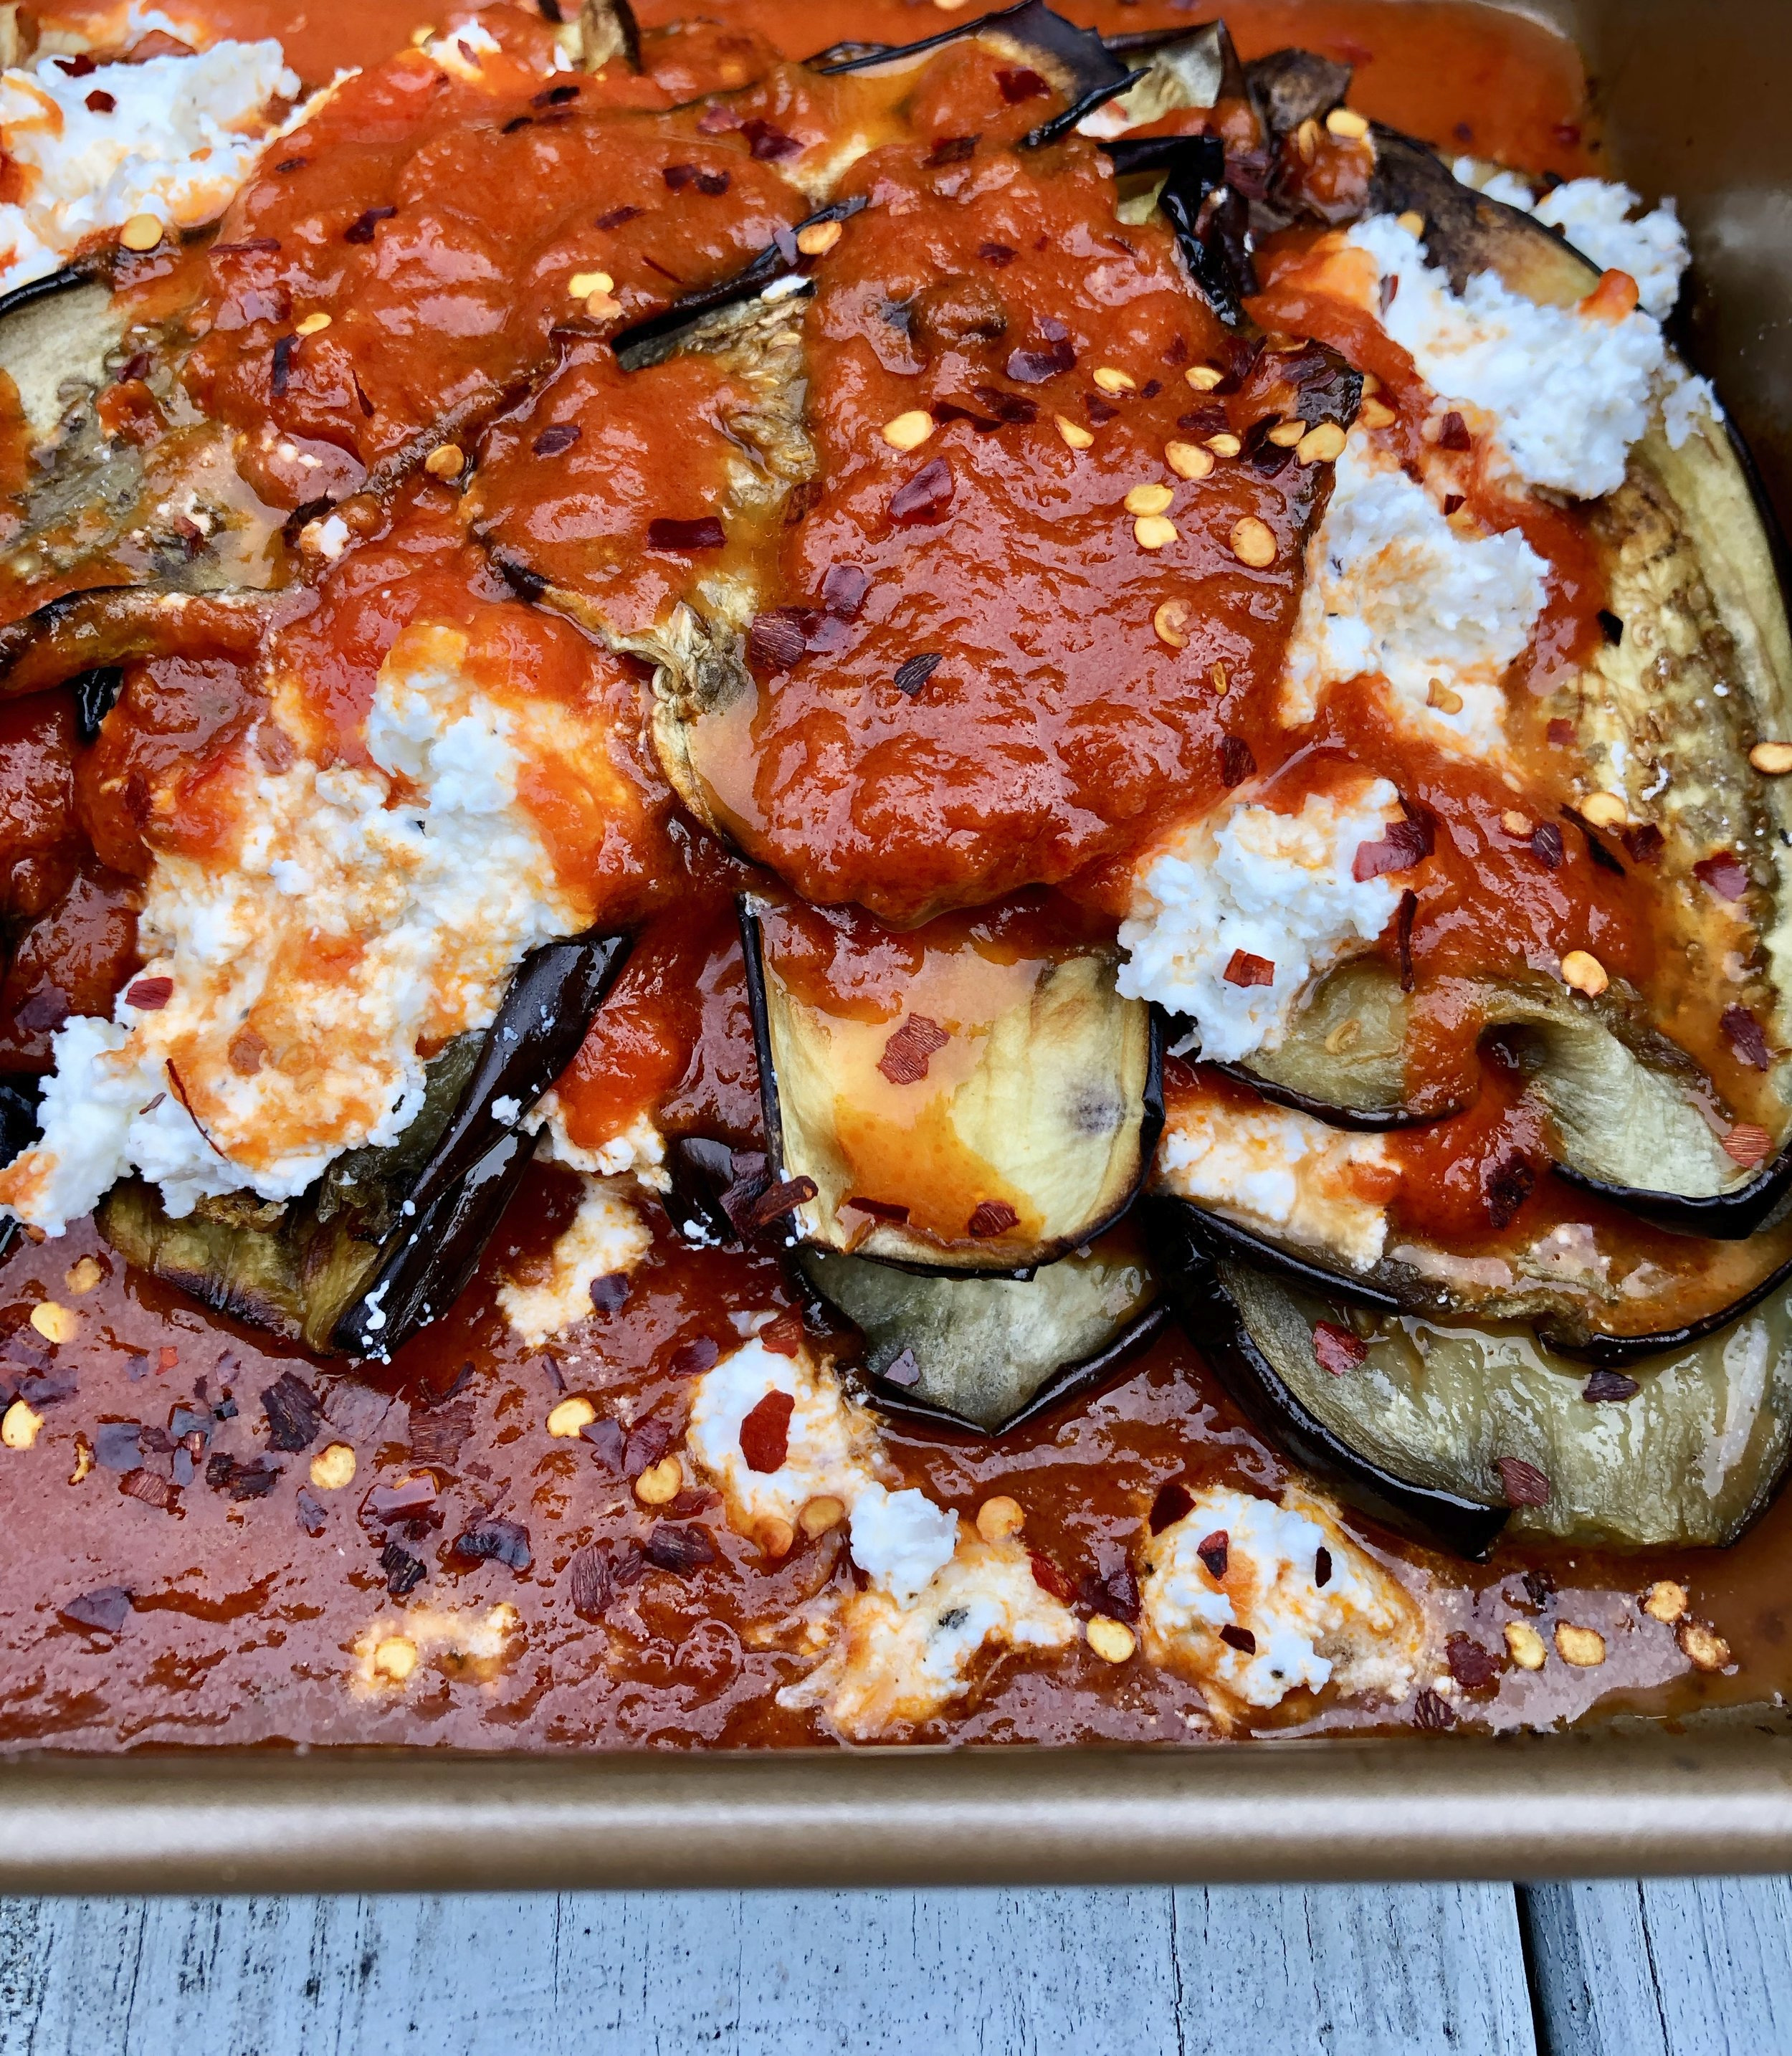
In a baking dish with high sides, ladle a few spoonfuls of sauce, arrange about 1/4 of your eggplant slices in a single layer over the sauce. Dollop 1/4 of your cheese mixture across the eggplant slices. Repeat until you have used all of your ingredients, finishing with a layer of sauce on top. Sprinkle about 1/4 teaspoon of red pepper flakes on top, if desired.
Bake at 400 degrees for about 30 minutes or until cheese is bubbly and lightly browned around edges.
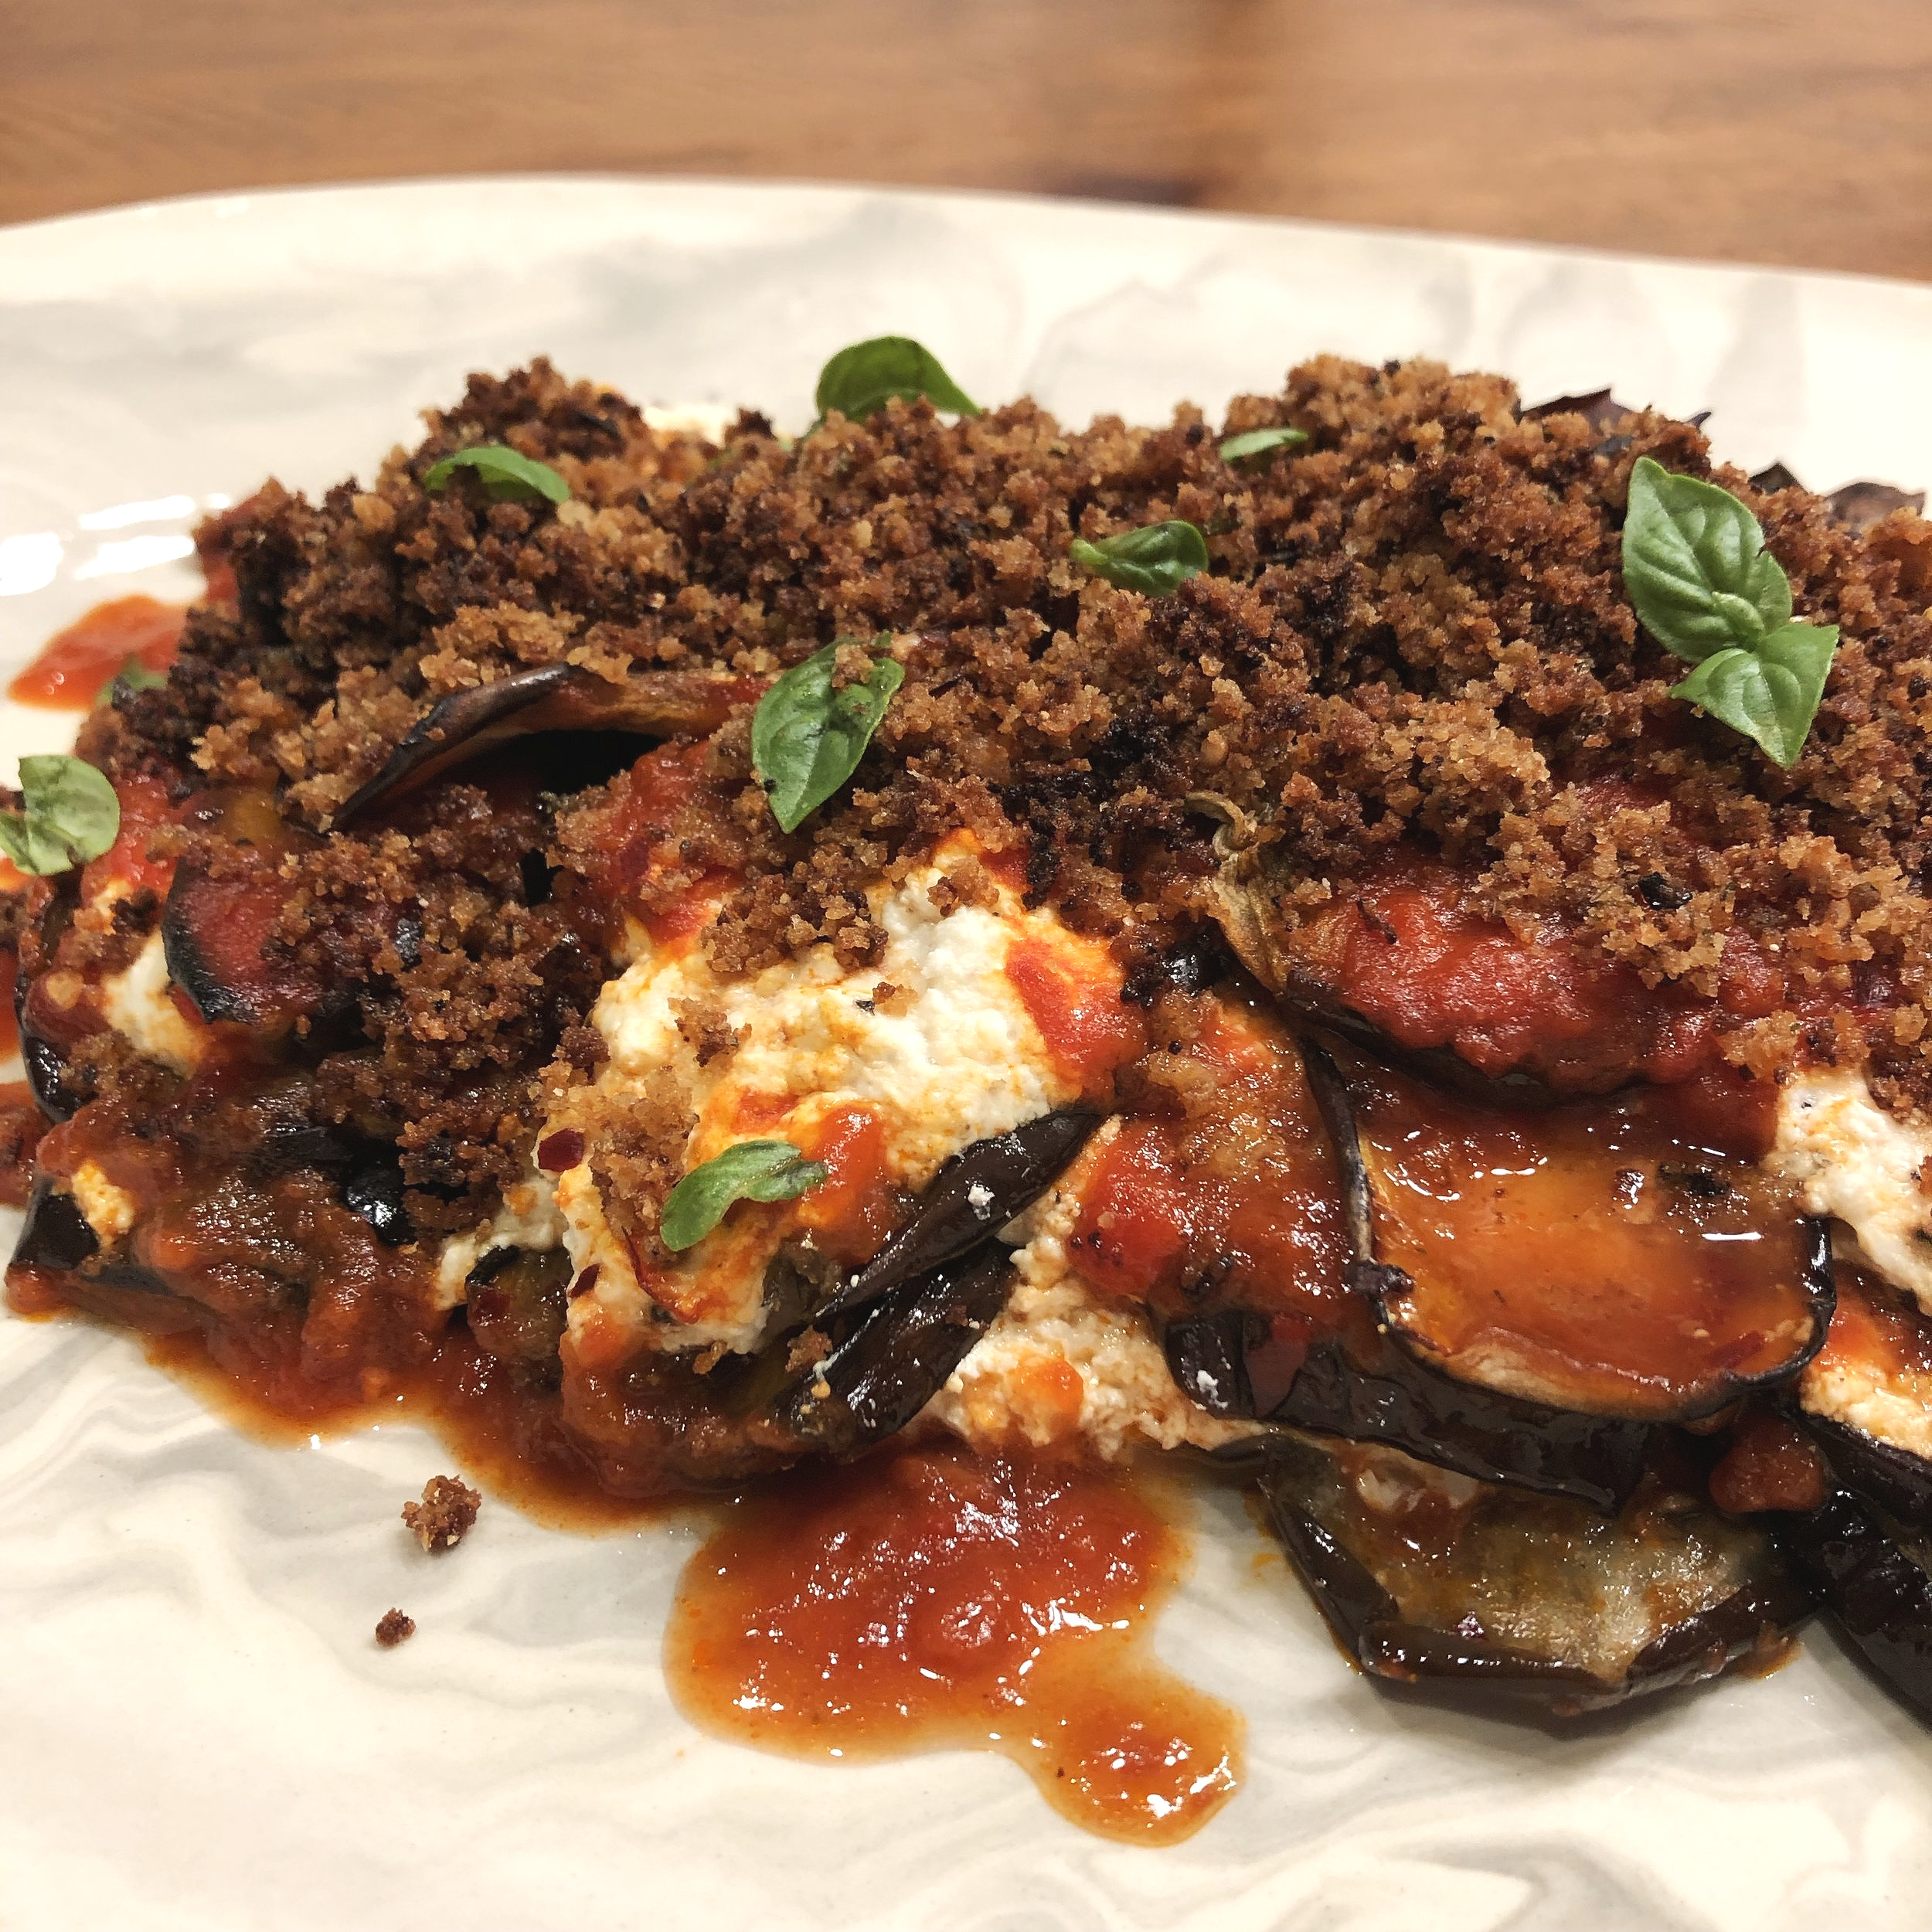
Meanwhile, in a small skillet over medium high, heat 1 tablespoon of olive oil. Add the bread crumbs and sauté, stirring frequently until lightly browned, about 4 minutes.
Remove eggplant from the oven, and top with the toasted breadcrumbs. Allow to cool 5 minutes before serving.
Whole Grilled Fish with Fresh Herbs and Citrus
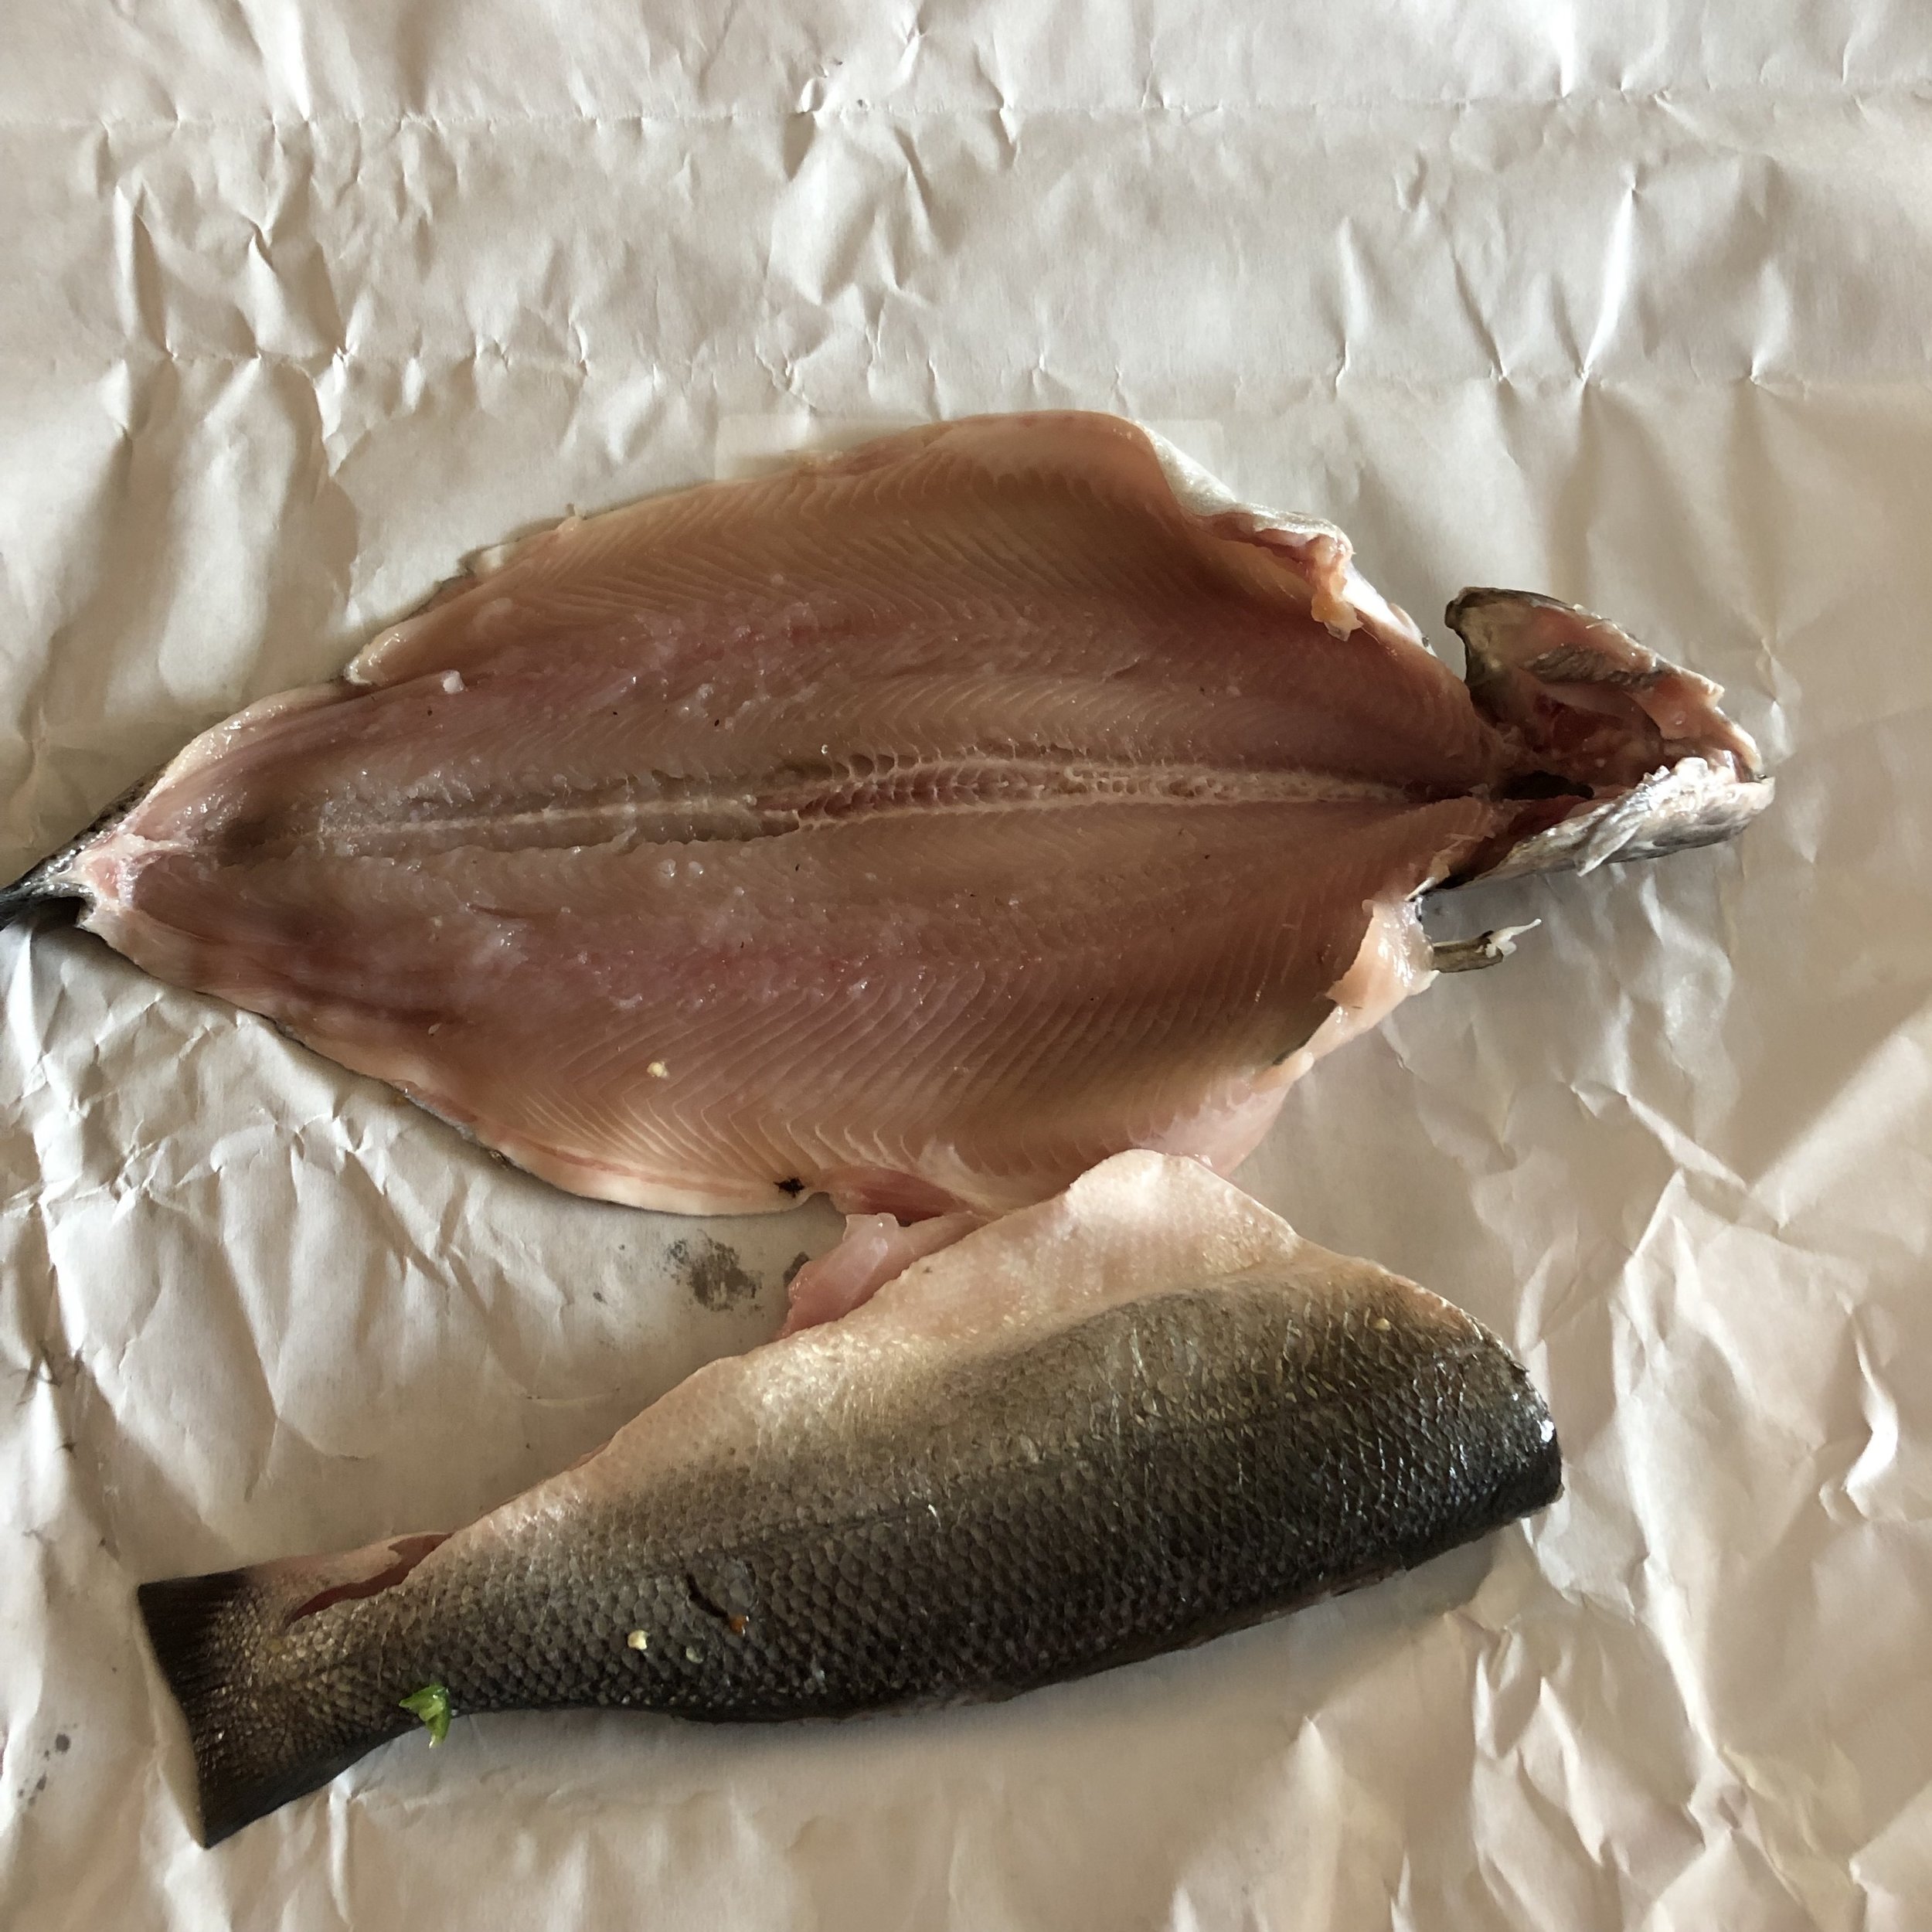
I used to be intimidated by recipes calling for whole fish, even after growing up with a fishing rod tucked under my arm, and even after culinary school where we covered all things fin fish. Last summer, I explored grilling whole fish. It was a lot less intimidating to work with them outdoors on a gas grill. I’ve since tested and adapted these recipes for indoor cooking, because let’s face it, we all don’t have the option of grilling all the time.
This is the start to a perfect summer night meal, when you want to expel as little effort as possible to eat something light and full flavored. Pair with some grilled vegetables or a salad and you’re a star, a sea star.
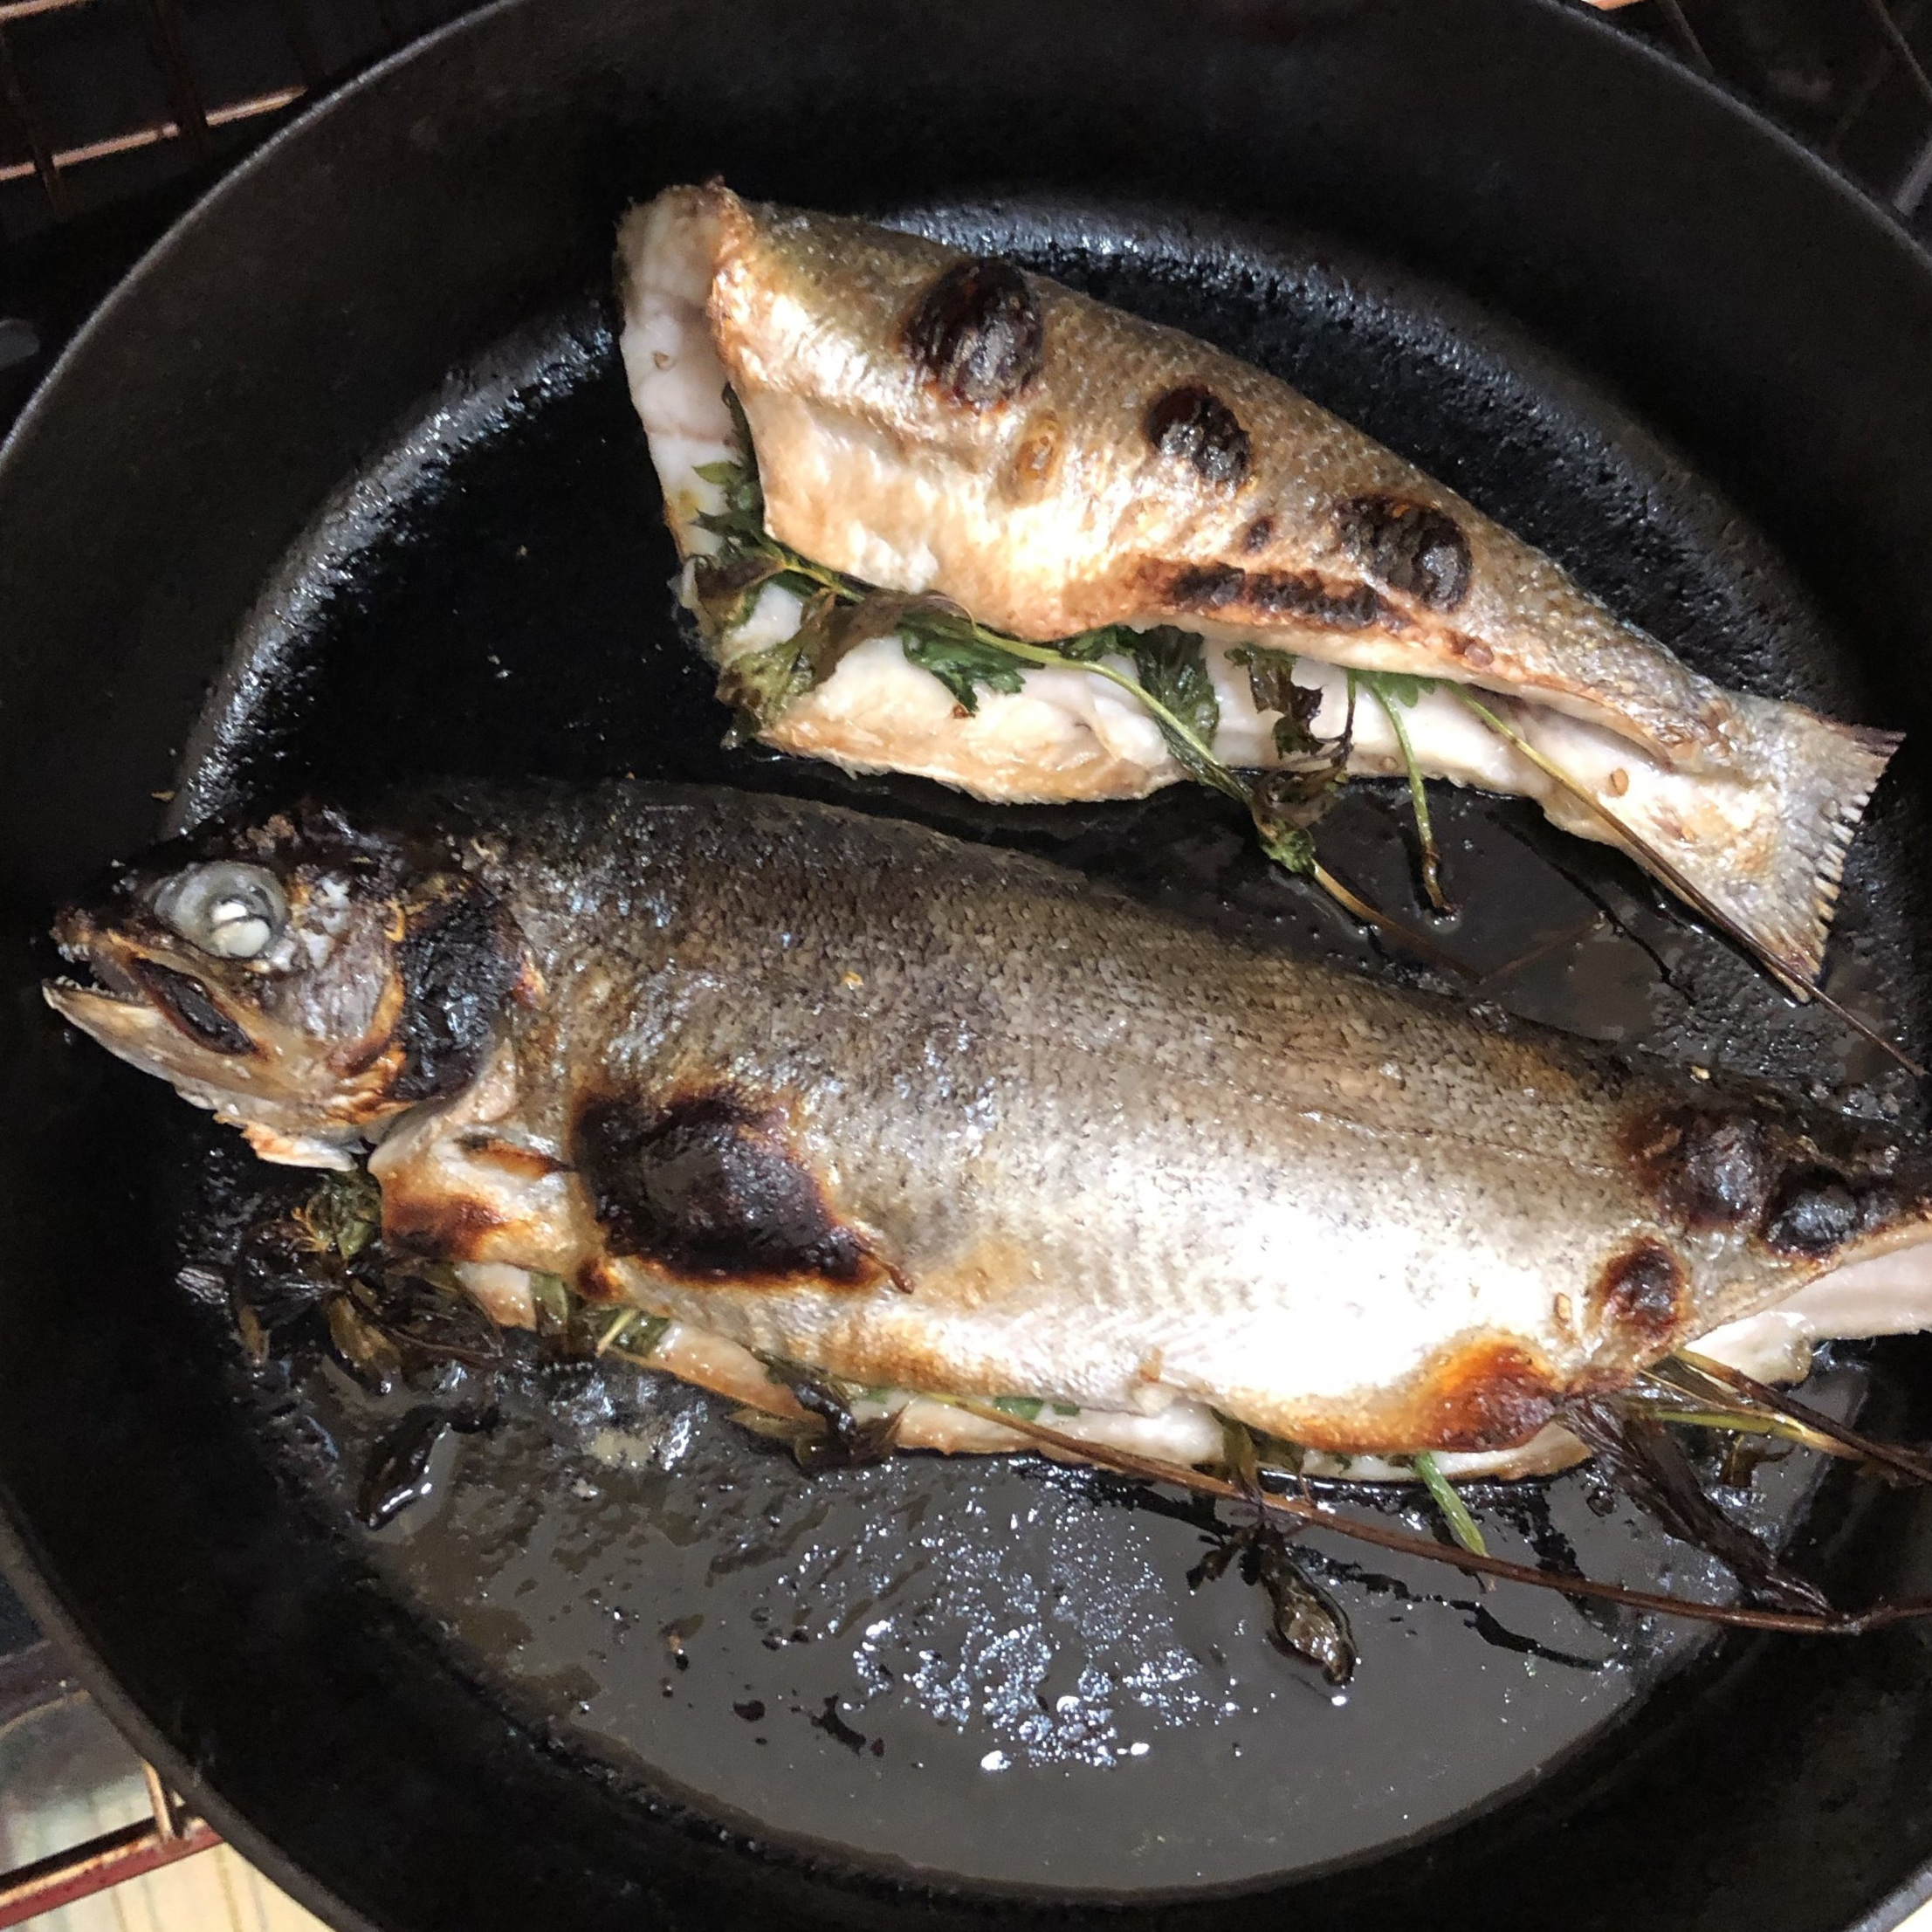
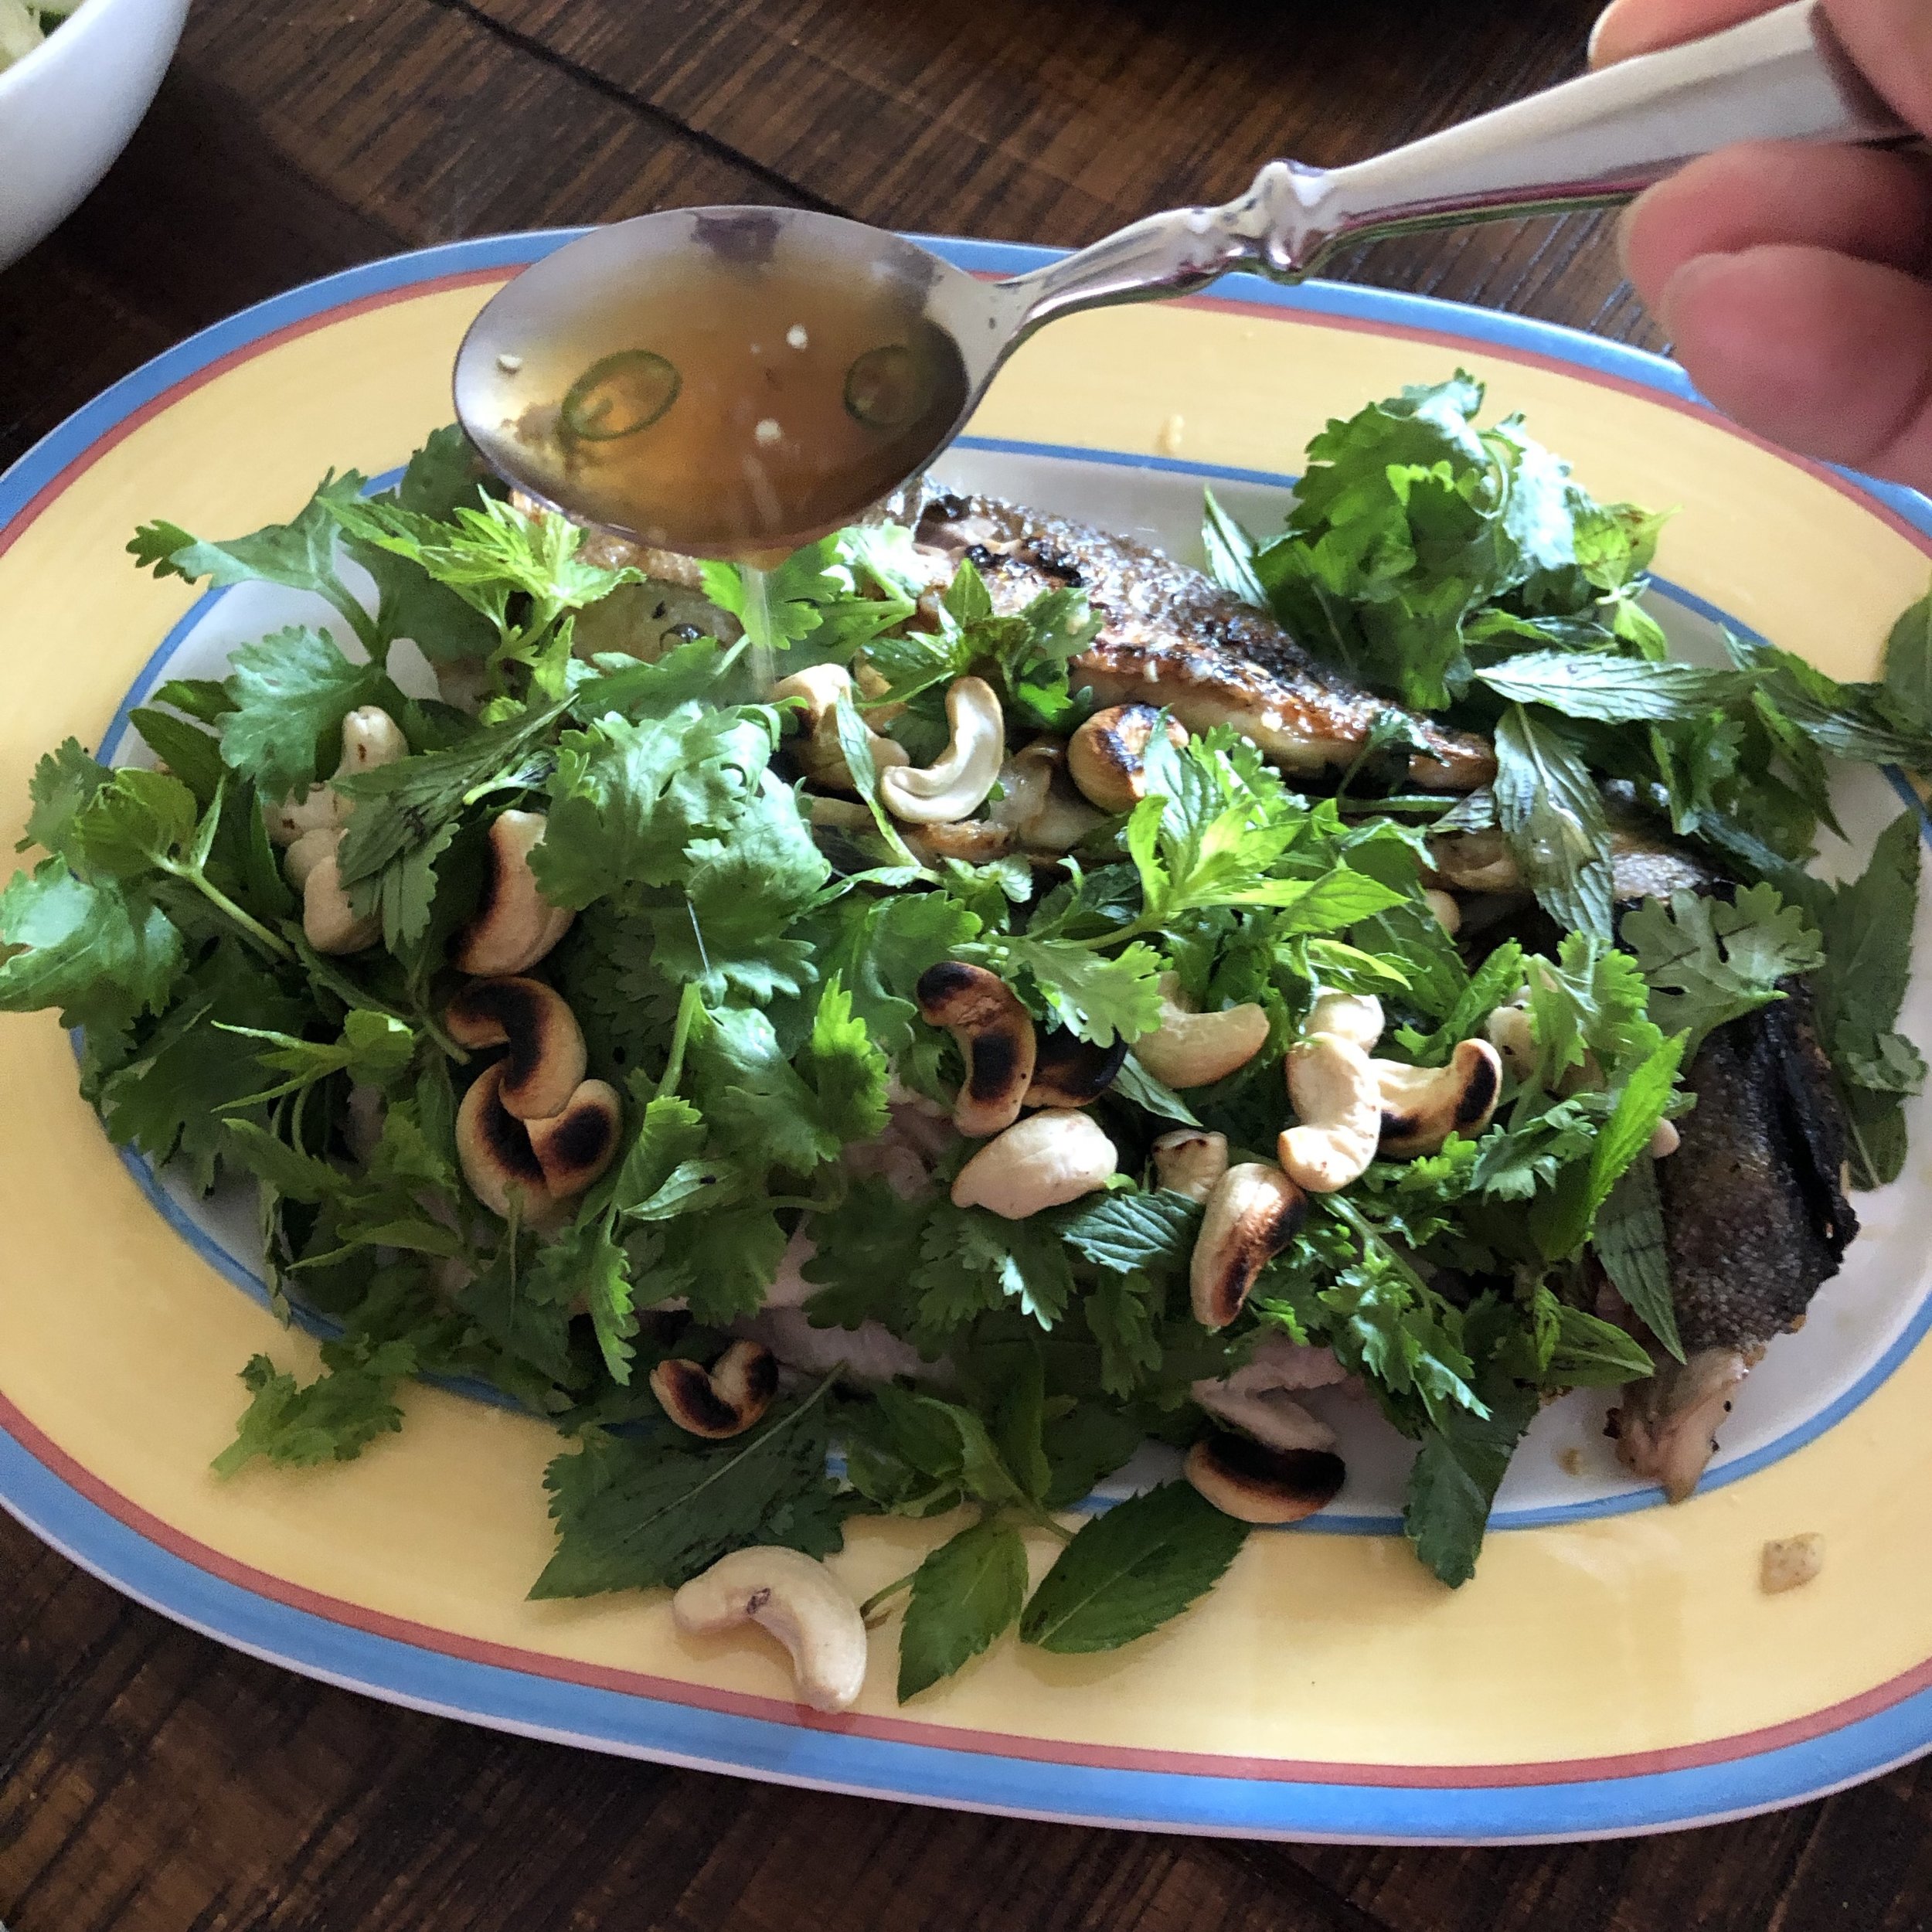
What follows is a formula for simple whole grilled fish with herbs and citrus served in 5 of my favorite ways (just updated with a new favorite). You can easily modify this formula to fit your favorite flavor combinations, seasonally available produce and local flavor. Or you can jump straight to my recipe for Whole Grilled Trout with Cilantro, Mint, Nam Pla Prik, and Cashews, which you won’t regret one bit.
WHOLE GRILLED FISH WITH FRESH HERBS & CITRUS - 4 WAYS
Lemon + Parsley + Garlic + Pepper + Olive Oil garnished with Hazelnuts
Orange + Parsley + Oregano + Olive Oil garnished with Olives + Capers
Orange + Lime + Cilantro + Serrano + Cumin garnished with Avocado + Tomato
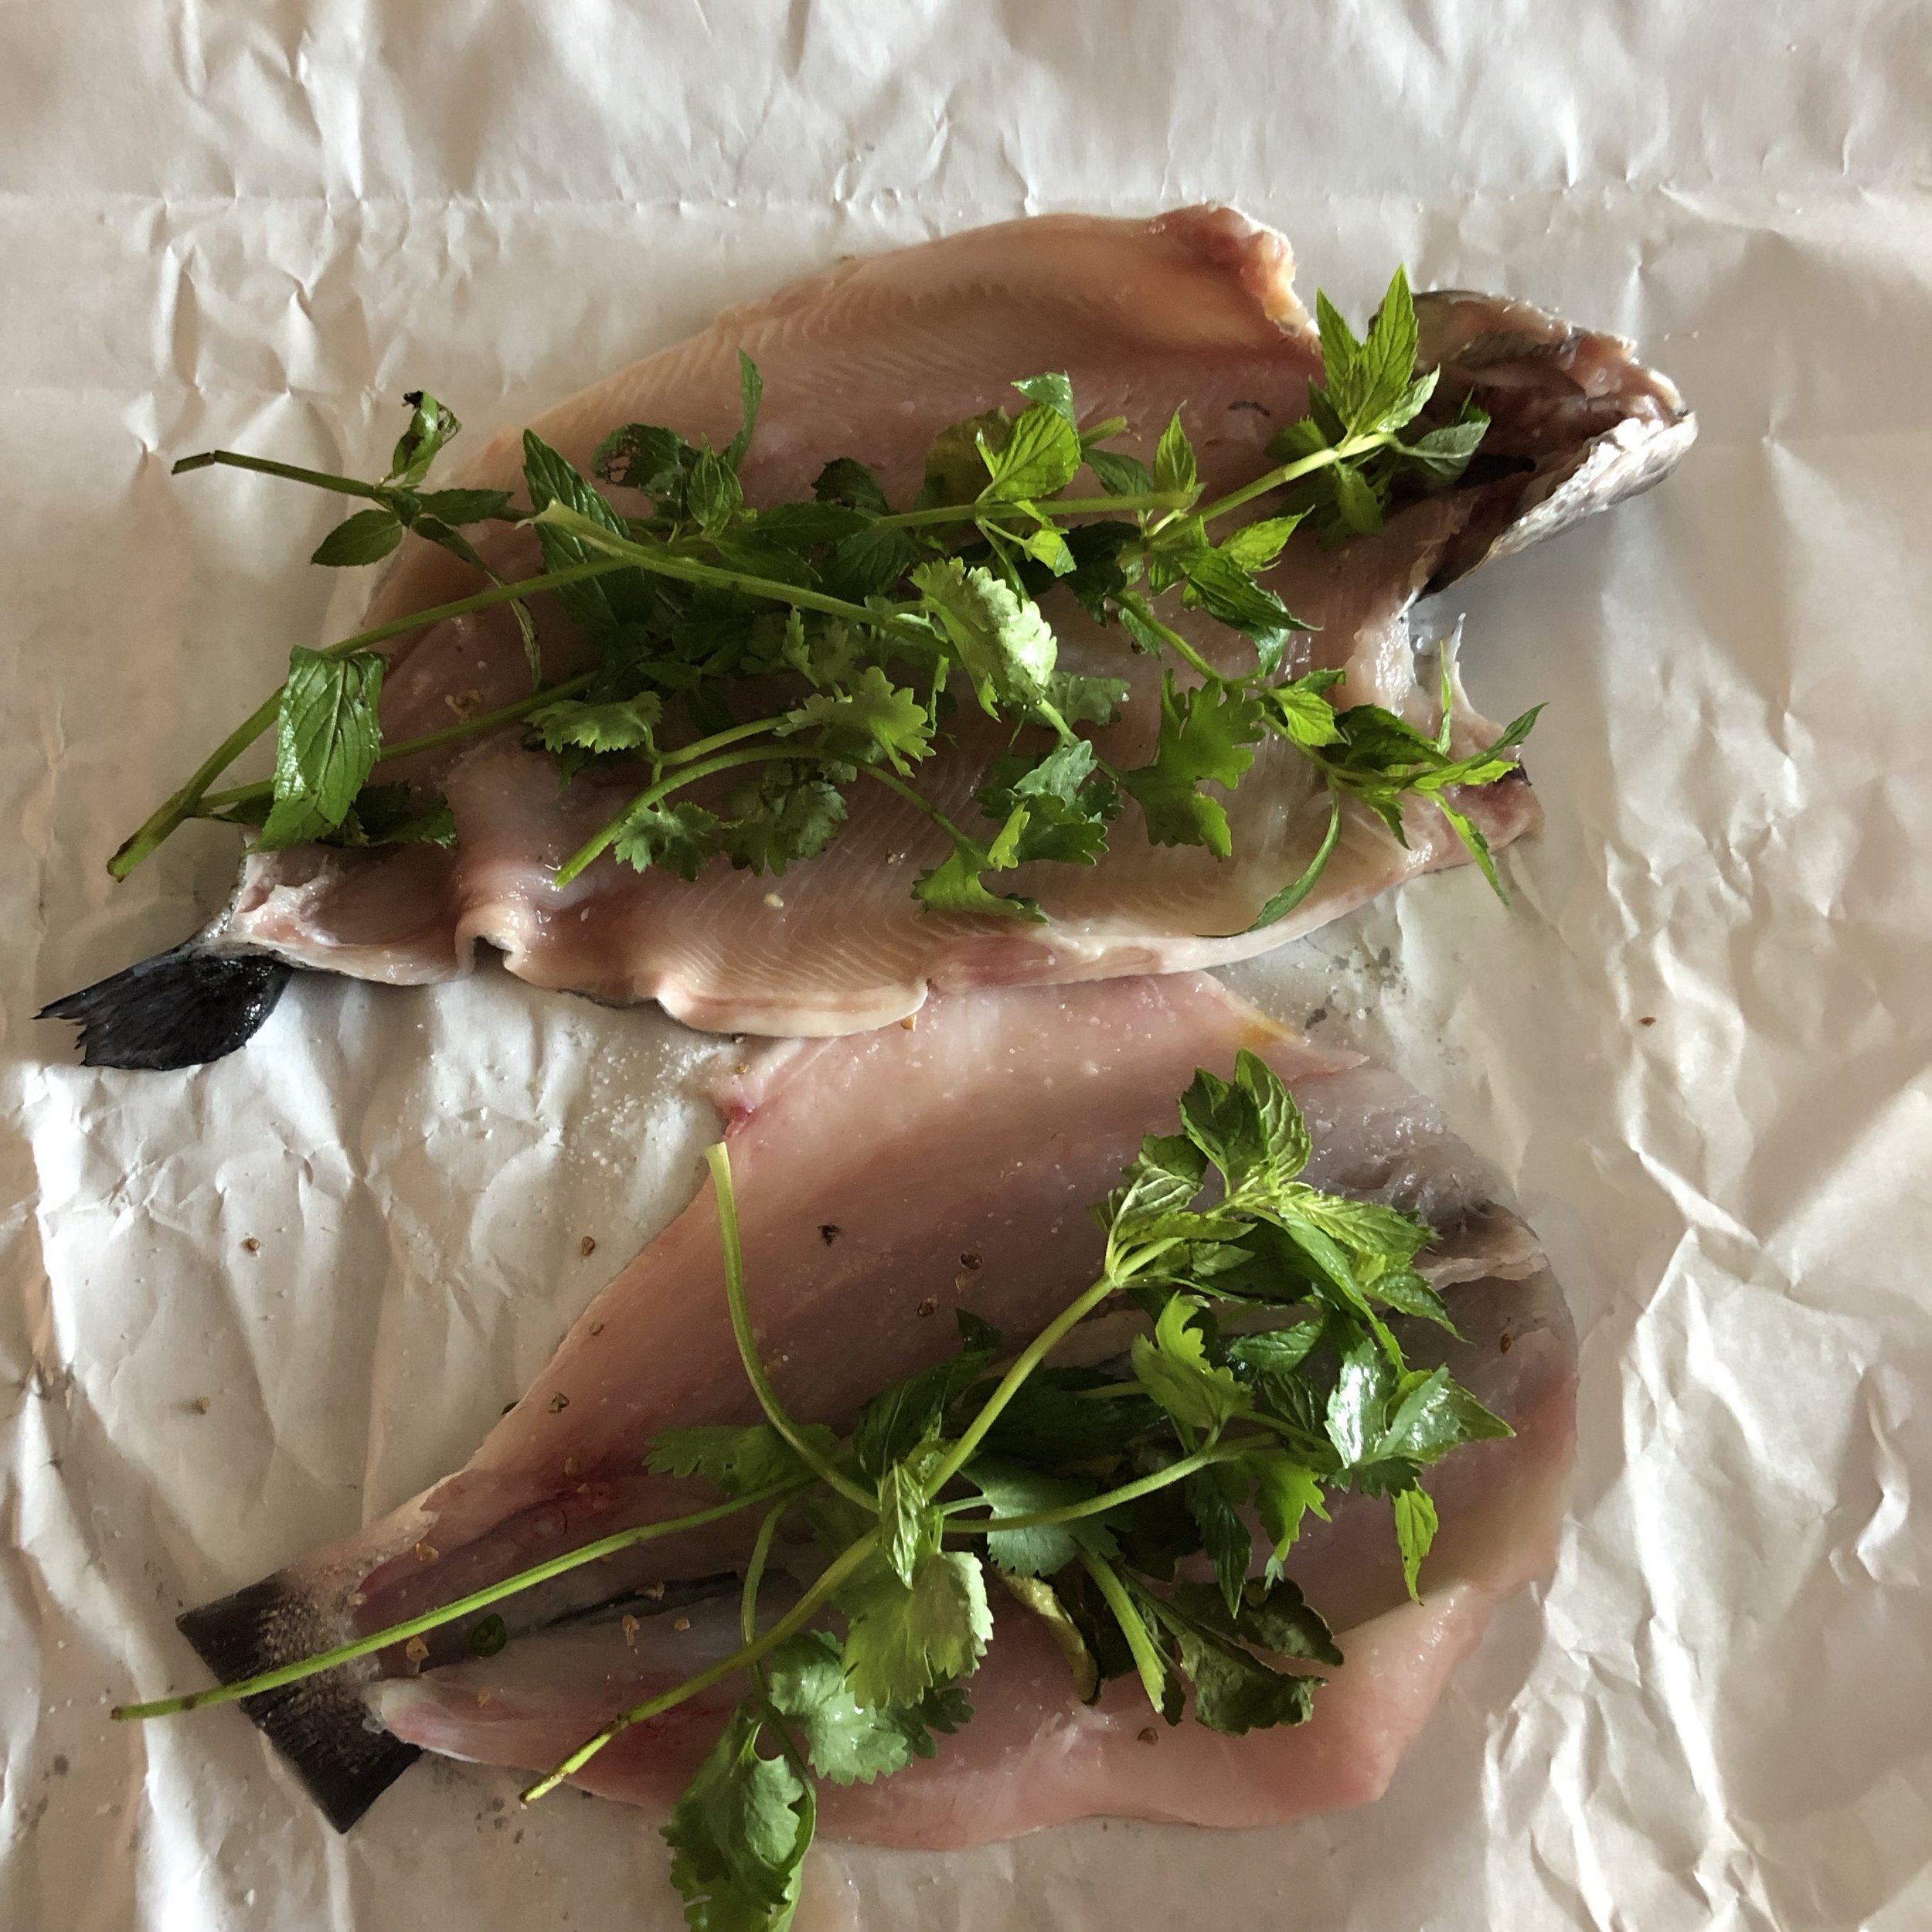
Mint + Cilantro + Thai basil + White Pepper + Kaffir Lime Leaf garnished with Toasted Cashews + Nam Pla Prik Thai Chili Lime Sauce
Preserved Lime or Lime + Ras el Hanout + Parsley
Serves: 4 - 6
What You Need:
3 small whole fish, such as branzino, trout or red snapper, scaled, cleaned, & heads removed or butterflied, about 1 pound each
¼ teaspoon sea salt
¼ - 1 teaspoon ground pepper or other spices or spice blends
1 - 2 bunches of fresh herbs
2 - 3 limes, lemons or oranges, sliced or juiced for dressing
1 tablespoon oil
¼ cup nuts, lightly toasted
1-2 chili peppers, such as jalapeno, serrano or Thai bird’s eye chili, thinly sliced
¼ - ½ cup olives, pickles, capers, or caper berries
What You Do:
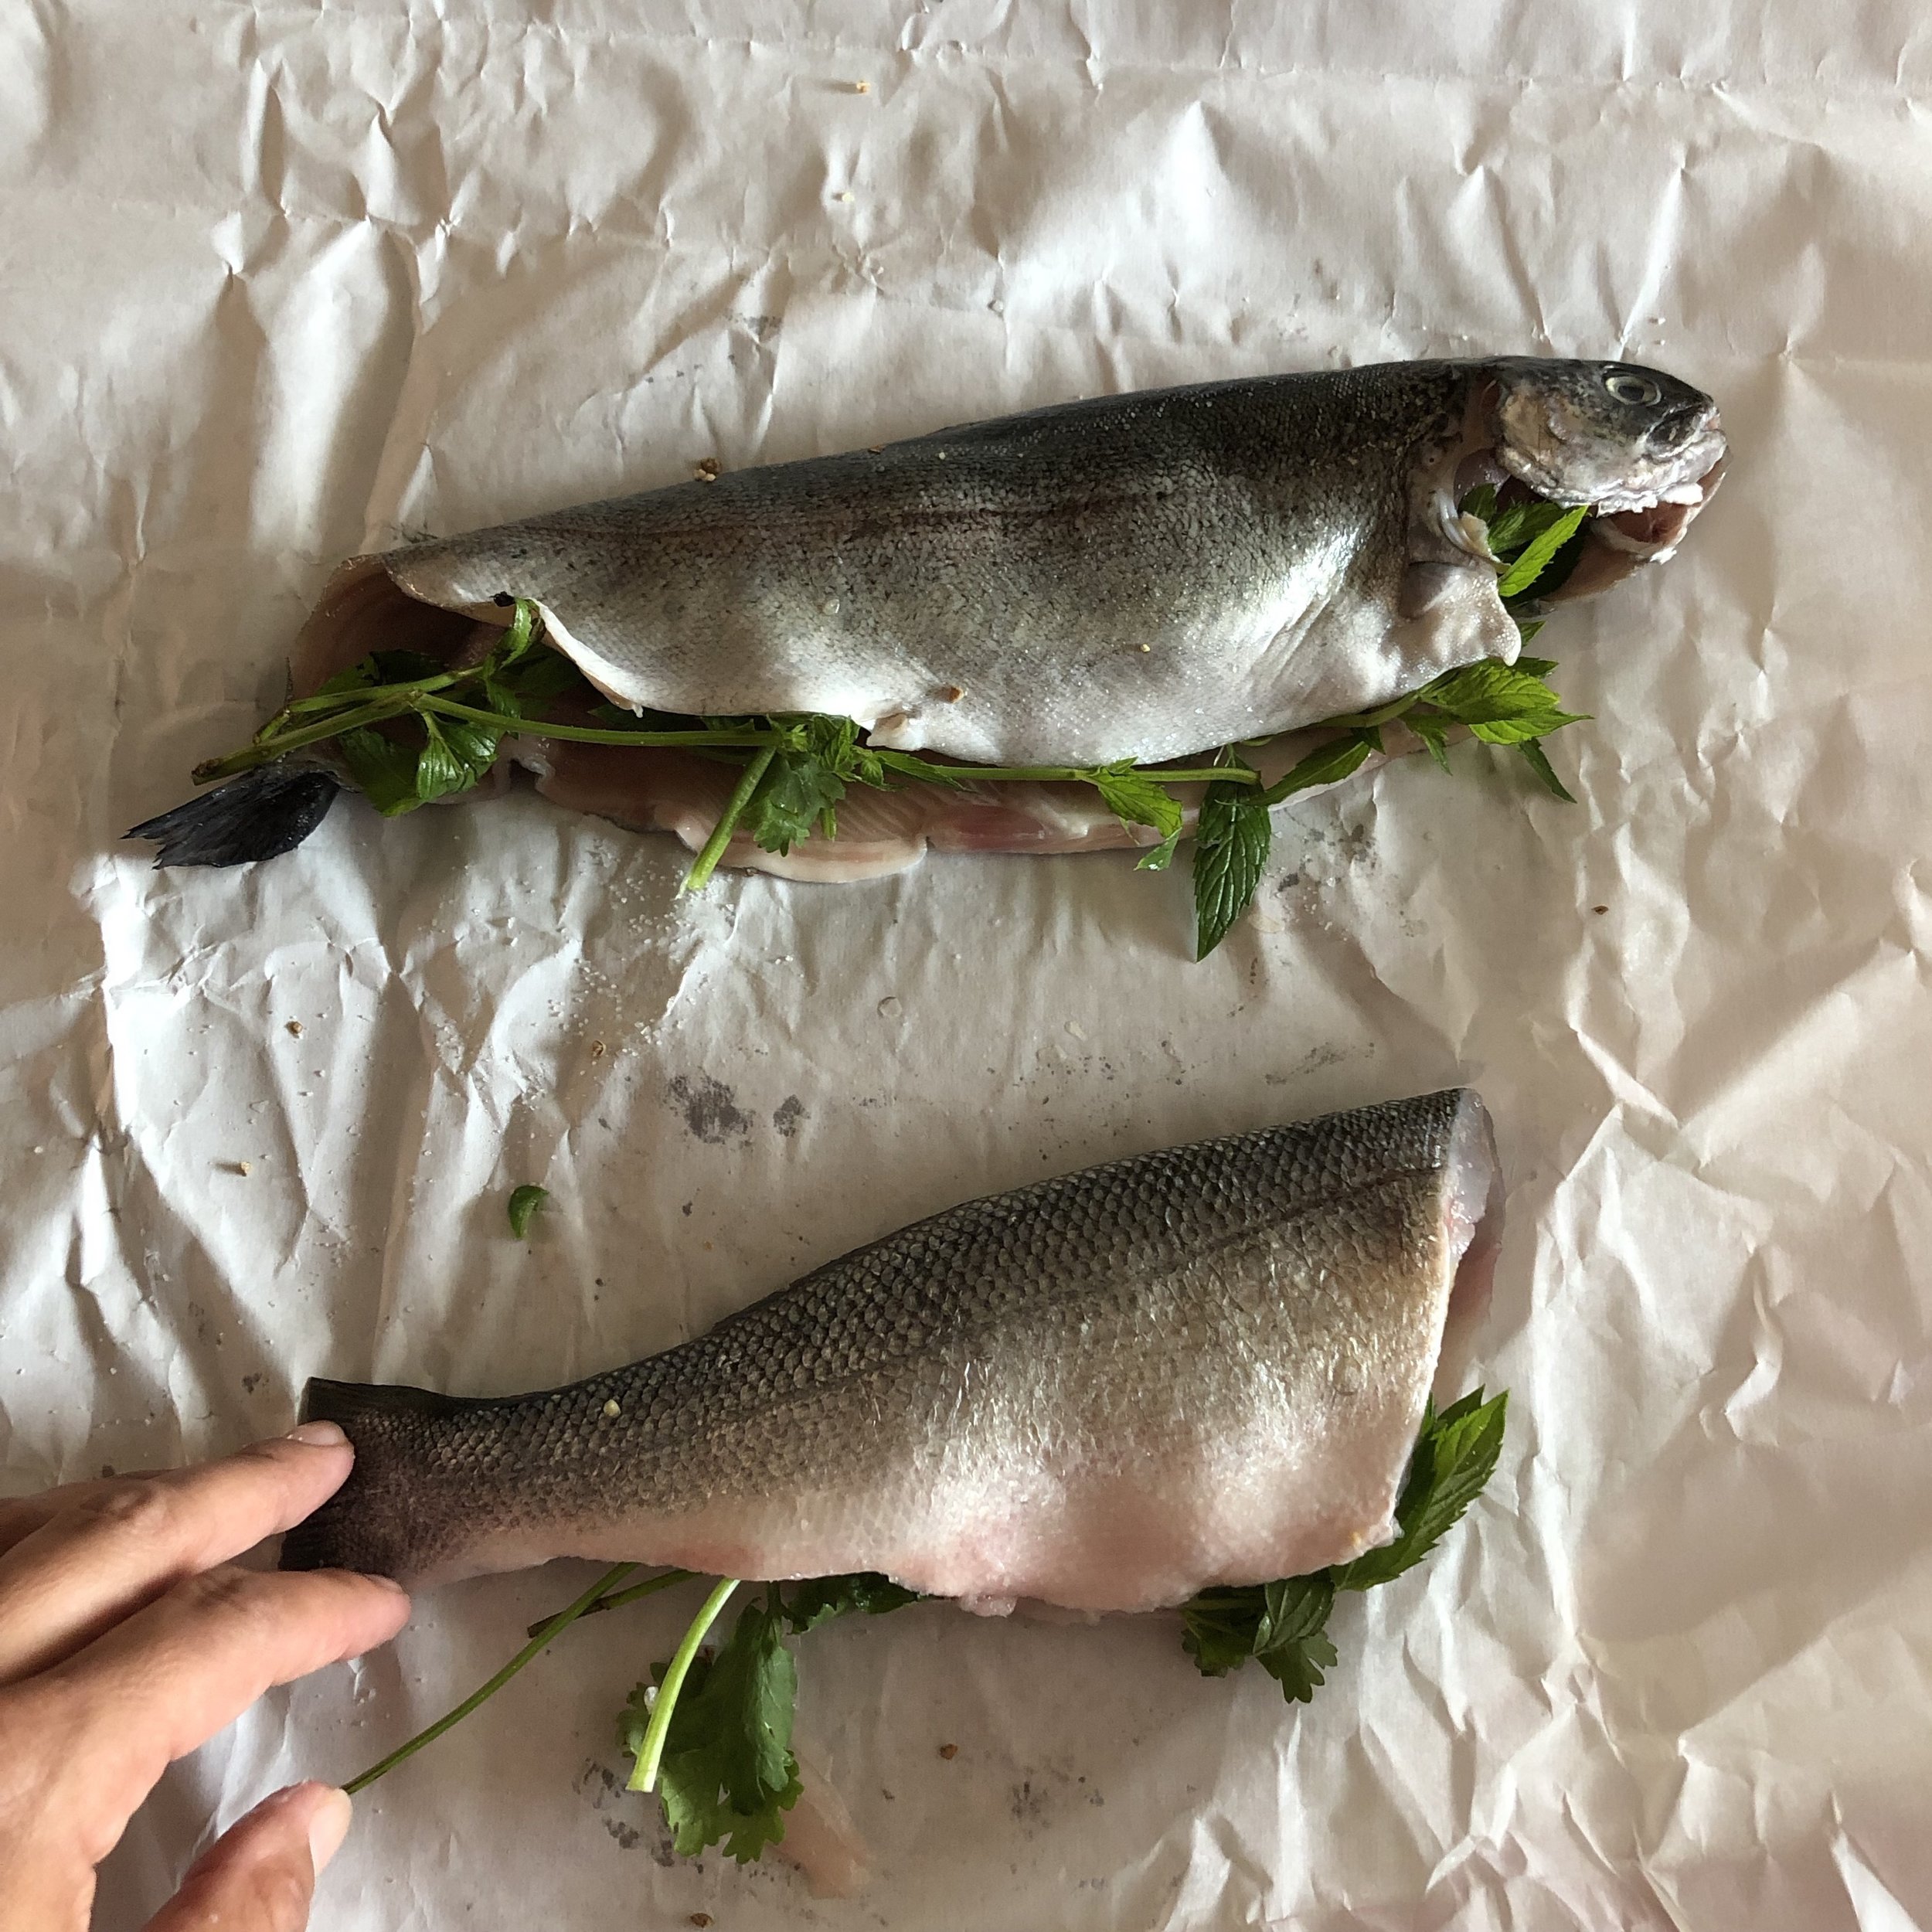
Sprinkle sea salt and spices on the insides of the fish. Stuff each fish with few herb sprigs (leaving stems intact) and a few citrus slices.
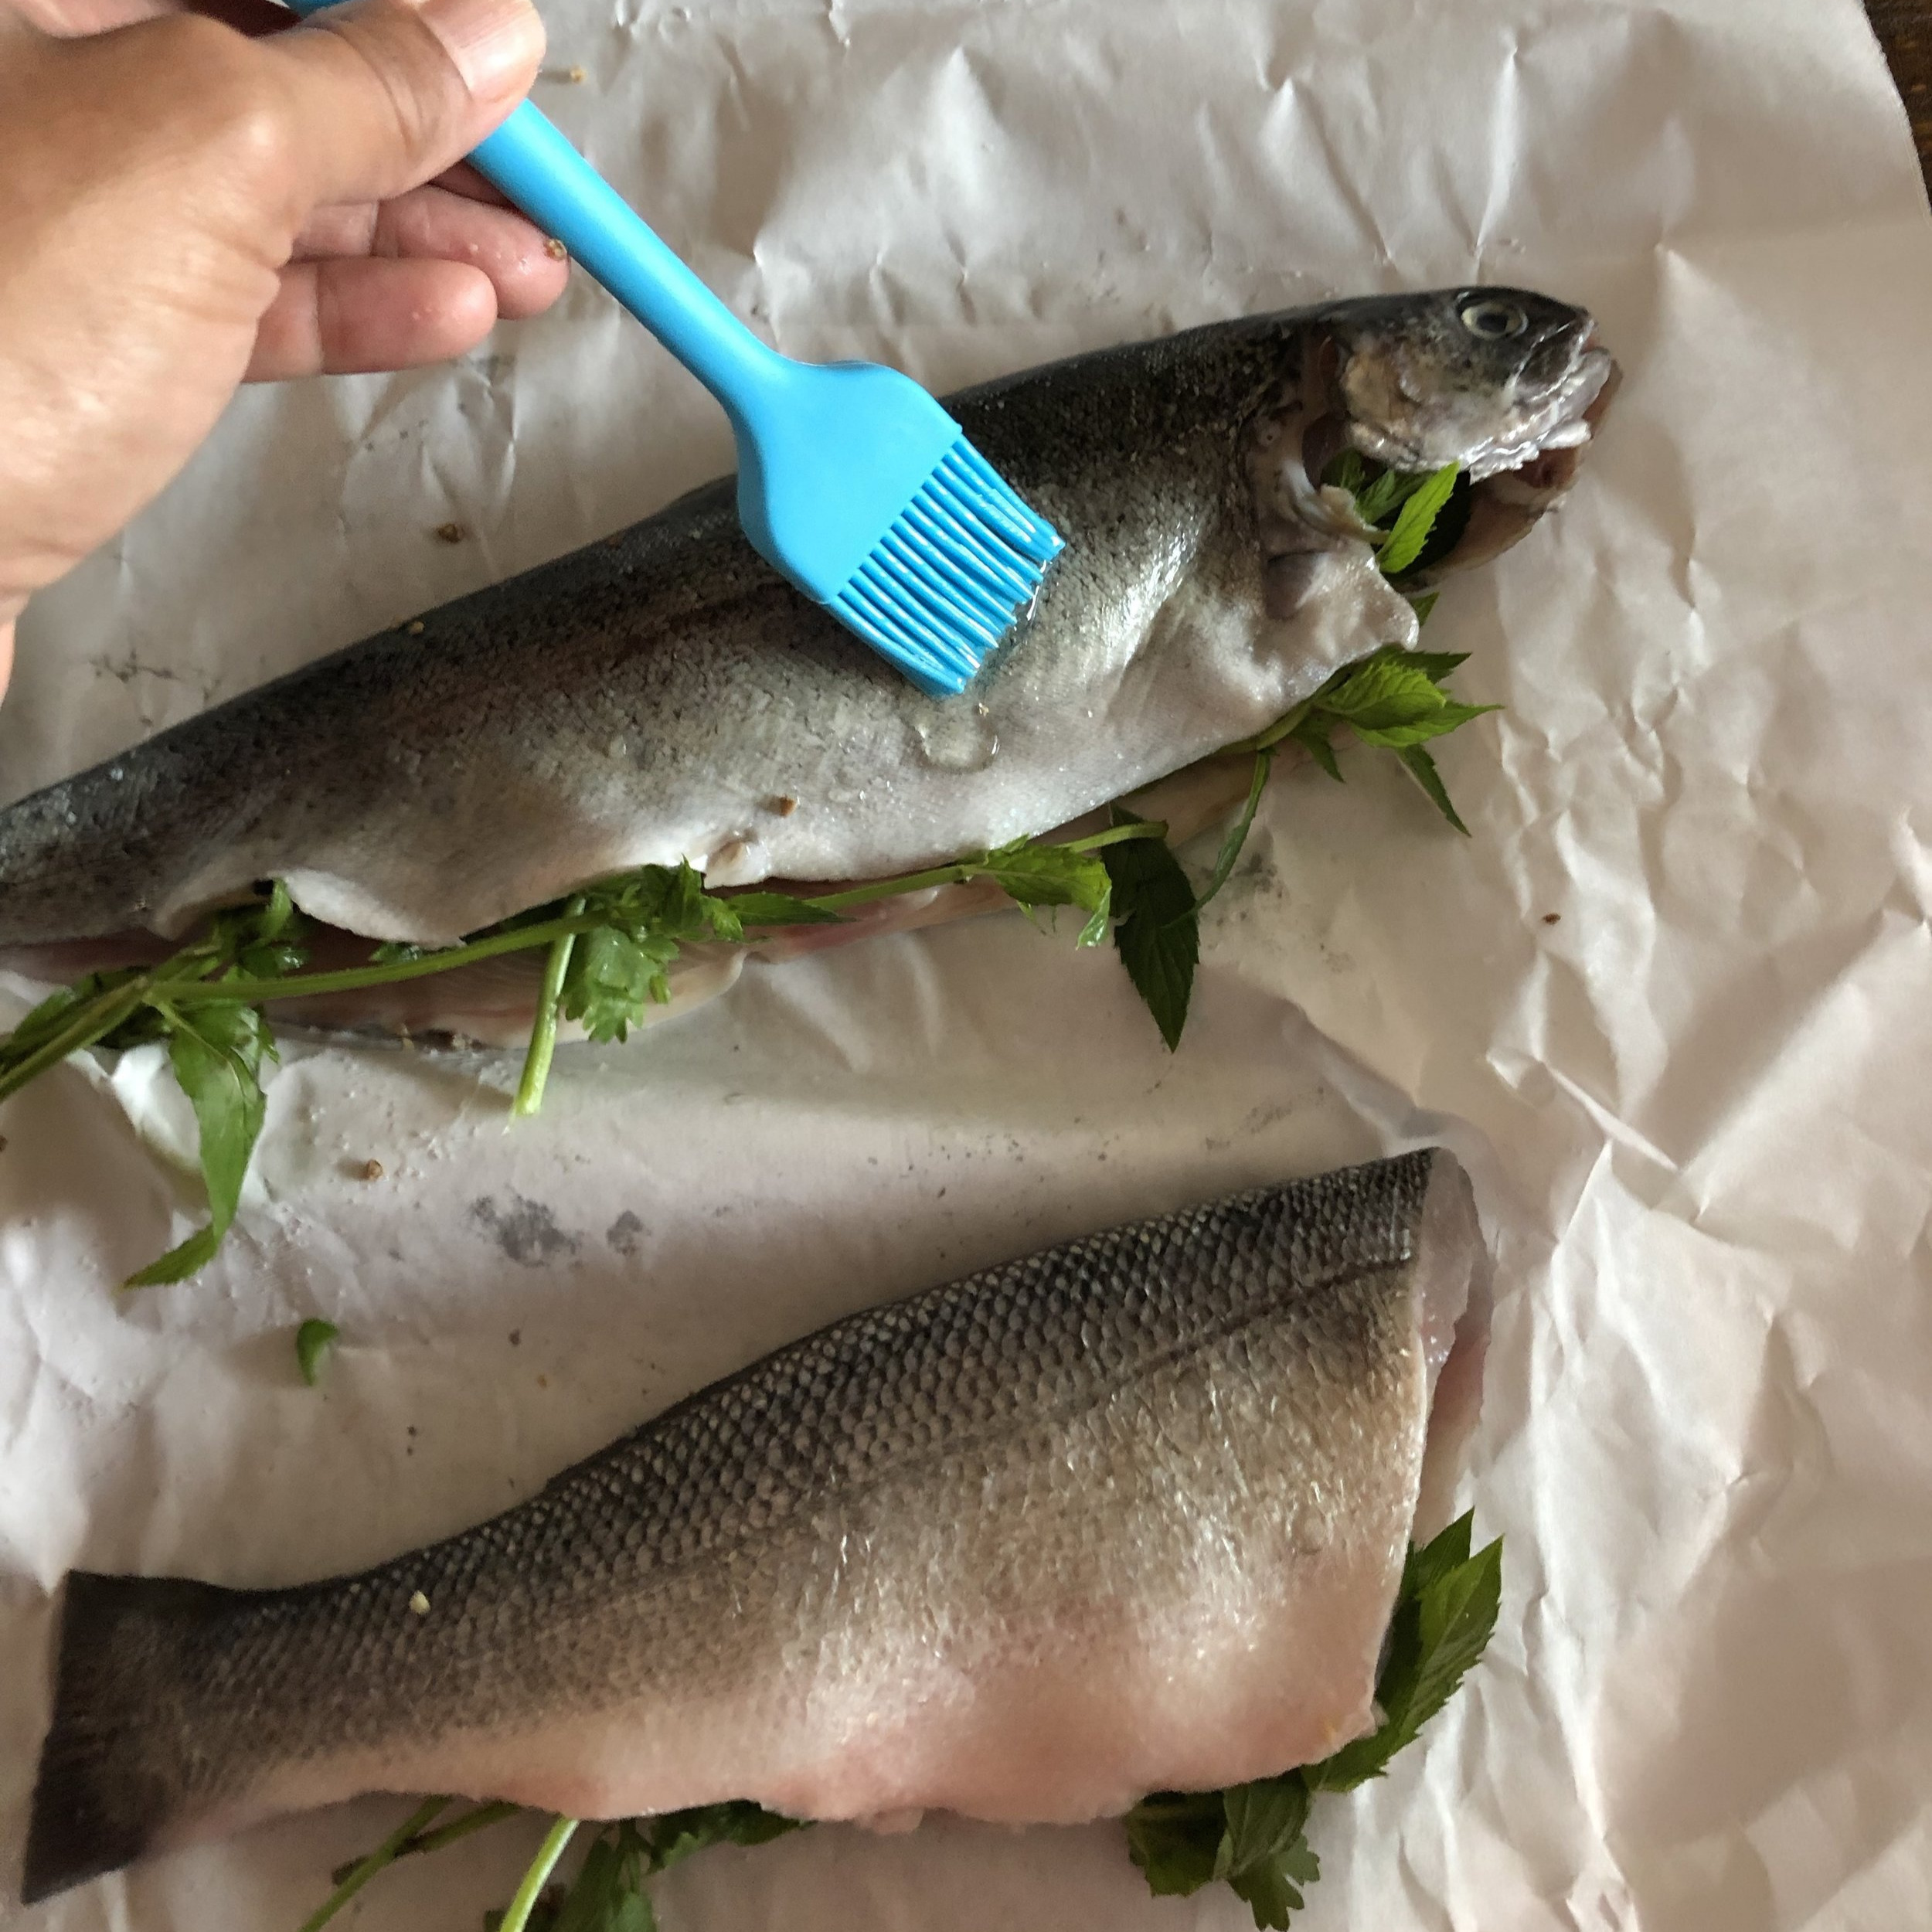
Brush the outside of each fish lightly with canola oil.
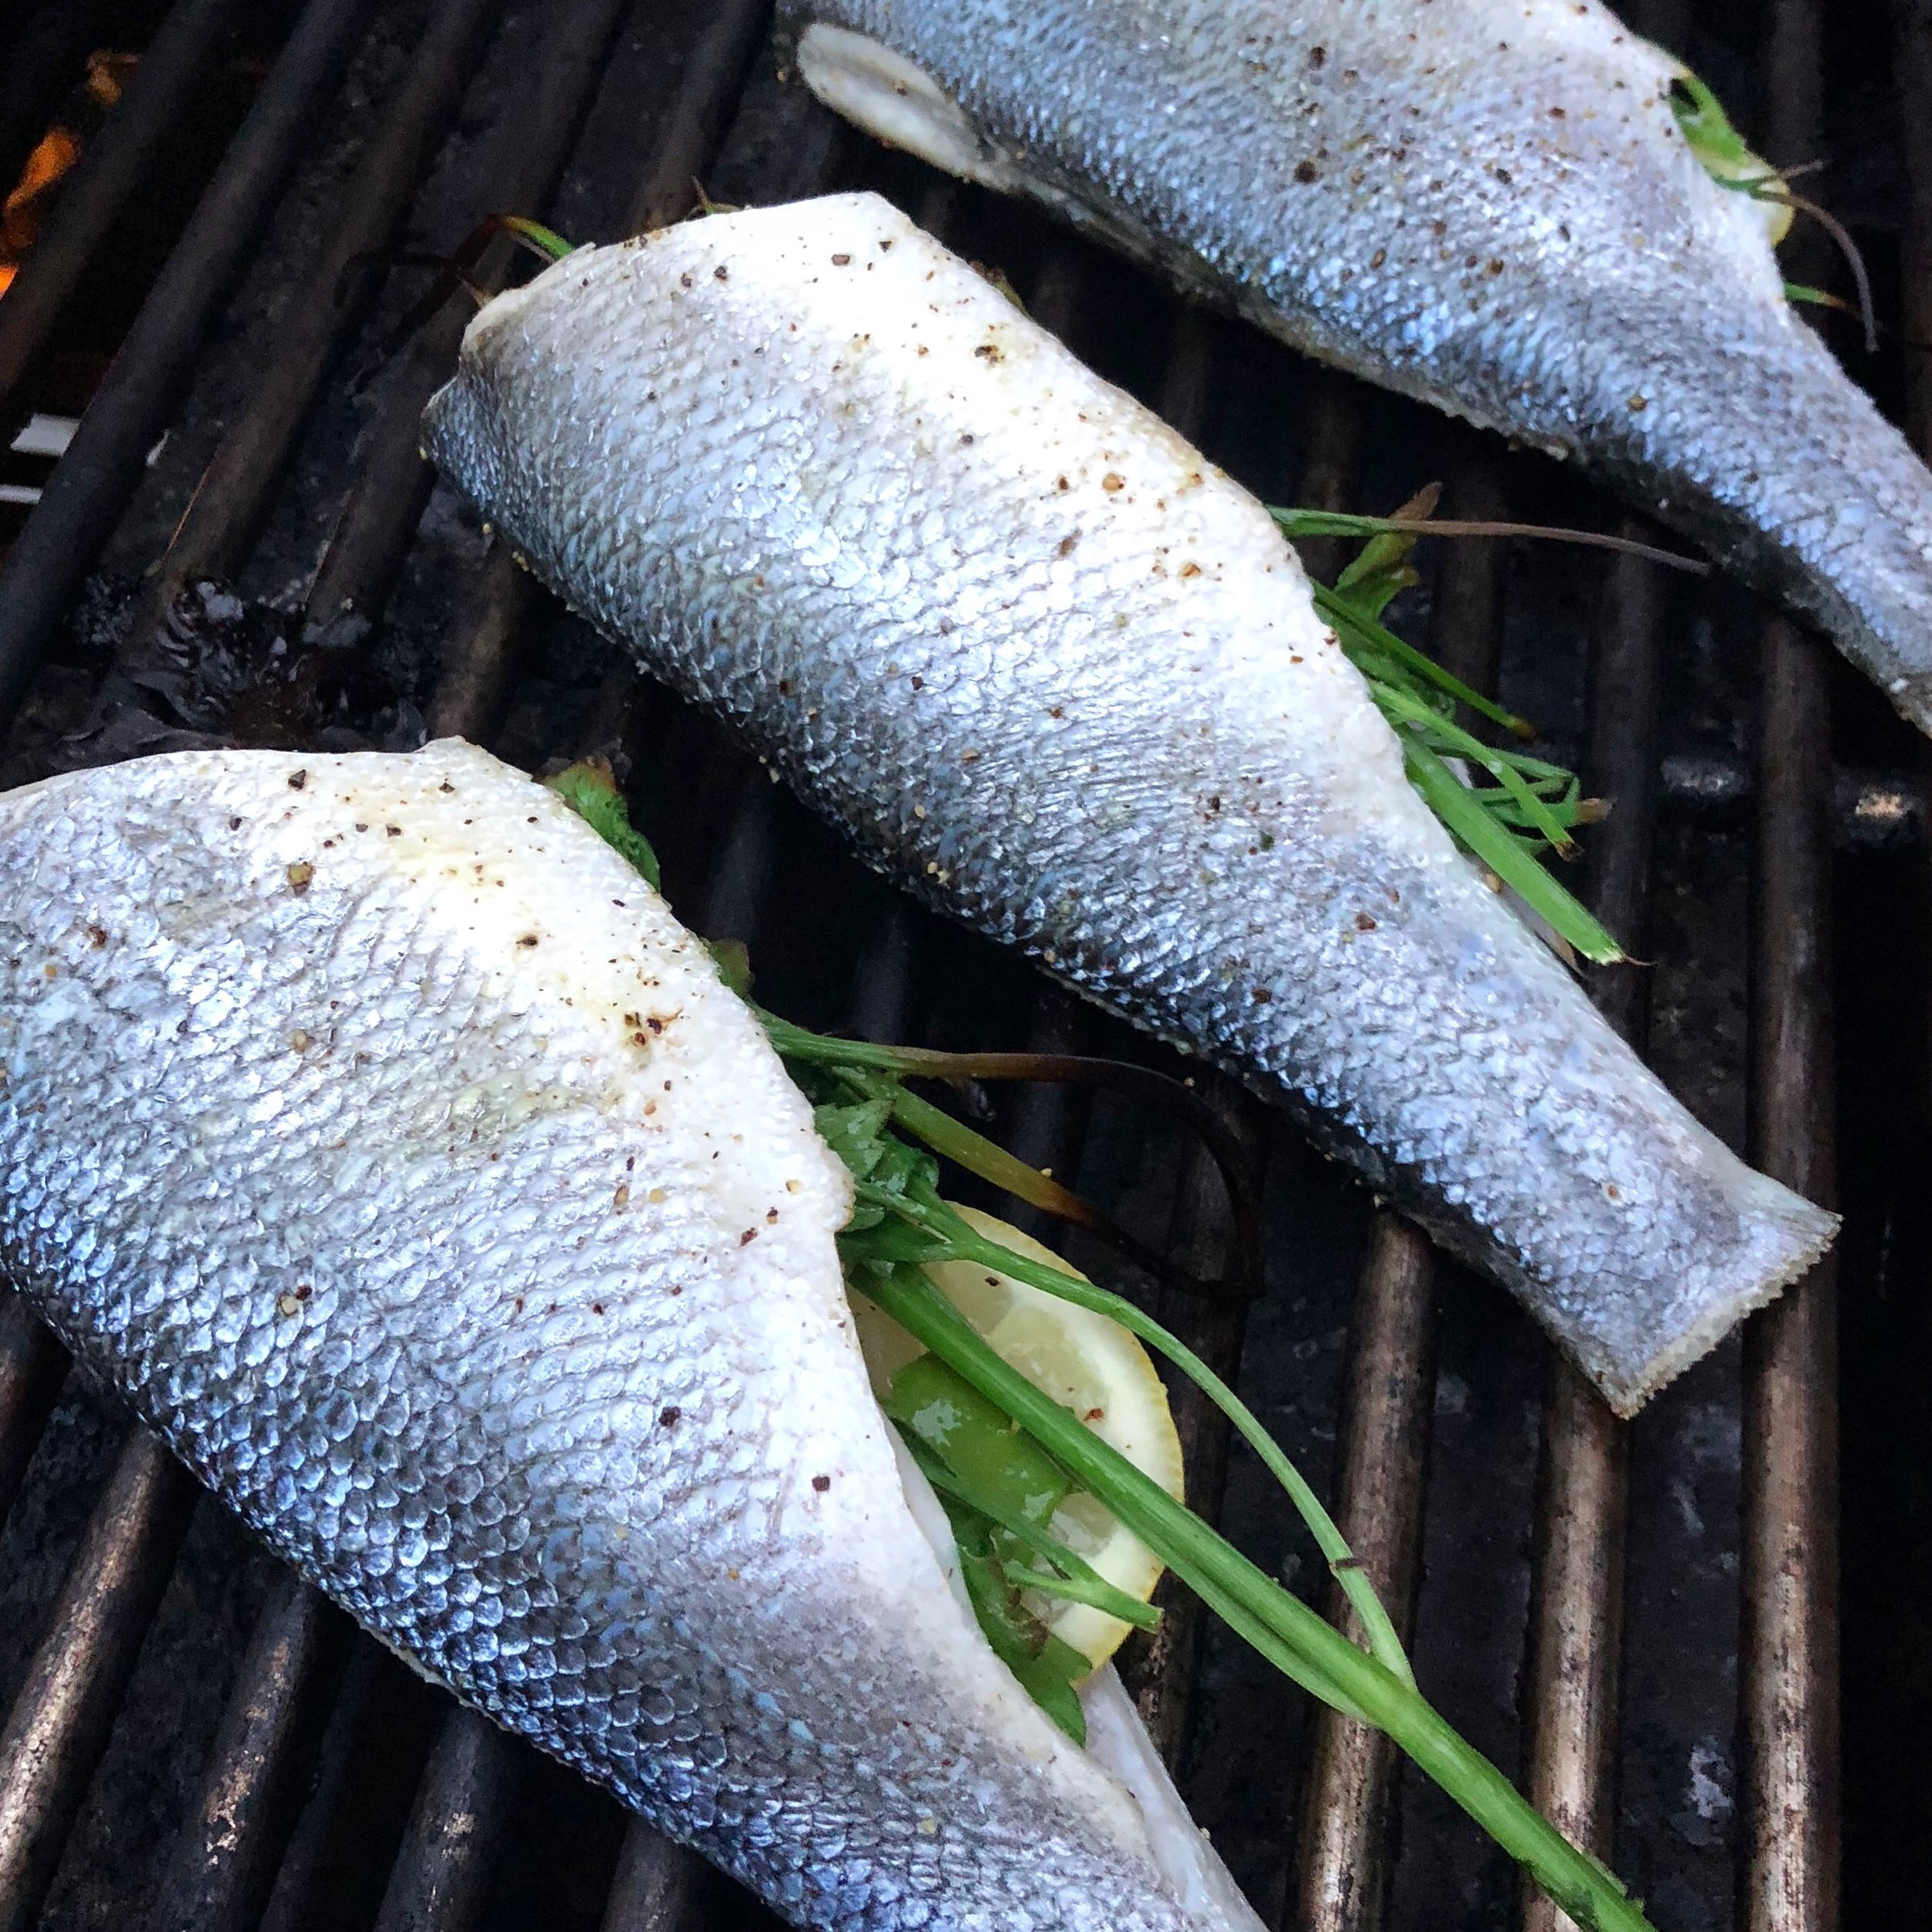
Heat a grill on high heat.
Meanwhile, prepare any sauces or garnishes. Juice or slice the remaining citrus, toast nuts, slice peppers, tomatoes or other fruits, pluck herb leaves from the stems and discard stems.
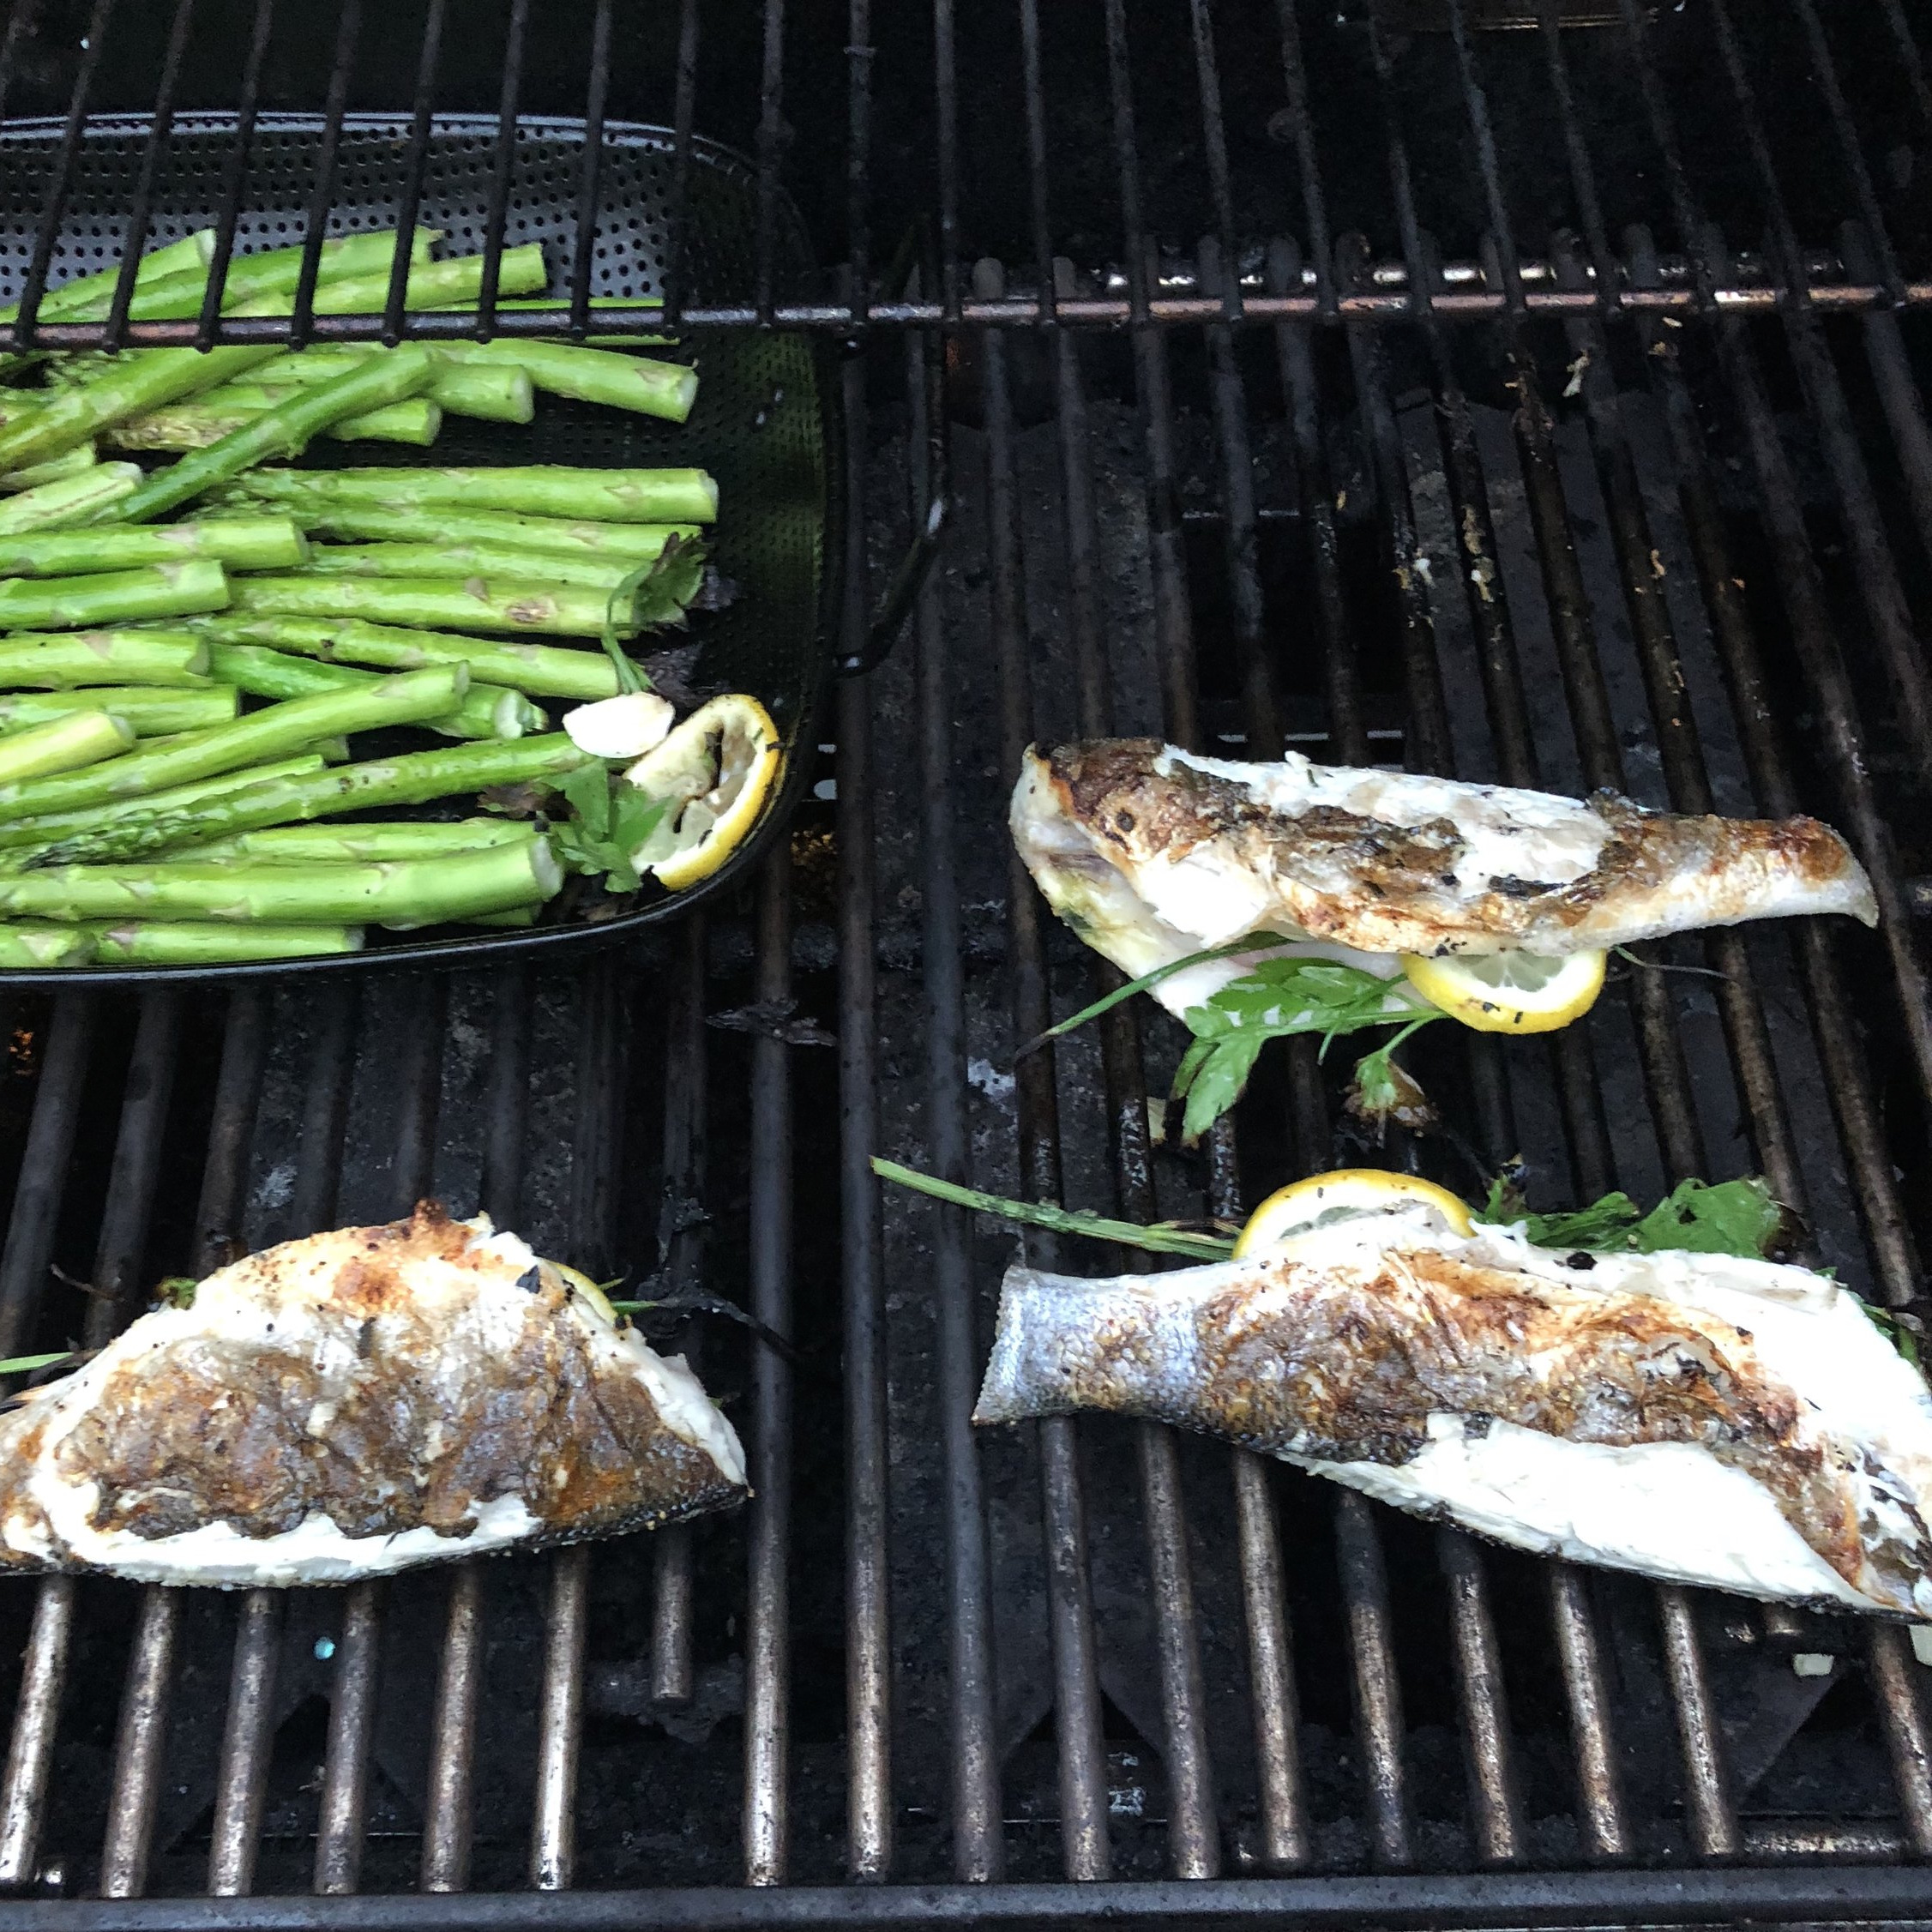
Grill the fish over high heat, turning once, 6-7 minutes per side or until skin is crisped and flesh is flaky.
Serve immediately garnished with toasted nuts, additional citrus, herb leaves, and more per suggestions above.
No grill? No problem. You can also cook this whole fish under the broiler in a cast iron skillet or broiler safe pan. Heat the pan under the broiler for about 10 minutes. Add the prepared fish to the pan and place back under the broiler for about 6-7 minutes. Flip and cook an additional 5-6 minutes on the other side.
Frozen Lemon Custard
Pantry Clean-Out Granola
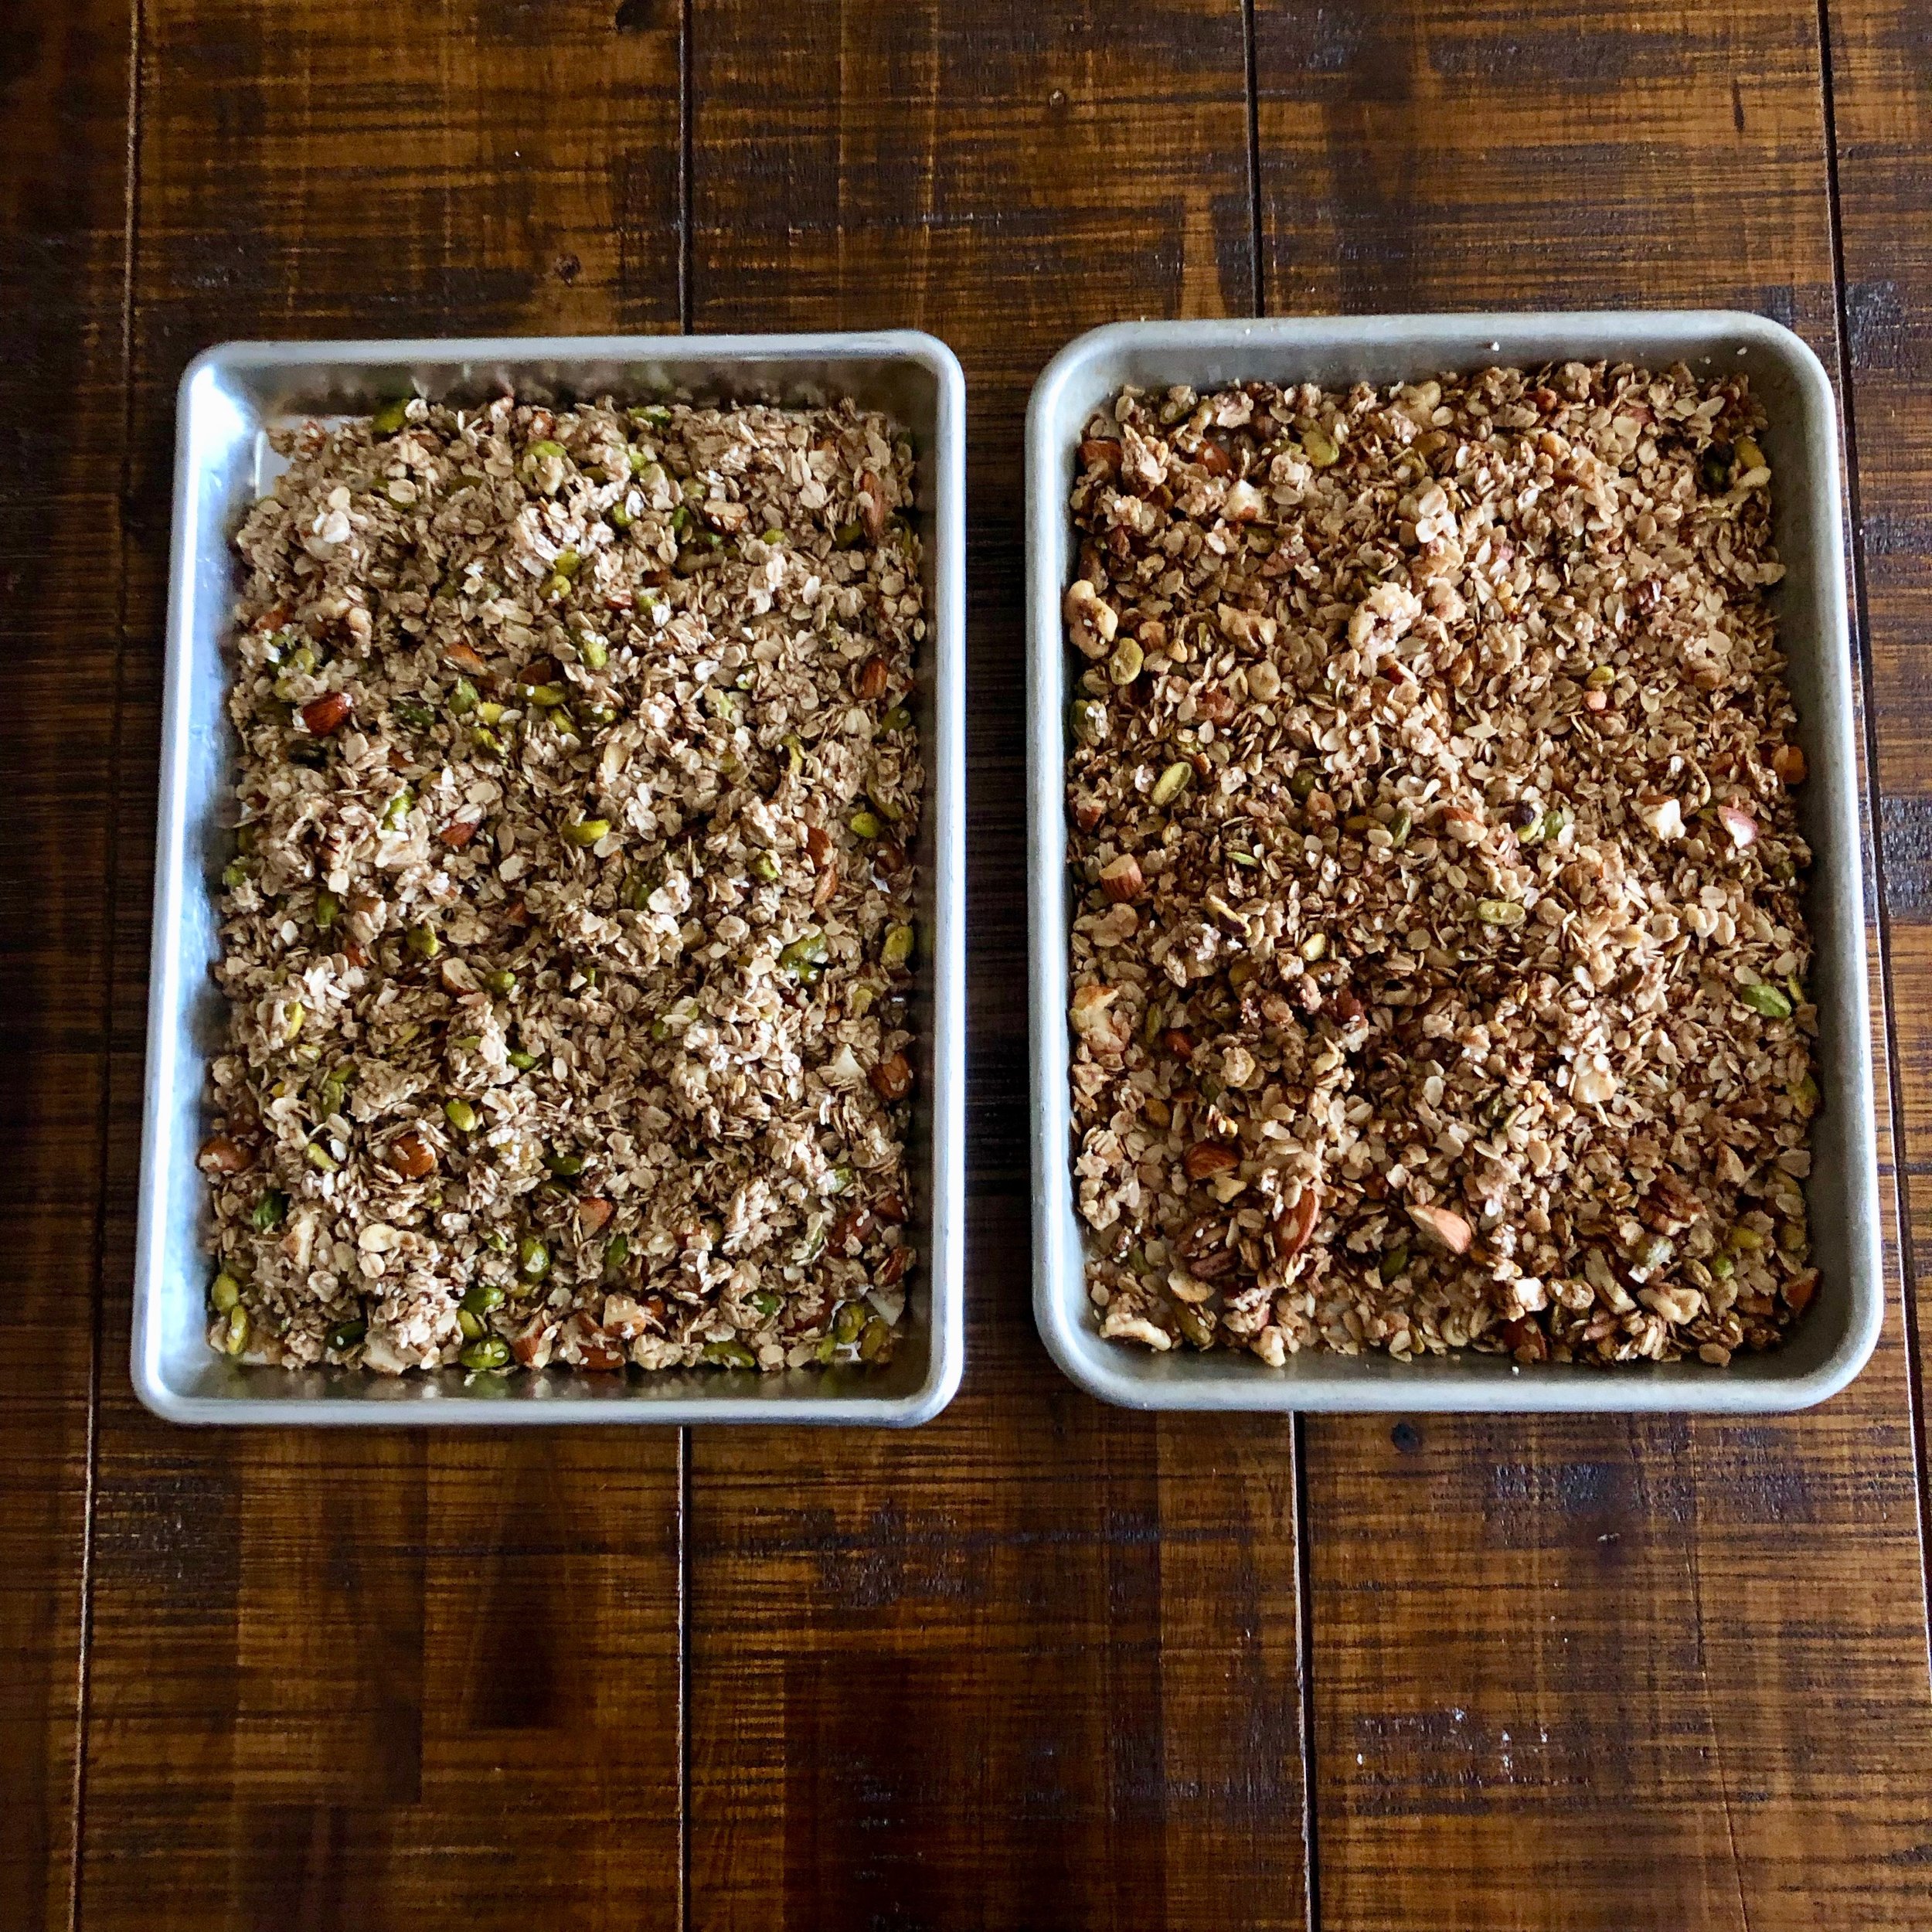
I’ve been baking my own granola for years now, usually inspired by the odds and ends I find when cleaning my pantry. It’s incredibly satisfying to empty the remnants of bags of nuts, a tub of dried mystery fruit, a jar of cinnamon, and a rubber-band wrapped package of quinoa in one fell swoop! In the process, I create a wide open pantry shelf AND breakfast of champions for weeks!
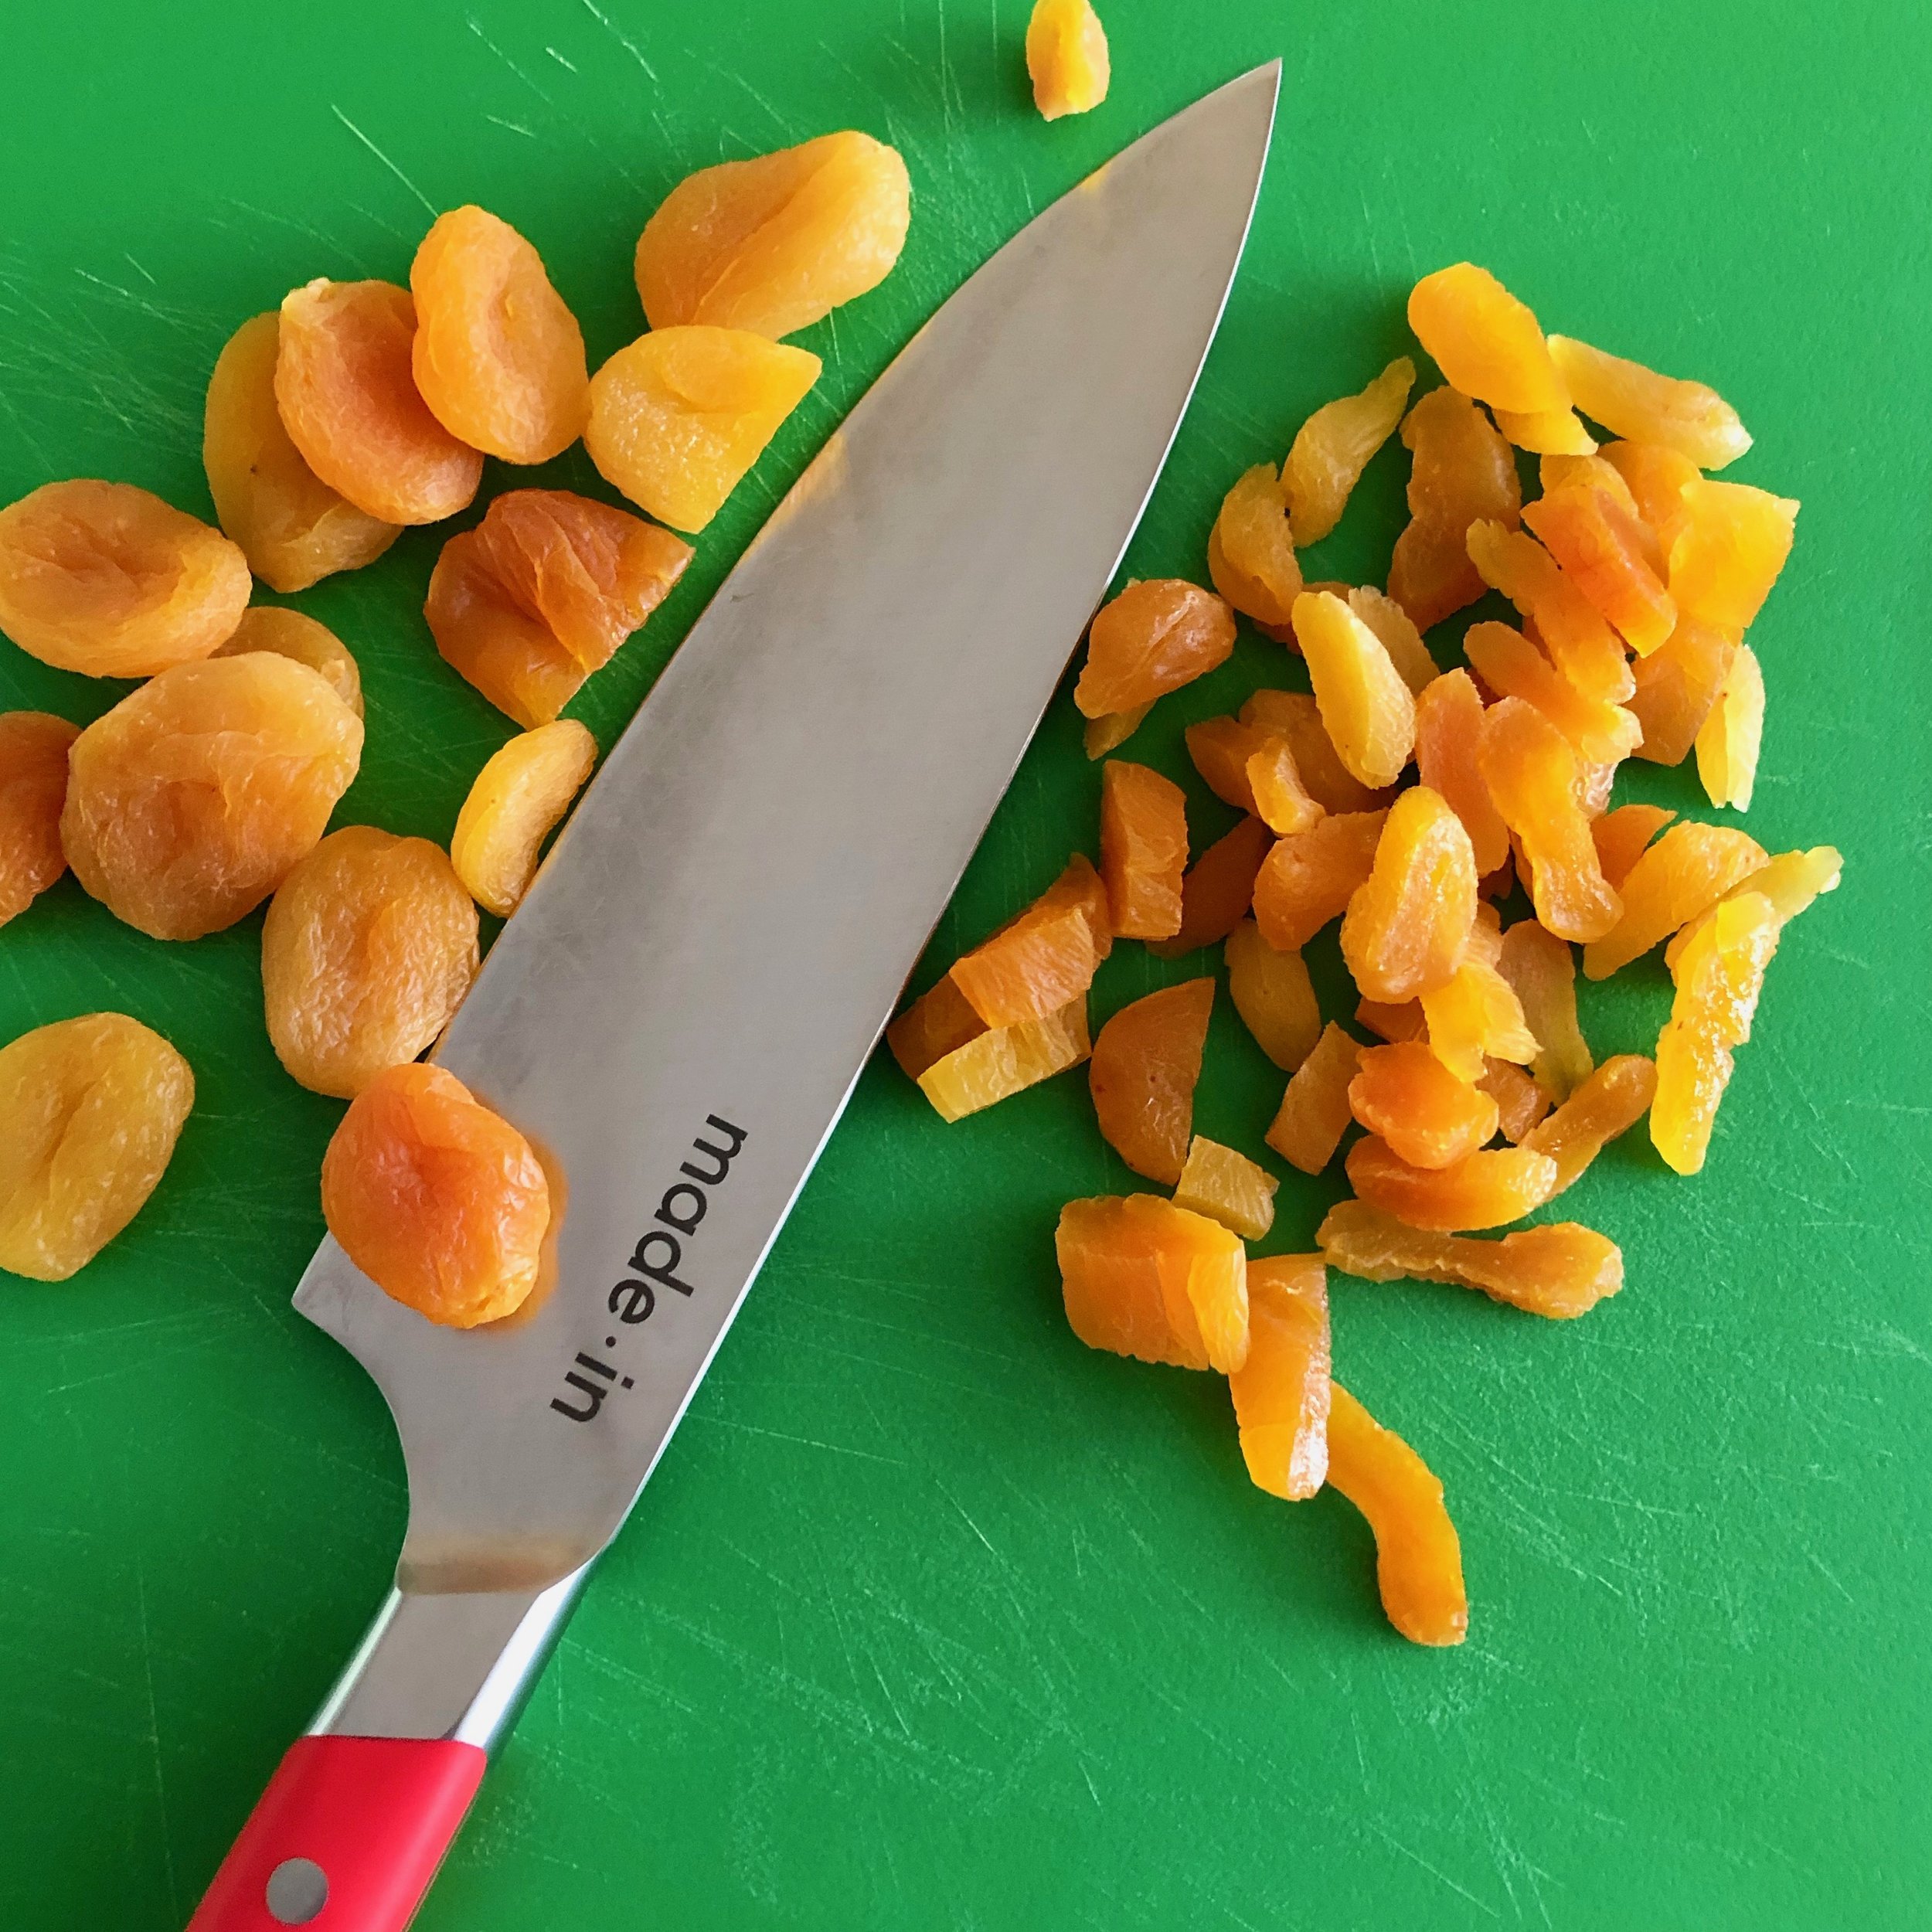
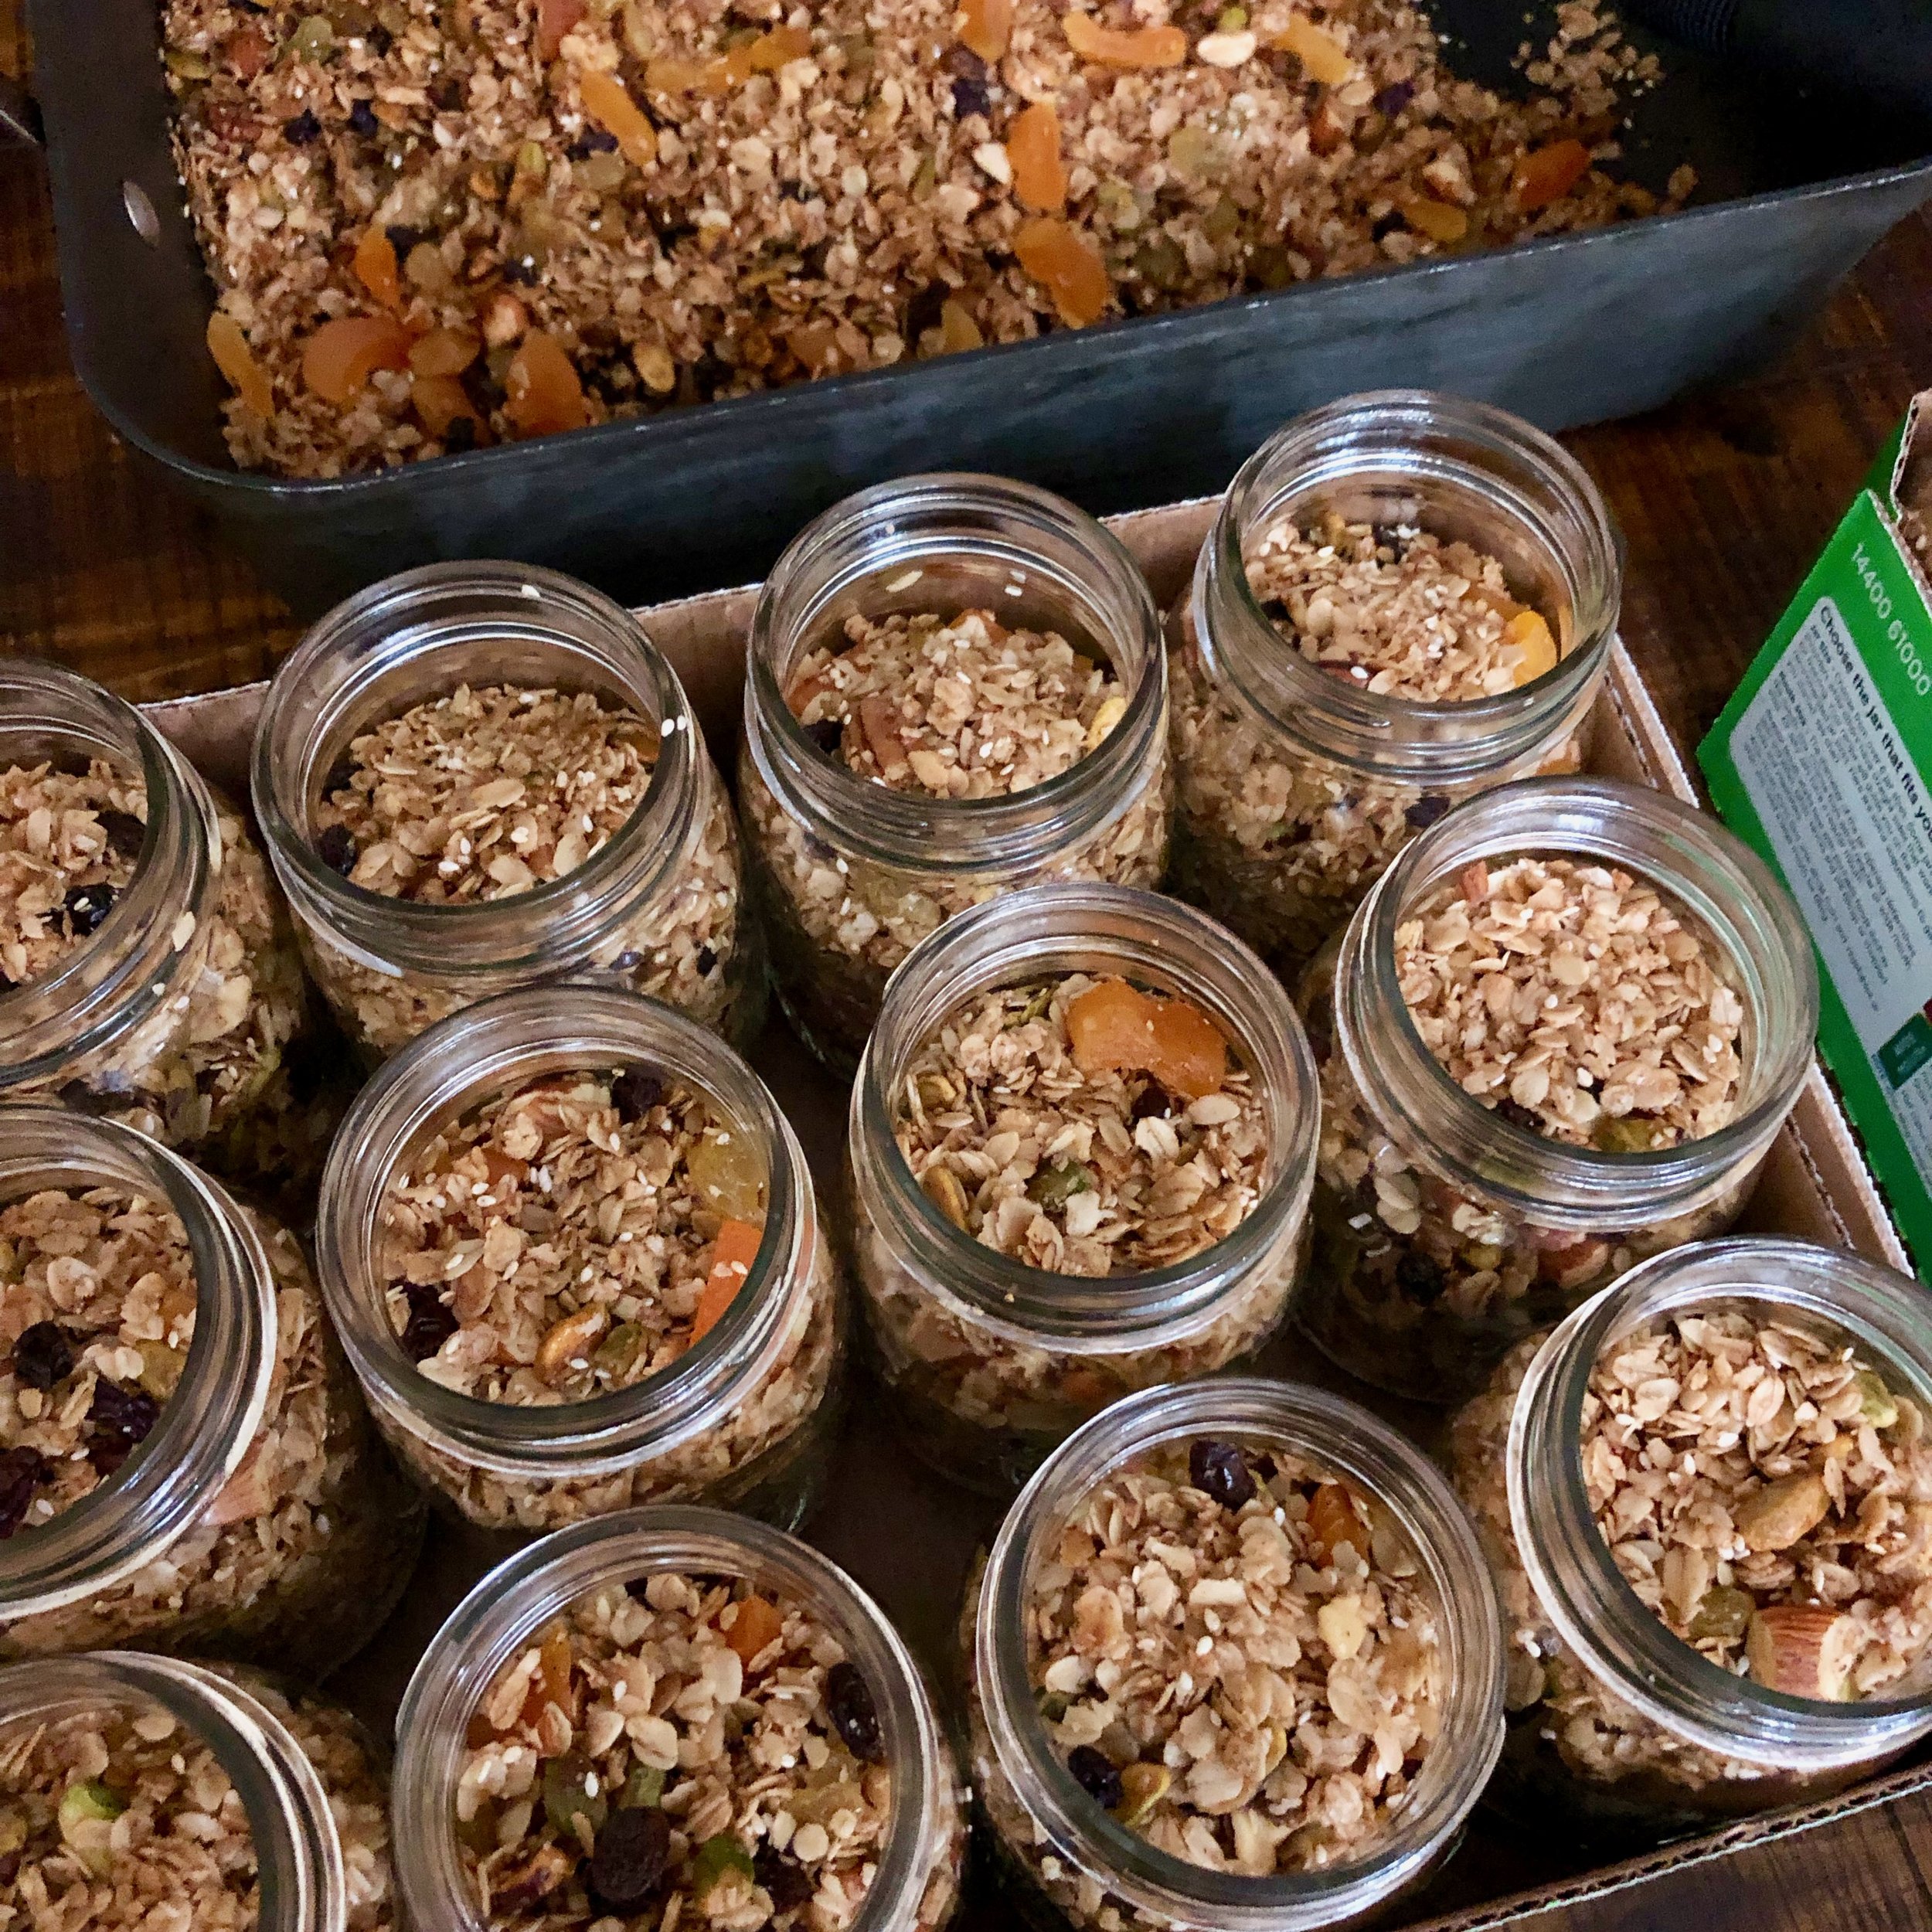
Armed with some photos I took during the recent production of 60 jars for a dear friend’s wedding, I’m finally putting this granola “recipe” on the Teaching Table blog.
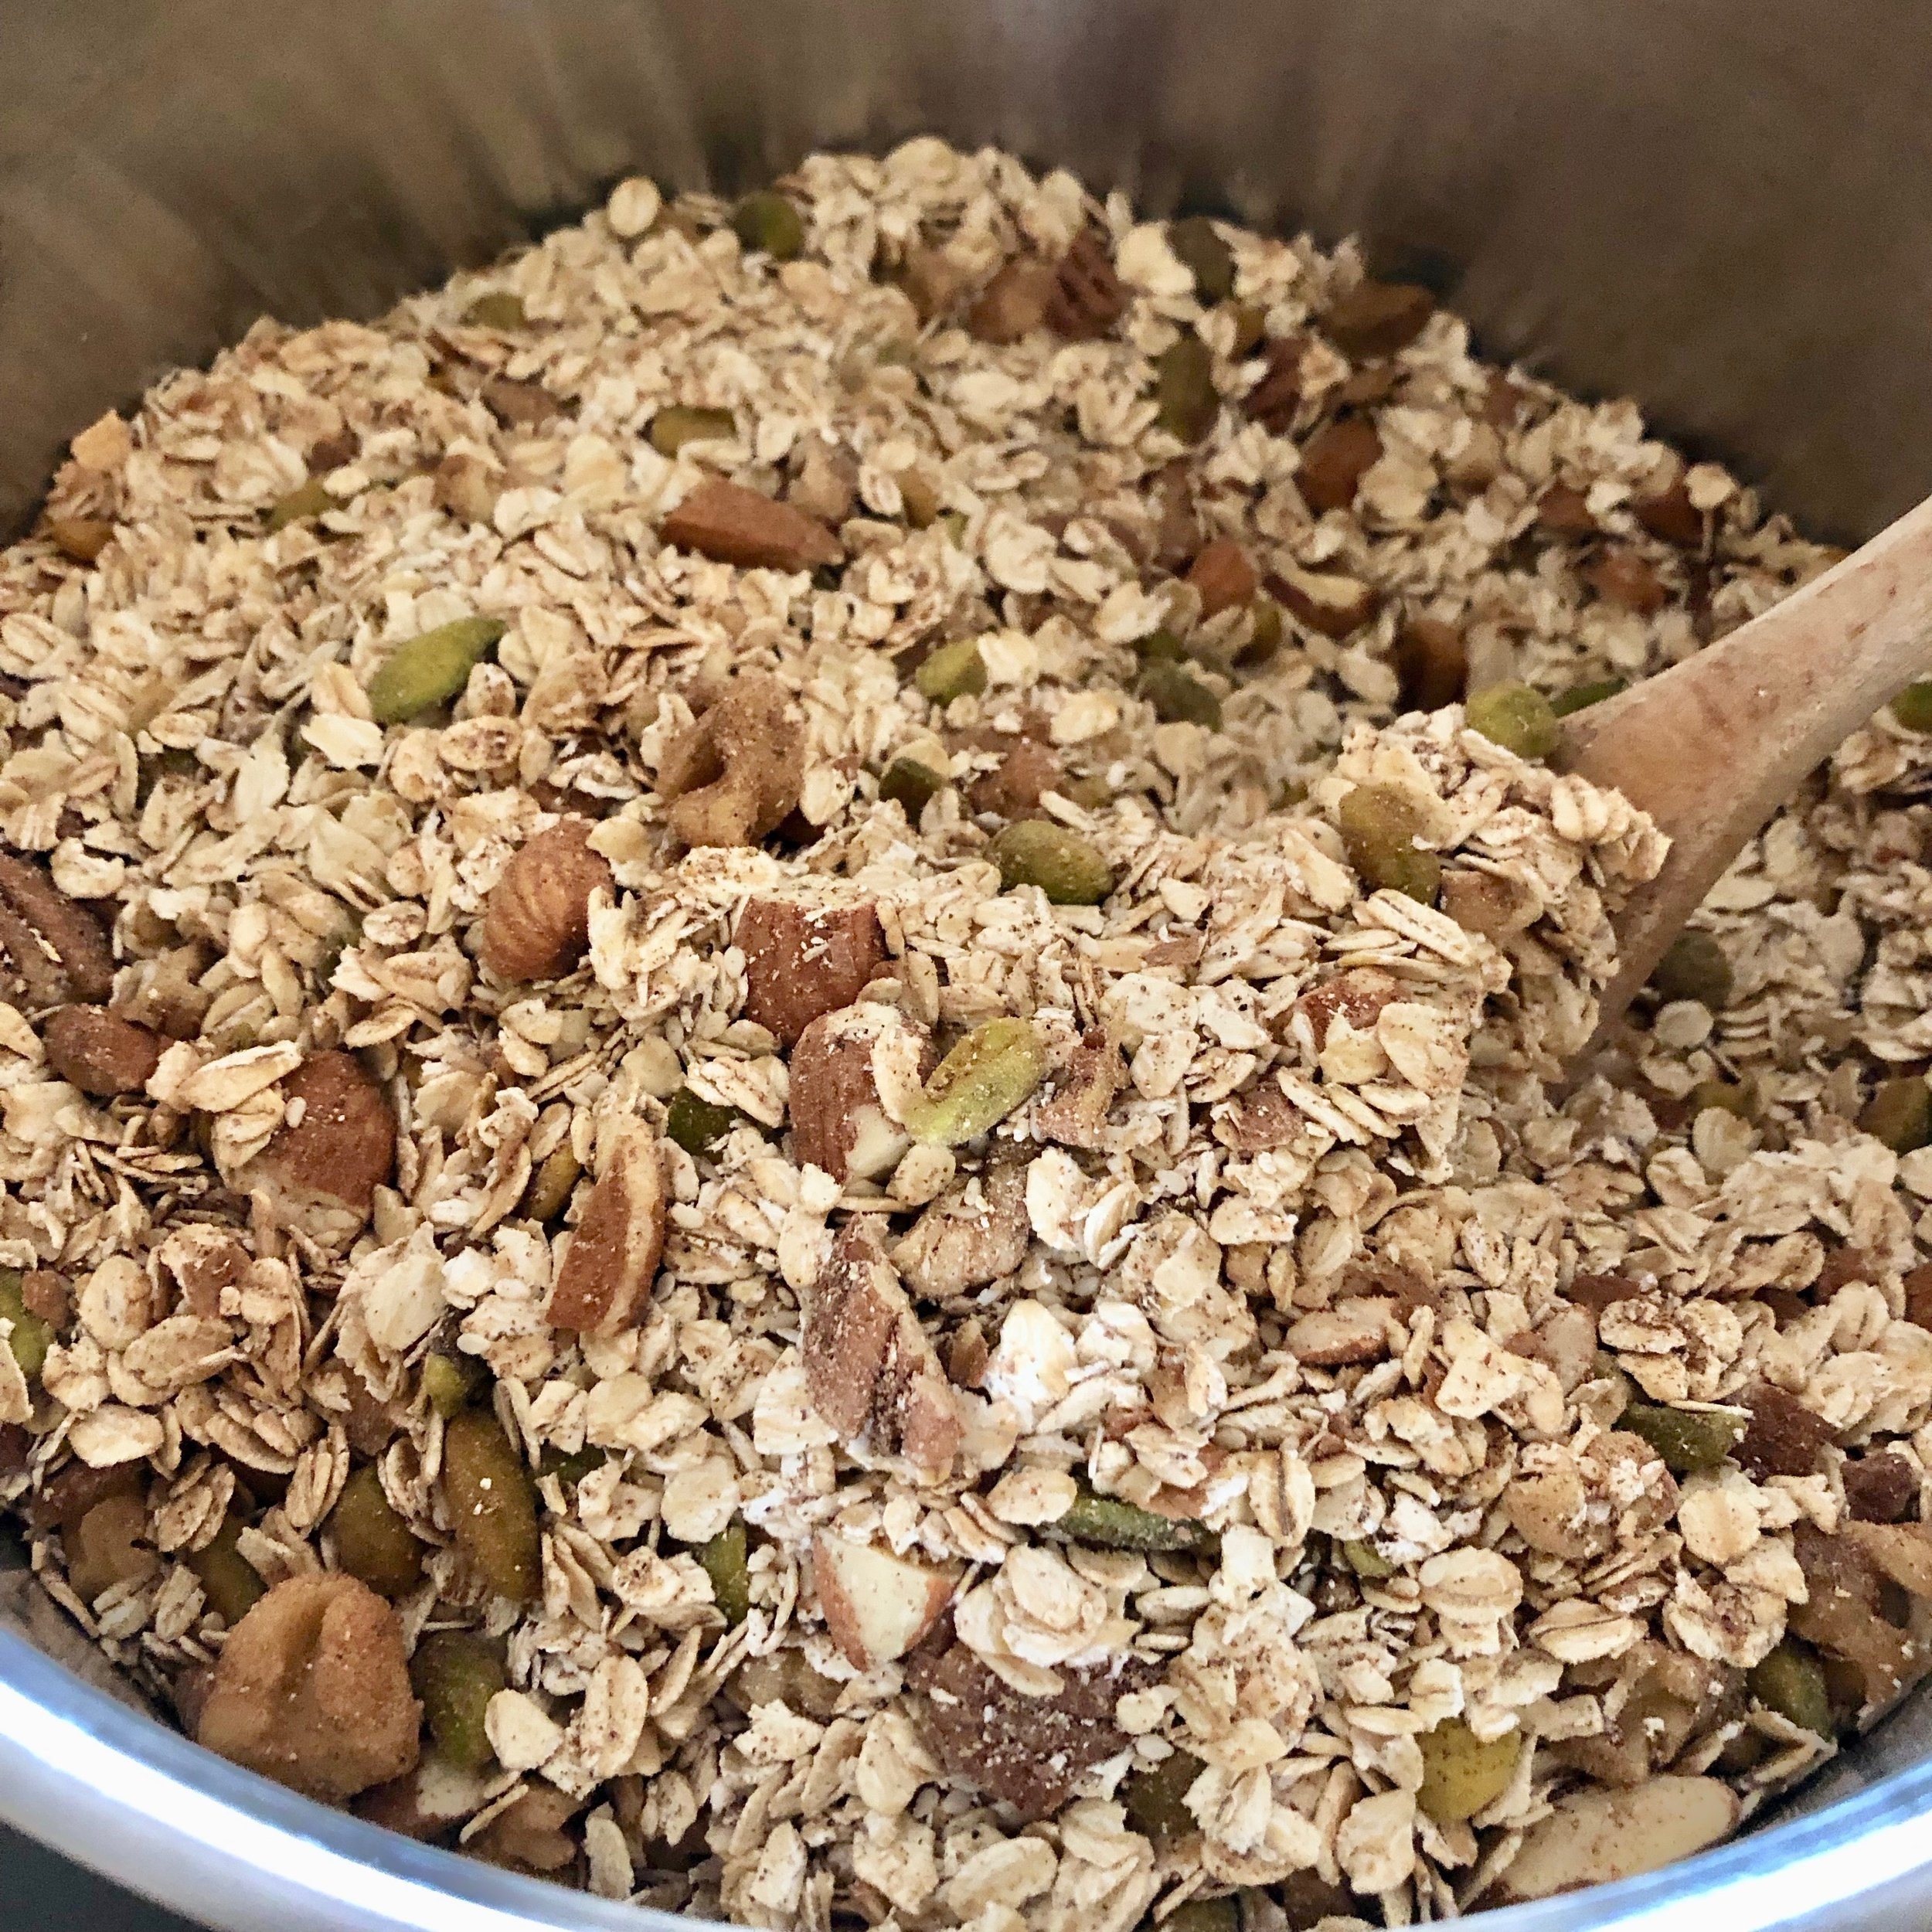
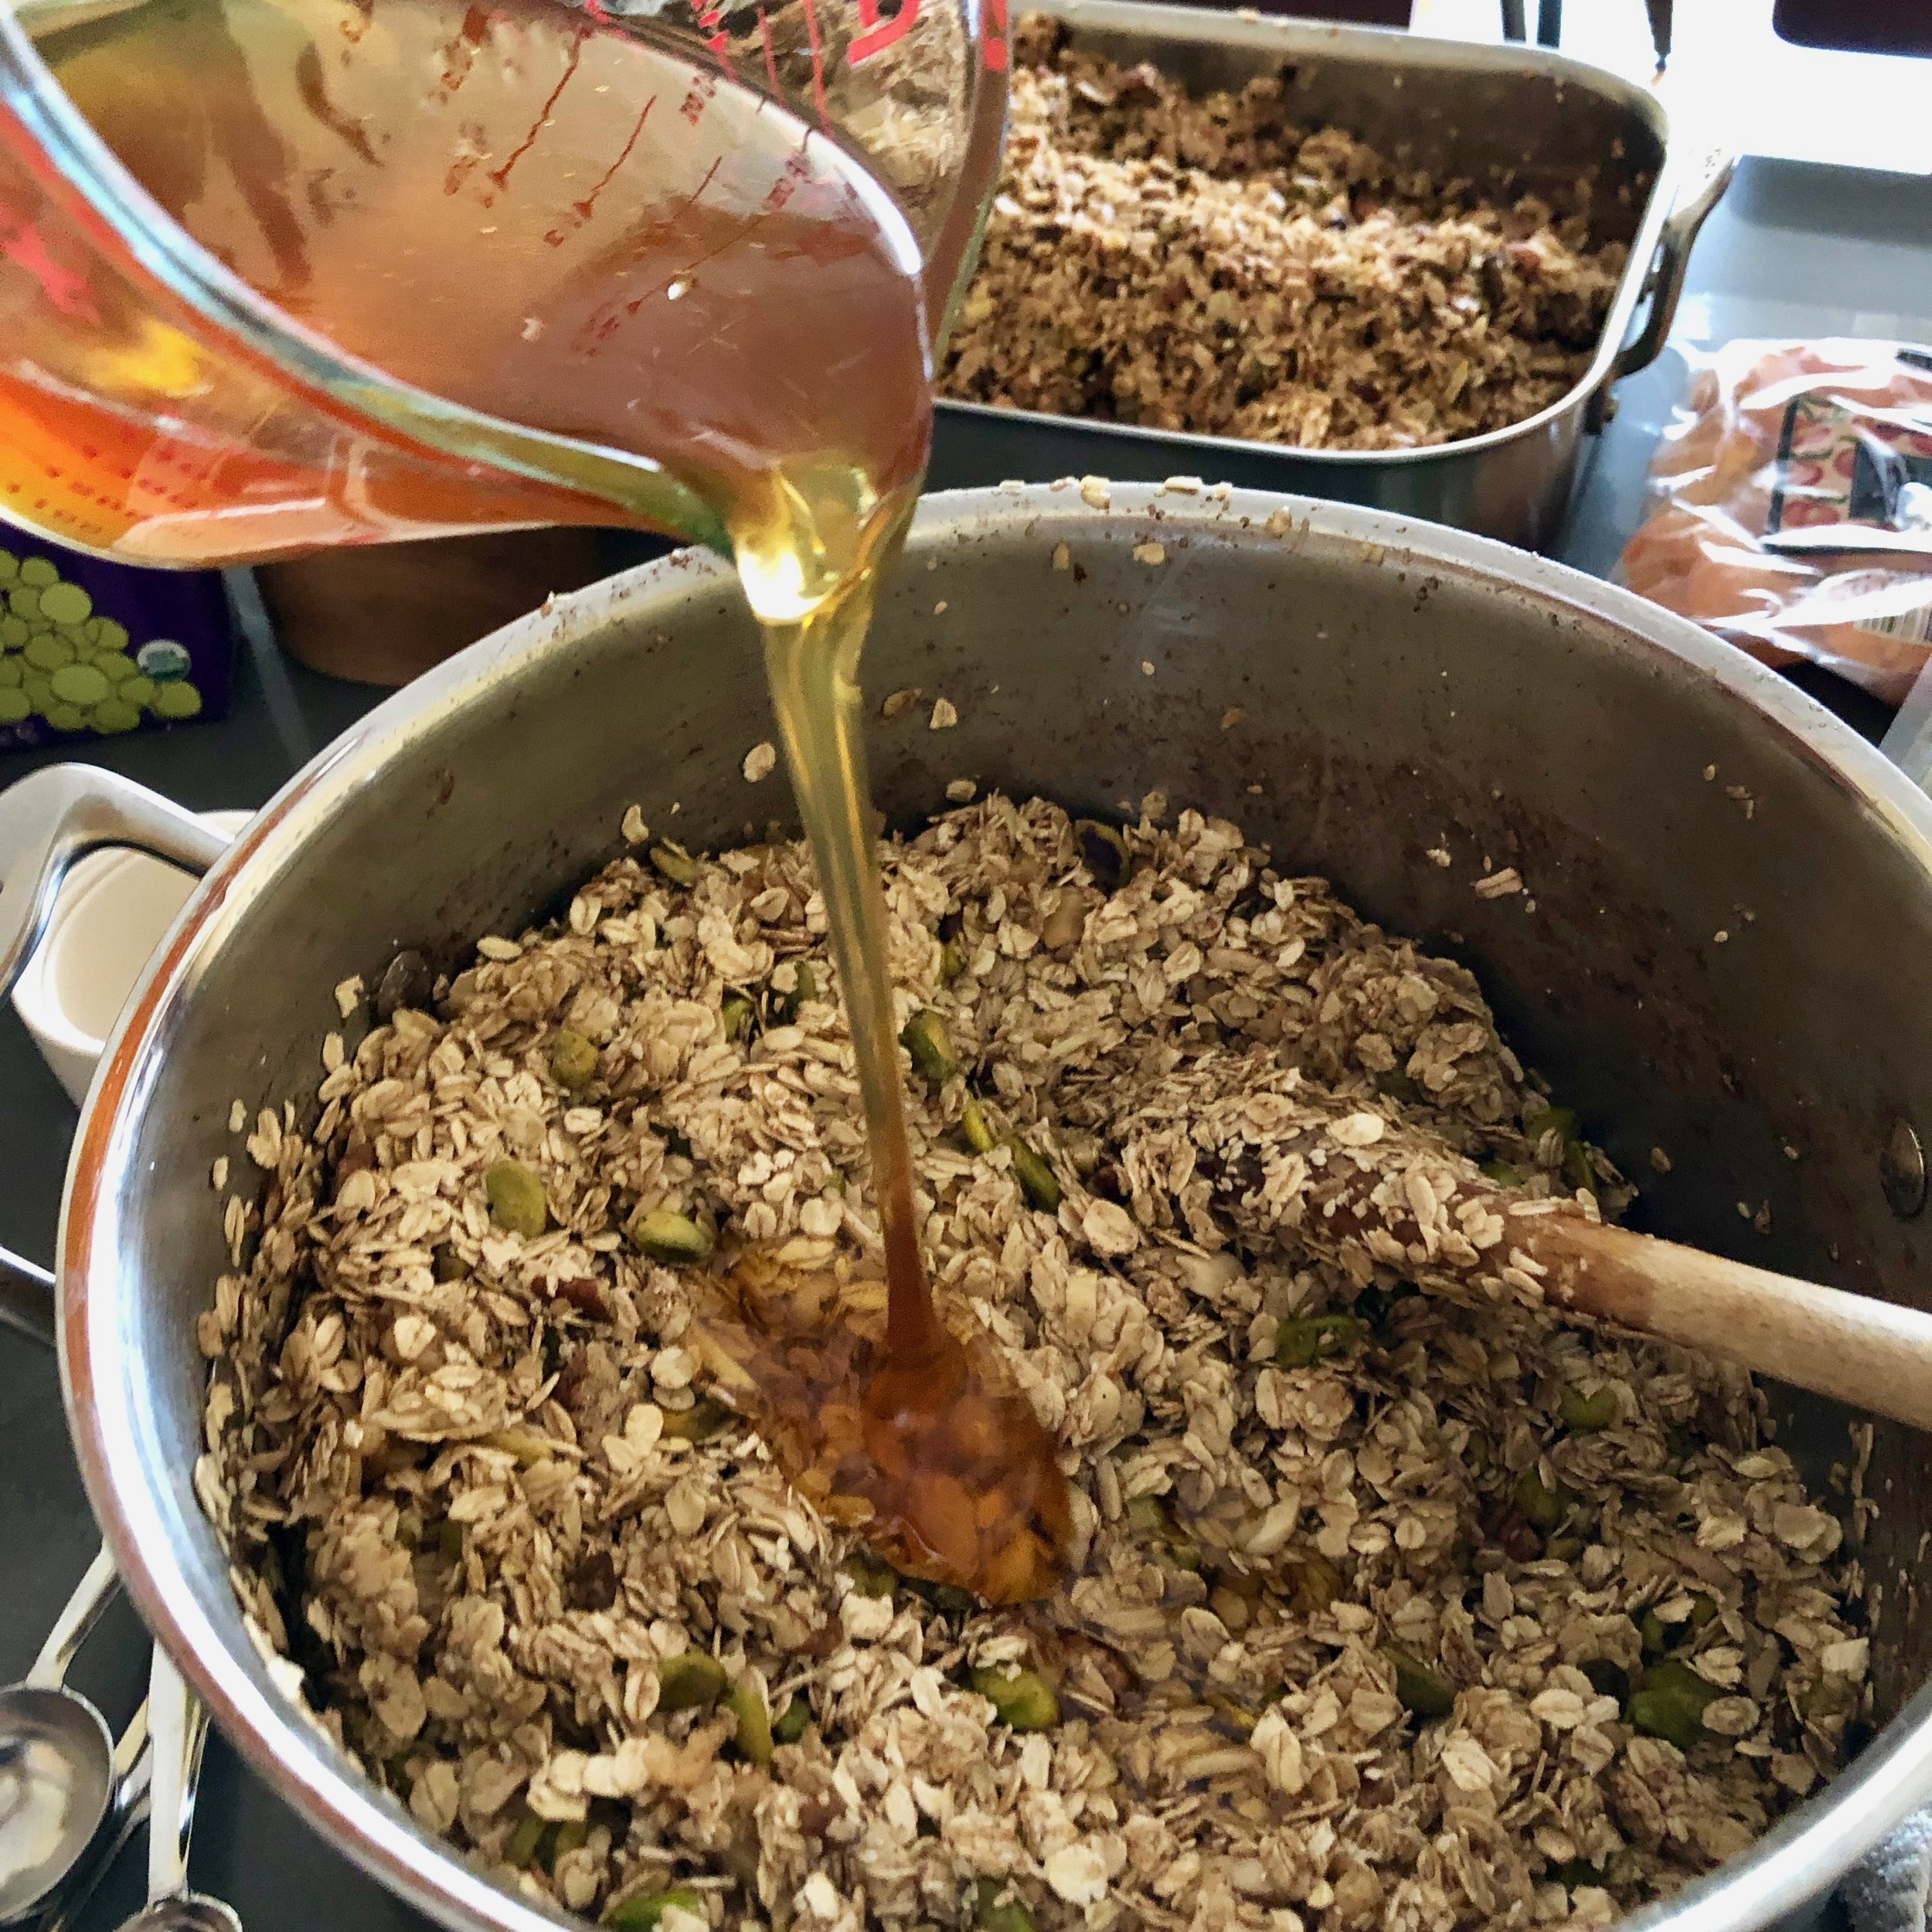
As the air quotes suggest, this is barely a recipe but rather a set of suggestions and instructions for assembling goodness out of any combination of nuts & dried fruit, spice, seeds, oil & sweetener. Mix and match to create a personalized granola that suits your taste and needs (or uses what you find in the back of your pantry). You can even adjust the ratios of the dry ingredients. The amounts are relative — another vote for this solution to reduce food waste! Here’s a basic formula.
Tip: For an even crunchier granola, add 1 beaten egg white to the oats mixture.
Pantry Clean-Out granola
What you need:
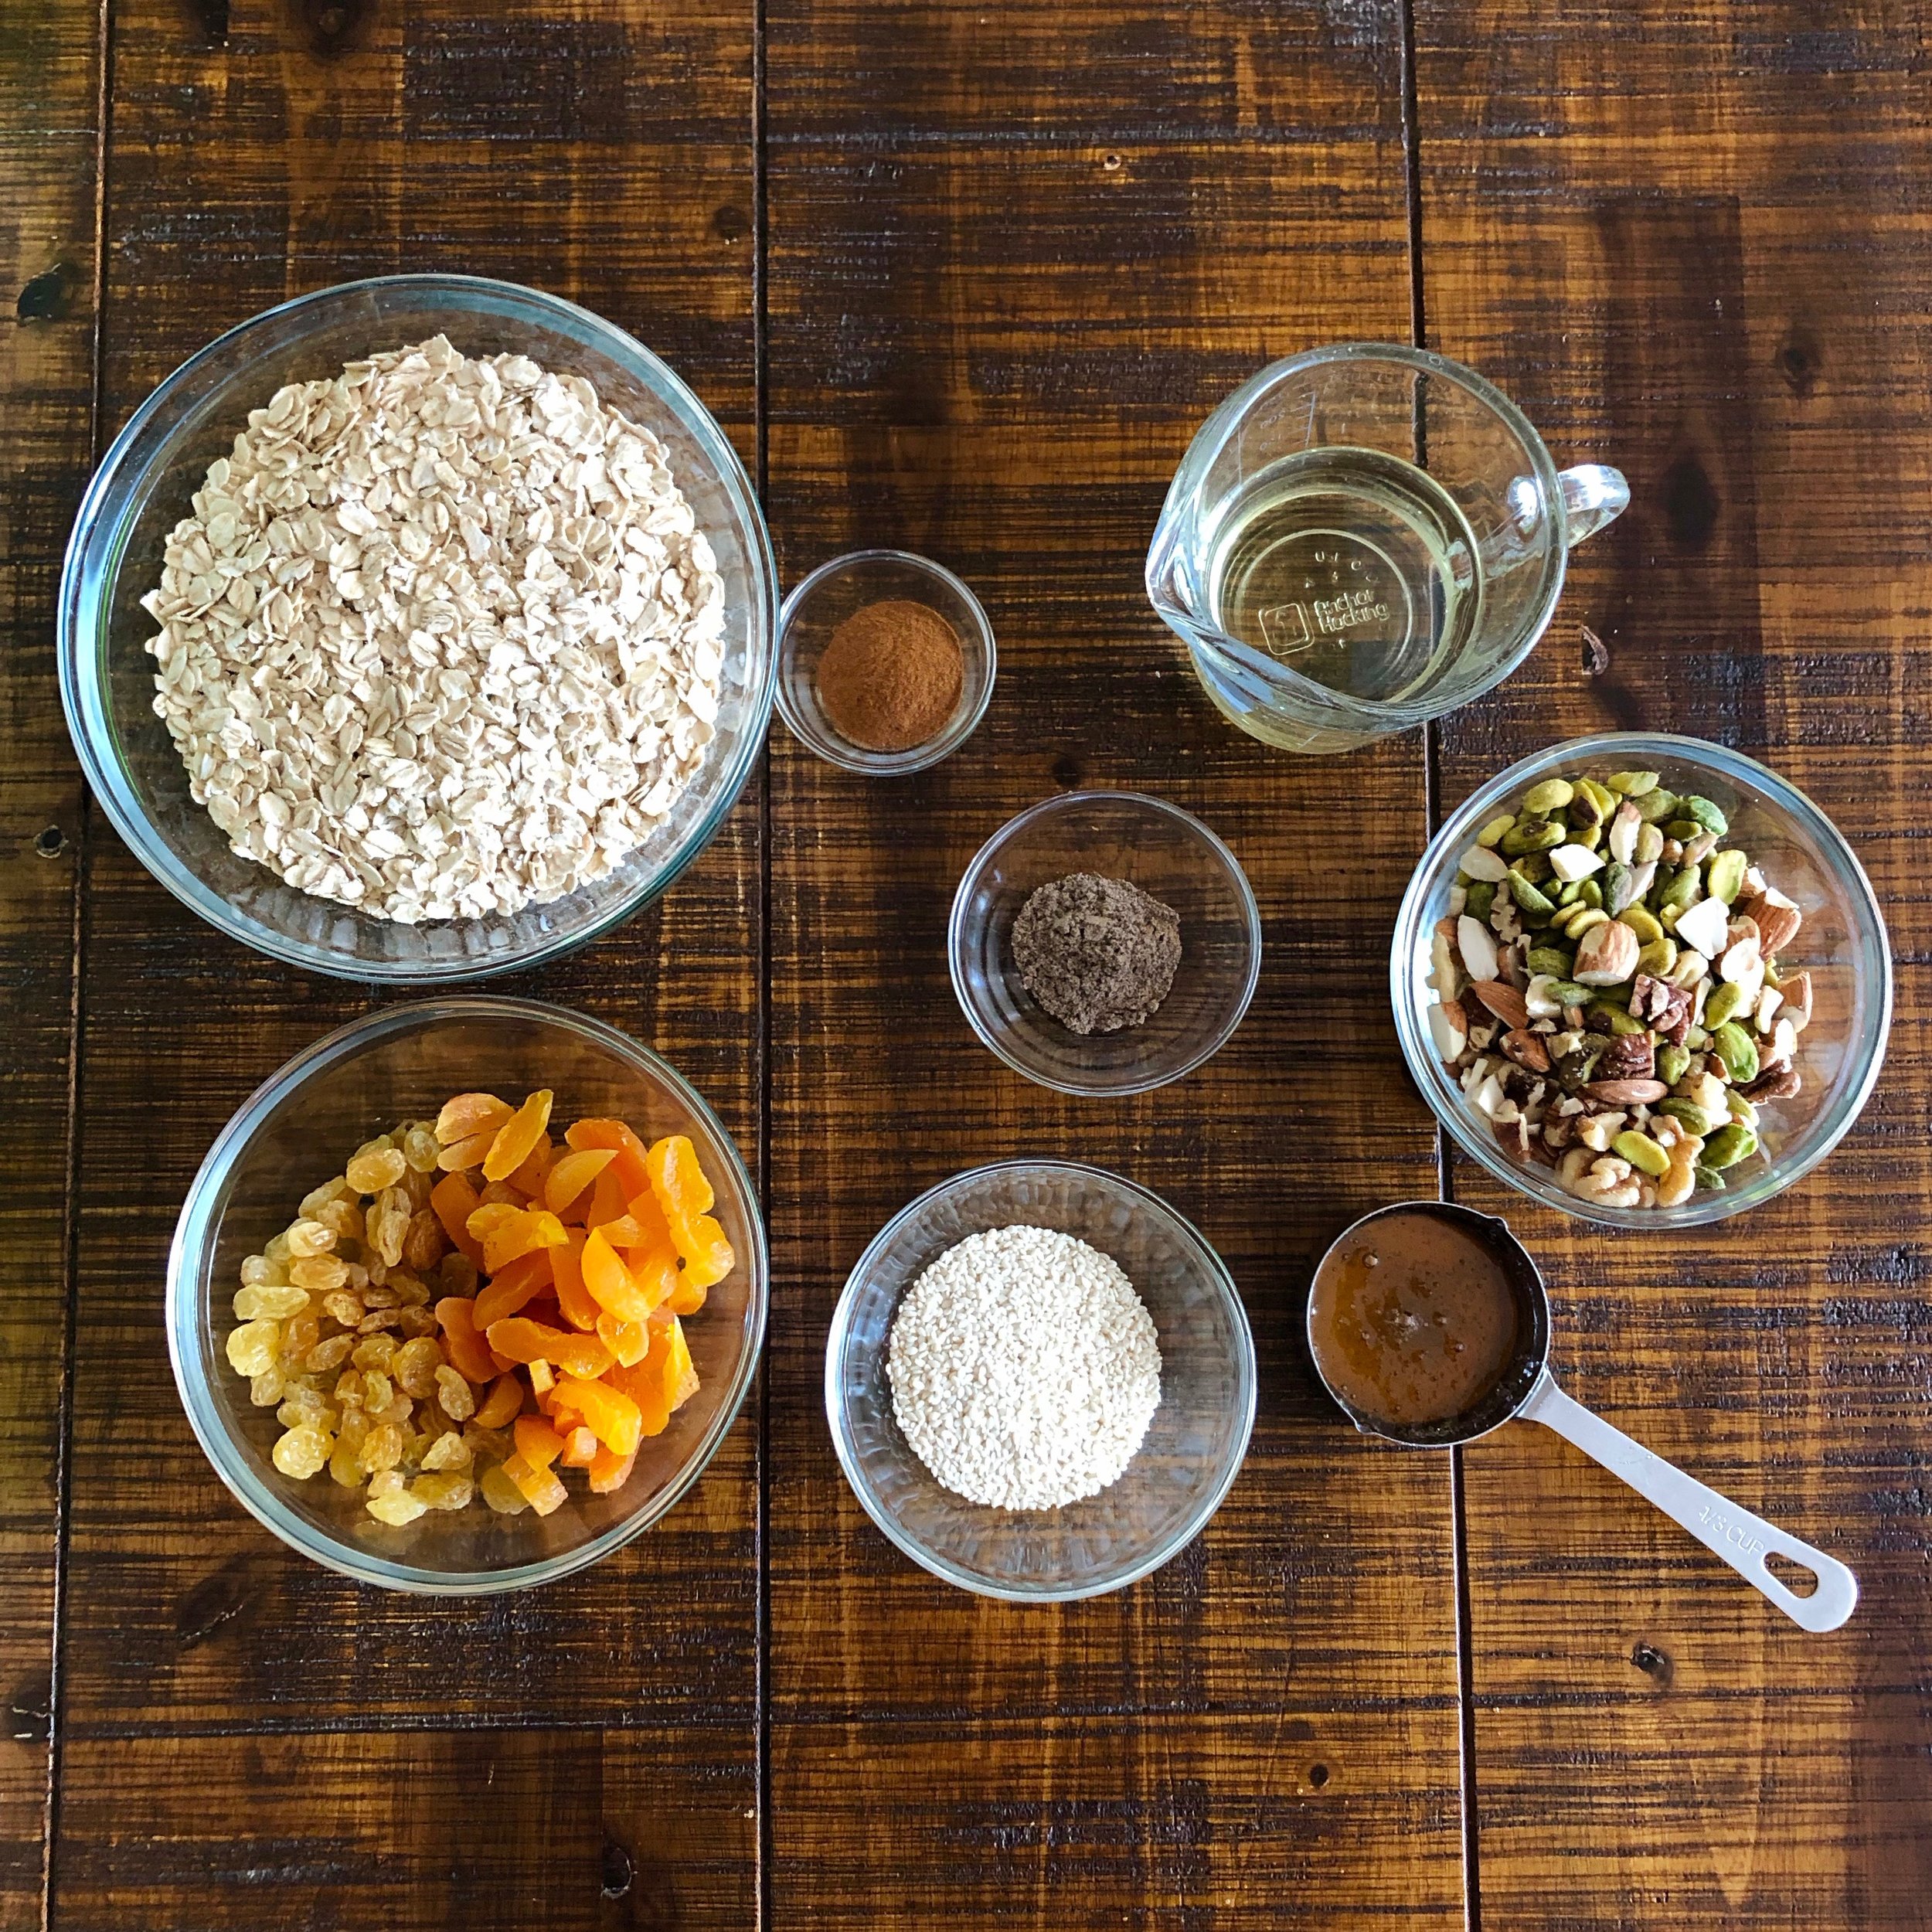
Ingredients for Shannon & Dylan’s Signature (vaguely Morrocan) Granola.
2 ½ - 3 cups rolled (not instant nor steel cut) oats
½ - 1 cup whole grains such as quinoa, millet and amaranth
2 - 4 tablespoons seeds, such as sesame, chia and flax
1 - 2 teaspoons of ground spice, such as ginger, cinnamon, or cardamom, or powders like cocoa and matcha tea
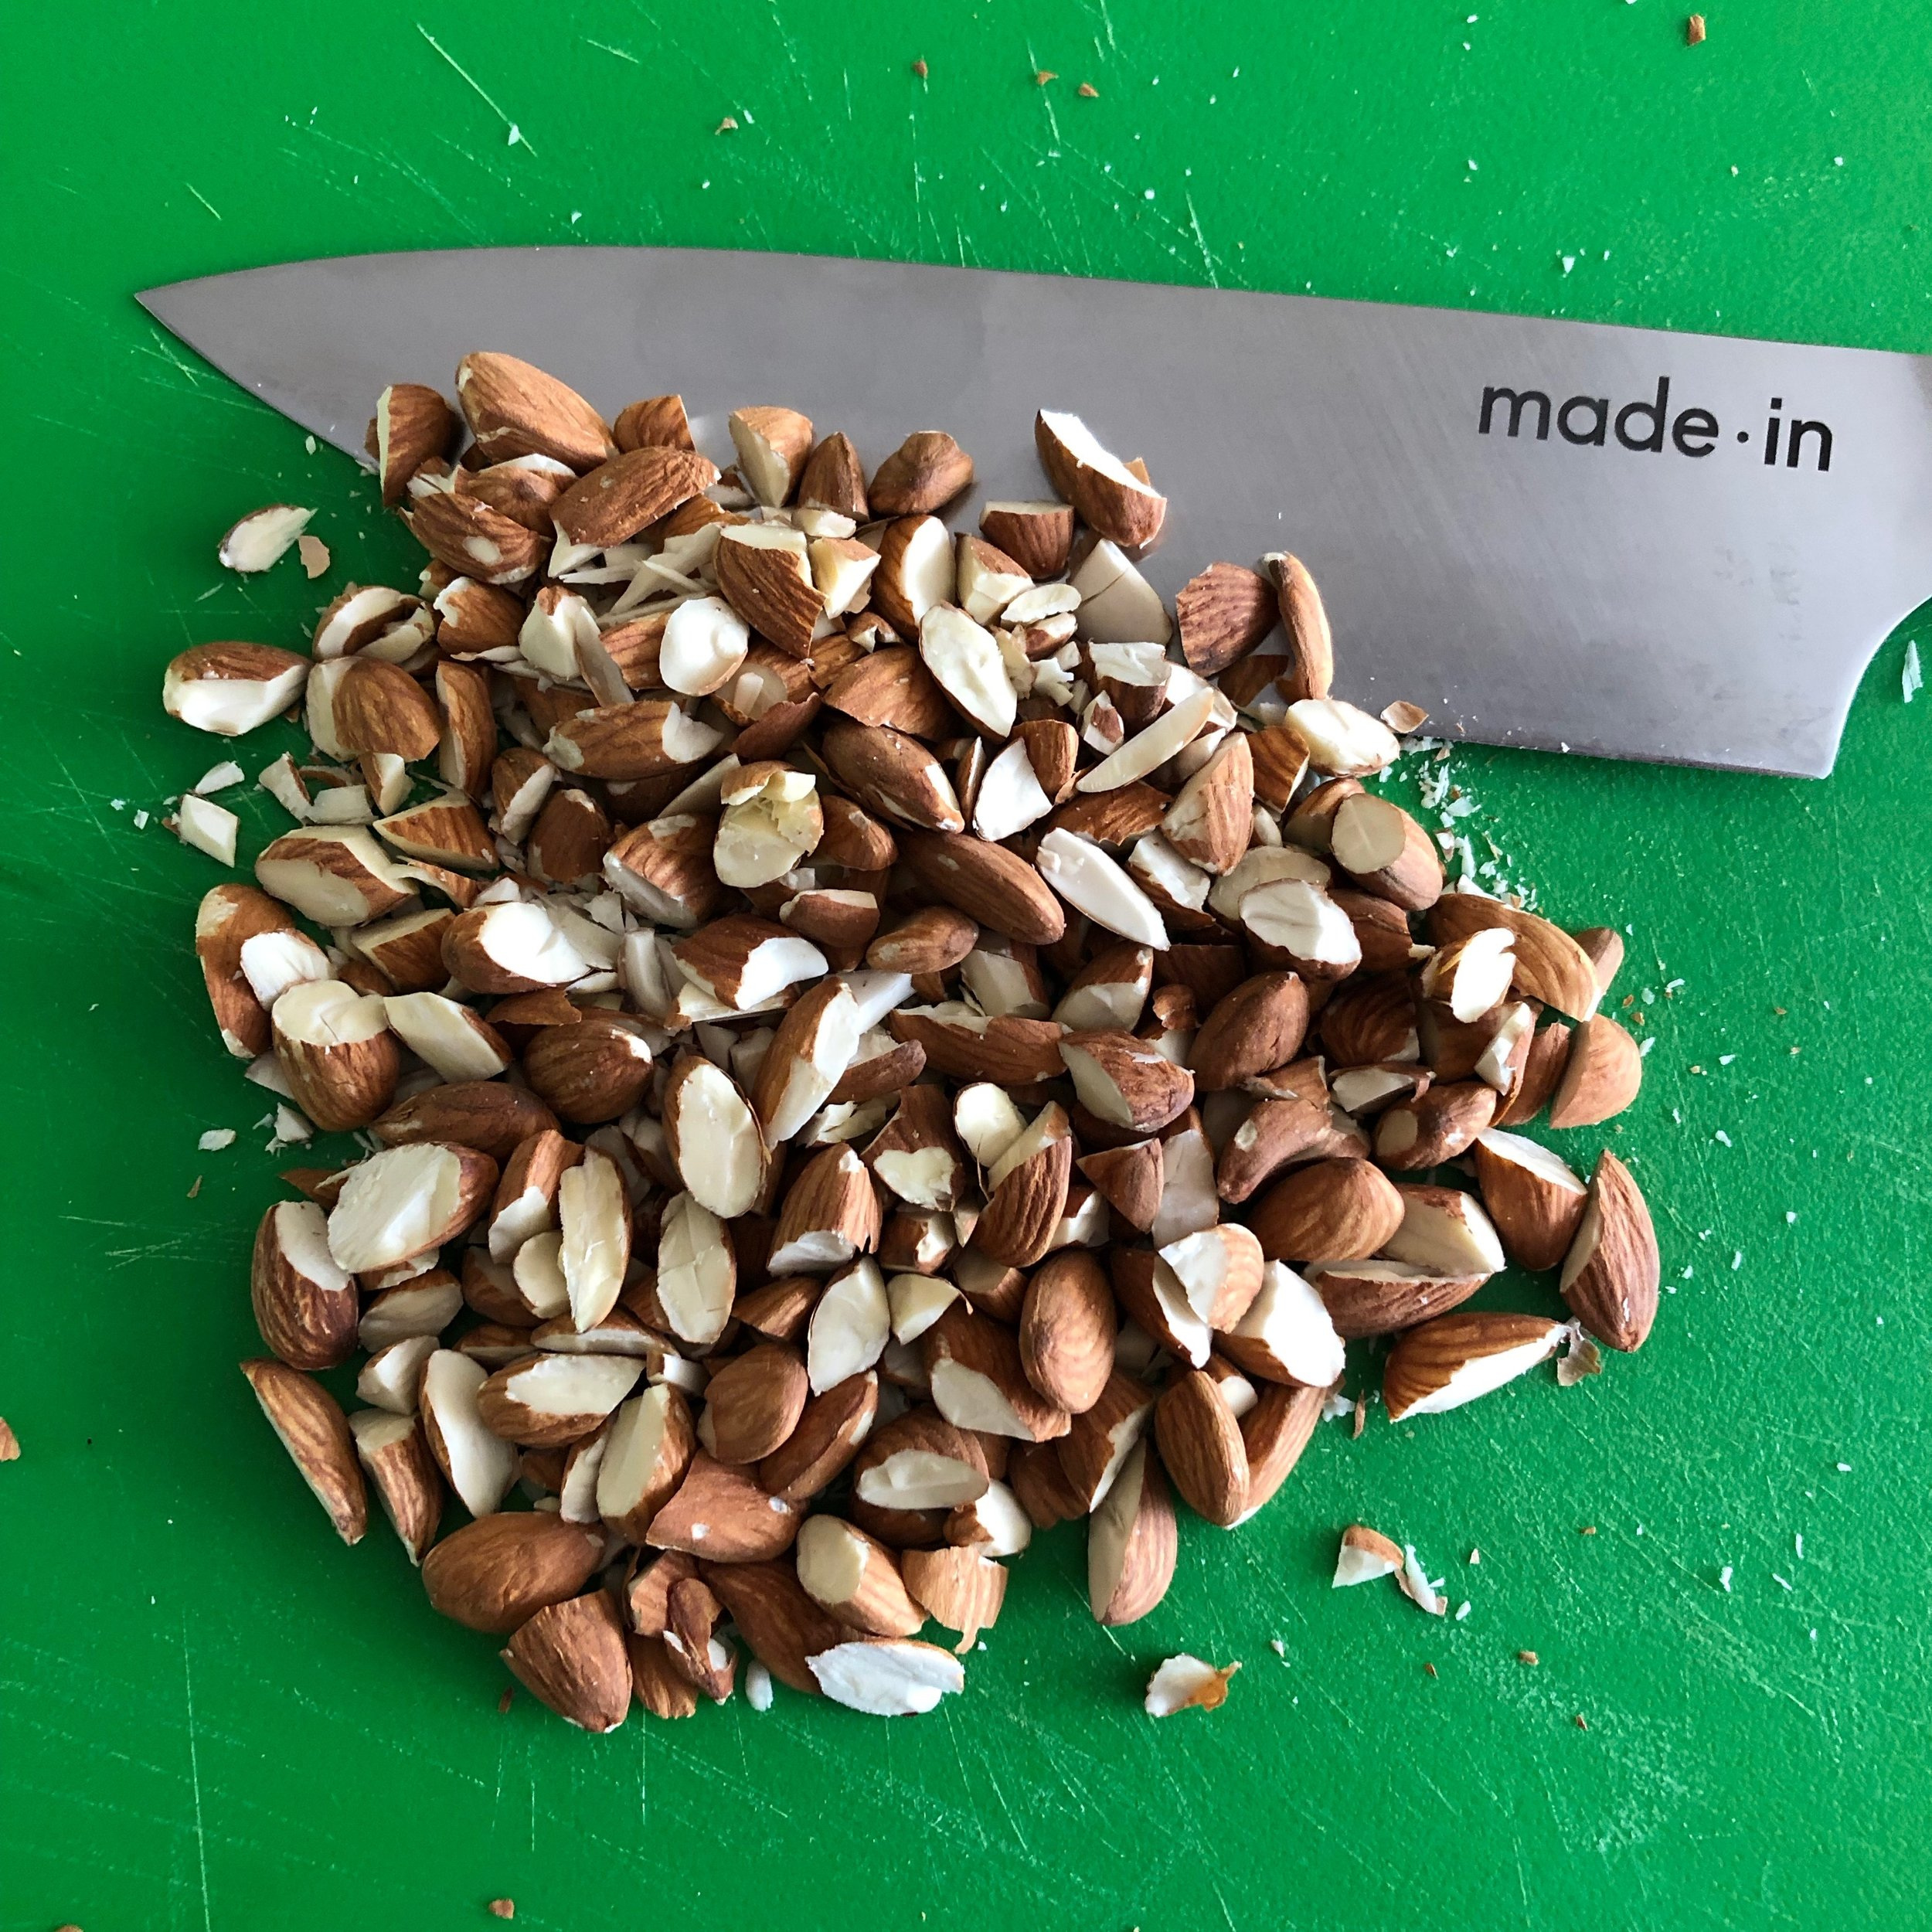
½ - 1½ cups nuts, such as almonds, hazelnuts, walnuts, cashews and pistachios
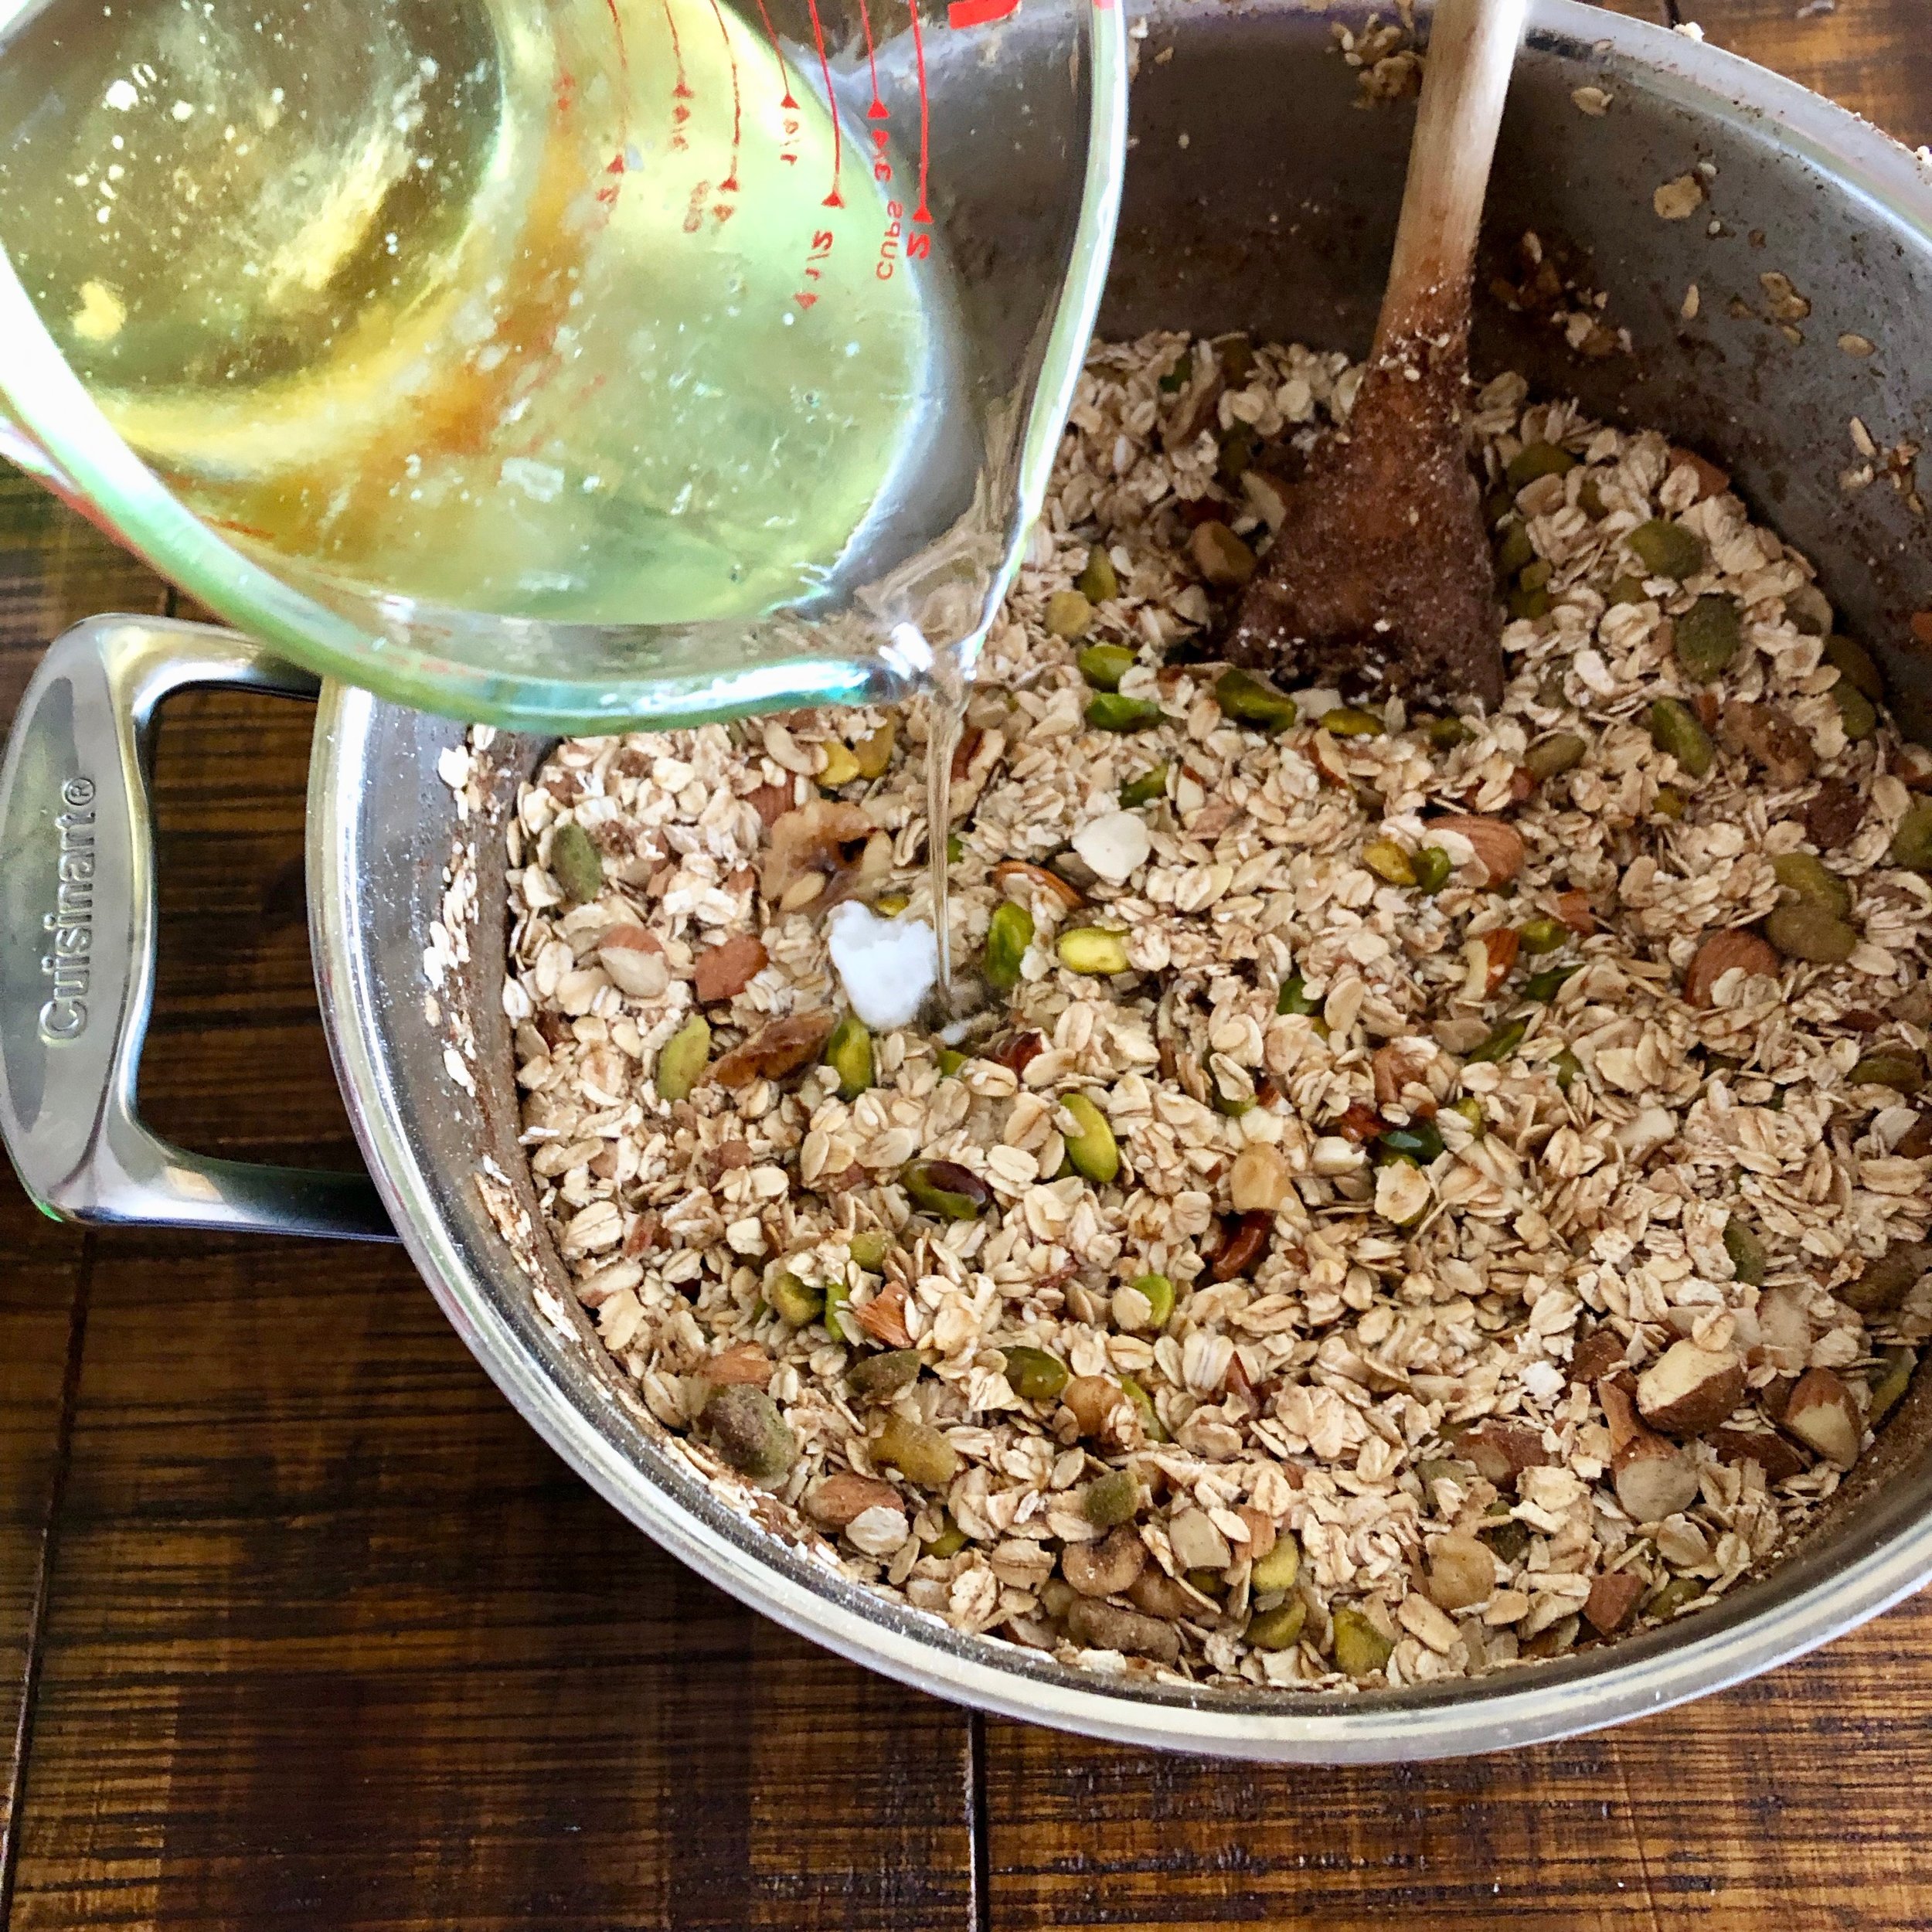
½ cup oil (melted coconut, canola, hazelnut, pistachio, grapeseed, or olive oil)
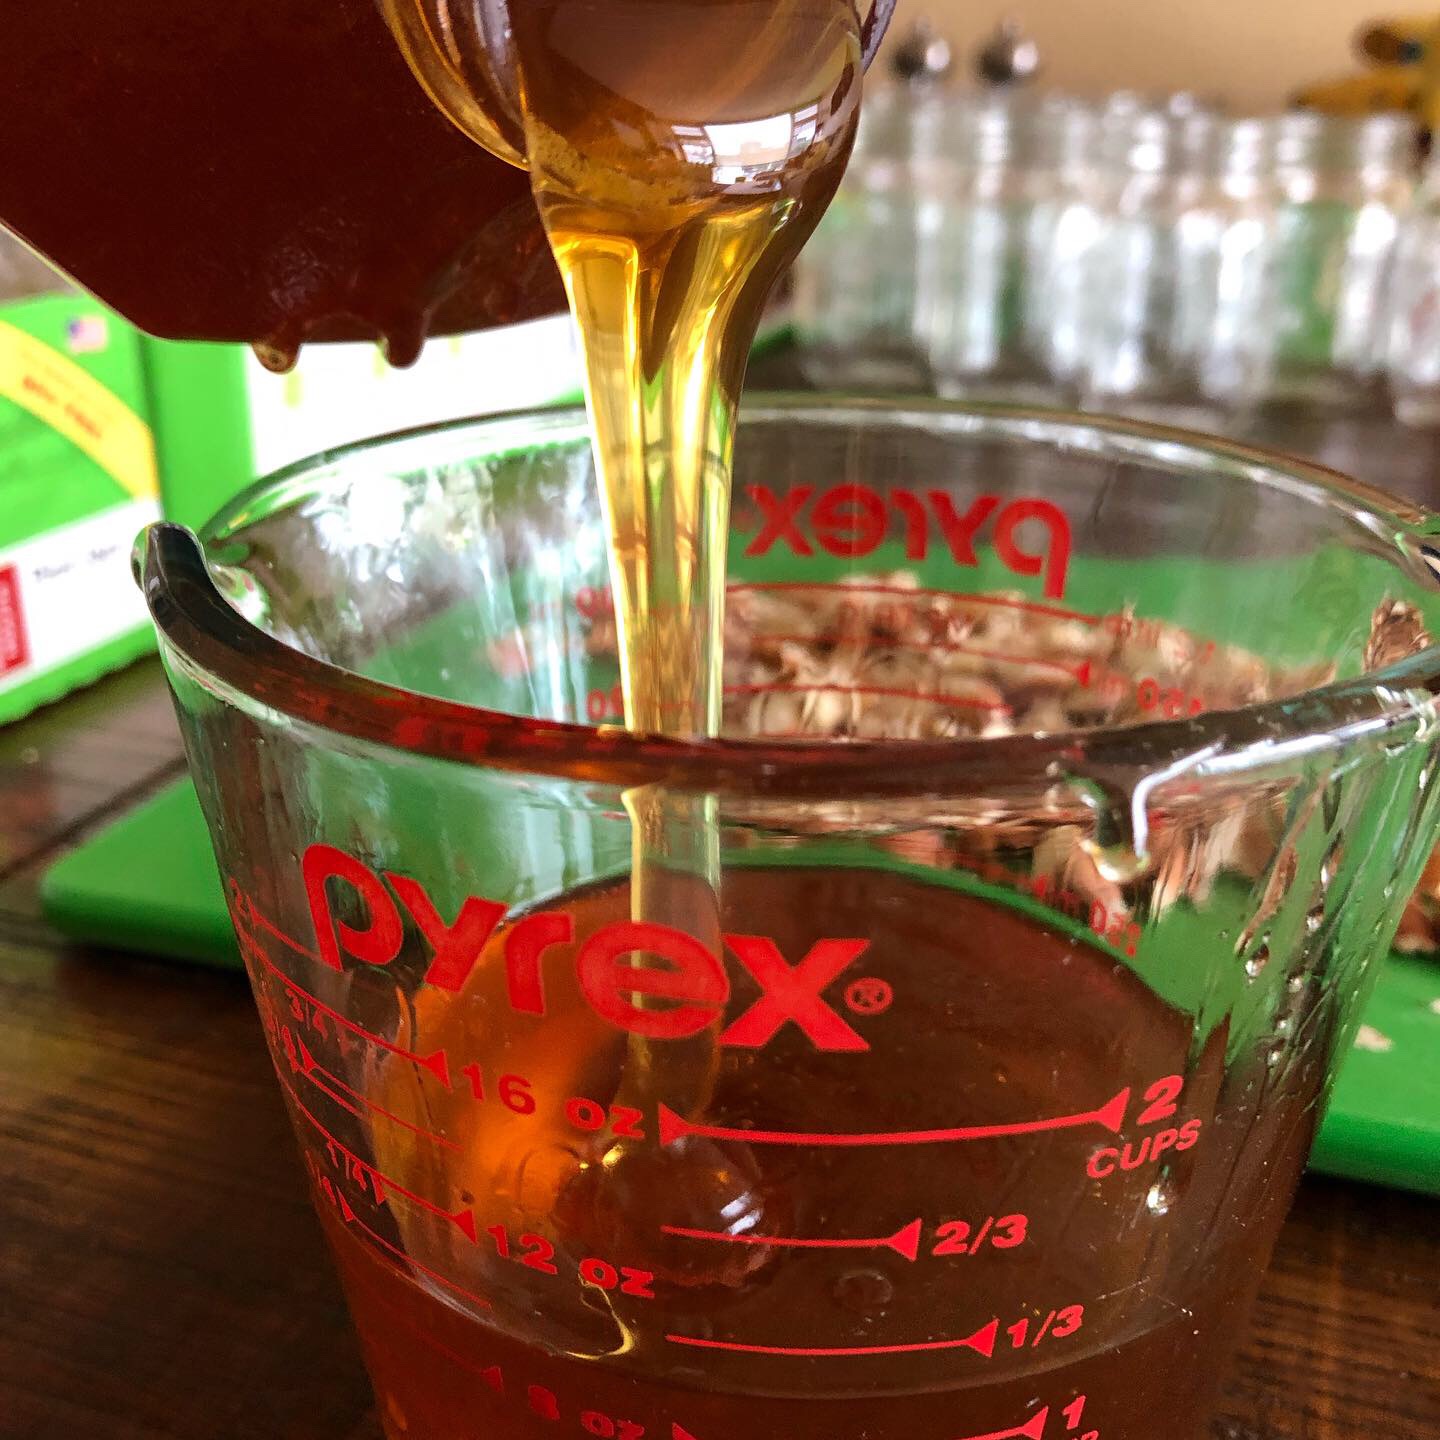
⅓ cup sweetener in syrup form, such as honey, agave or maple syrup
½ cup dried fruit, such as raisins, tart cherries, apricots, figs, peaches or apples, ¼ inch dice
What you do:
Some of my favorite combinations:
All of these start with rolled oats…
walnuts + cinnamon + canola oil + maple syrup + dried apples
pistachios + almonds + cardamom + sesame seeds + coconut oil + honey + dried apricots
almonds + cocoa powder + nut oil (hazelnut, walnut) + agave + dried cherries
cashews + ginger + quinoa + coconut oil + agave + coconut flakes + dried mango
matcha tea powder + cashews + coconut oil + agave + golden raisins
walnuts + pistachios + cinnamon + quinoa + grapeseed oil + honey + raisins
What goes into your favorite mixture?
Almond Cookie Butter and Jam Cups in a Dark Chocolate Shell
Once, when diligently cleaning out my pantry, I stumbled upon a partial package of biscuits and the dried up remnants of a jar of almond butter (you know, the part left behind because I didn’t bother to evenly distribute the oils). And of course I had dark chocolate chips on hand. Determined to turn these scraps into something edible and pacify my junk candy craving, I whipped up confections suitable for a vacation-land ice cream shop, that can live in my freezer to be eaten on demand.
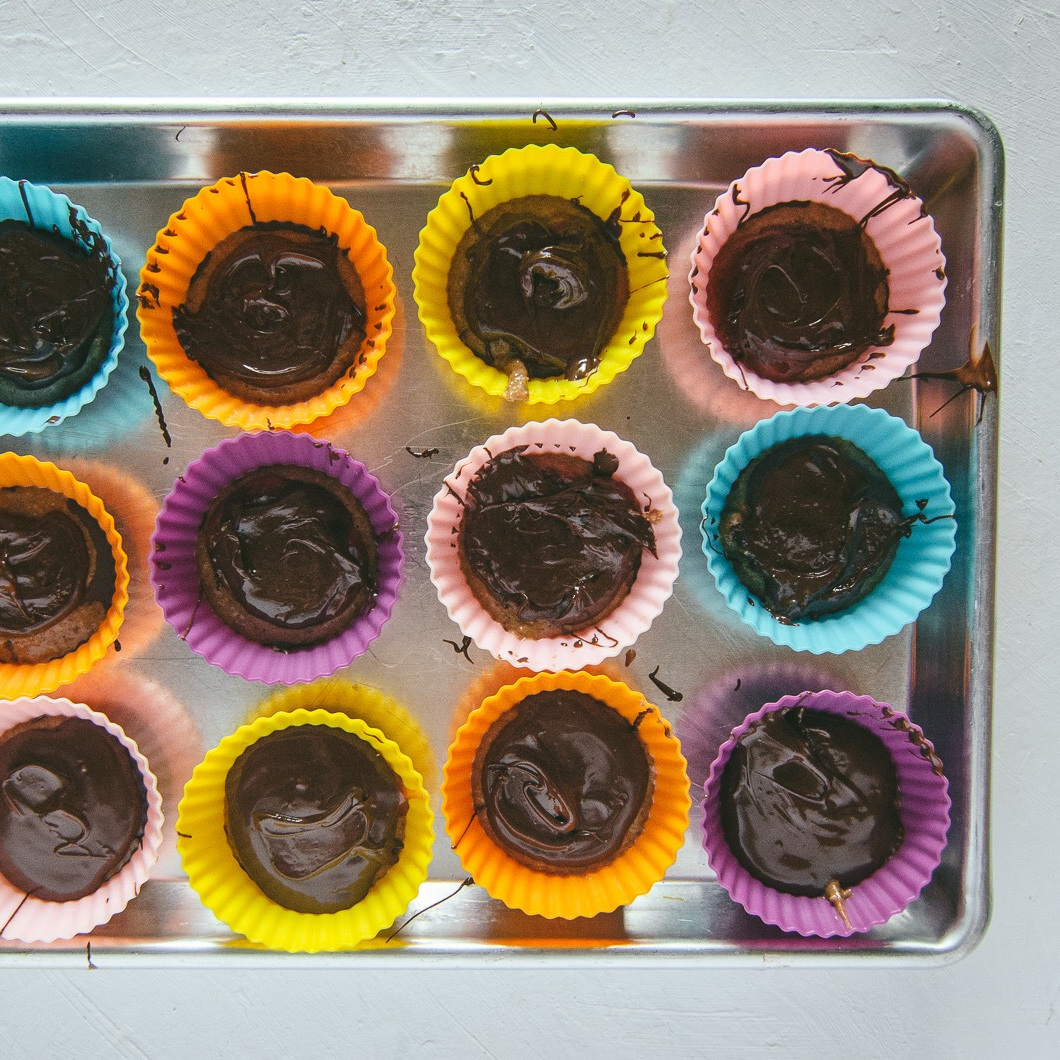
This recipe has gone through a few iterations to reach the perfect state it’s currently in. At first, I used mini tart shells and swirled the chocolate and almond butter filling together. While it created an artful design (see photo top right), it was much too large for one serving and too hard to cut into for sharing. My initial peanut butter cup inspiration did not include jam. But the richness of the almond butter and the bitterness of the chocolate called for something tart and sweet. Enter in: any type of jam you have on hand - my favorites for this are raspberry and strawberry. Finally, it was the students in my gluten free desserts class who suggested lining the sides of the muffin cup with a thin layer of chocolate to contain all of that almond butter gooeyness (see photo bottom right for earlier less refined yet photogenic version). Proof that even the best desserts can be made better.
Almond Cookie Butter and Jam Cups in a Dark Chocolate Shell
Makes: 9-12 candy pieces
What You Need:
5 teaspoons coconut oil, divided
½ cup plus 2 tablespoons finely crushed biscuit* crumbs
½ cup creamy almond butter
Pinch sea salt
8 oz dark chocolate
¼ cup jam (raspberry or strawberry recommended)
What You Do:
Line a small baking sheet with silicone muffin cups or mini tart shells (1½ - 2 inches in diameter).
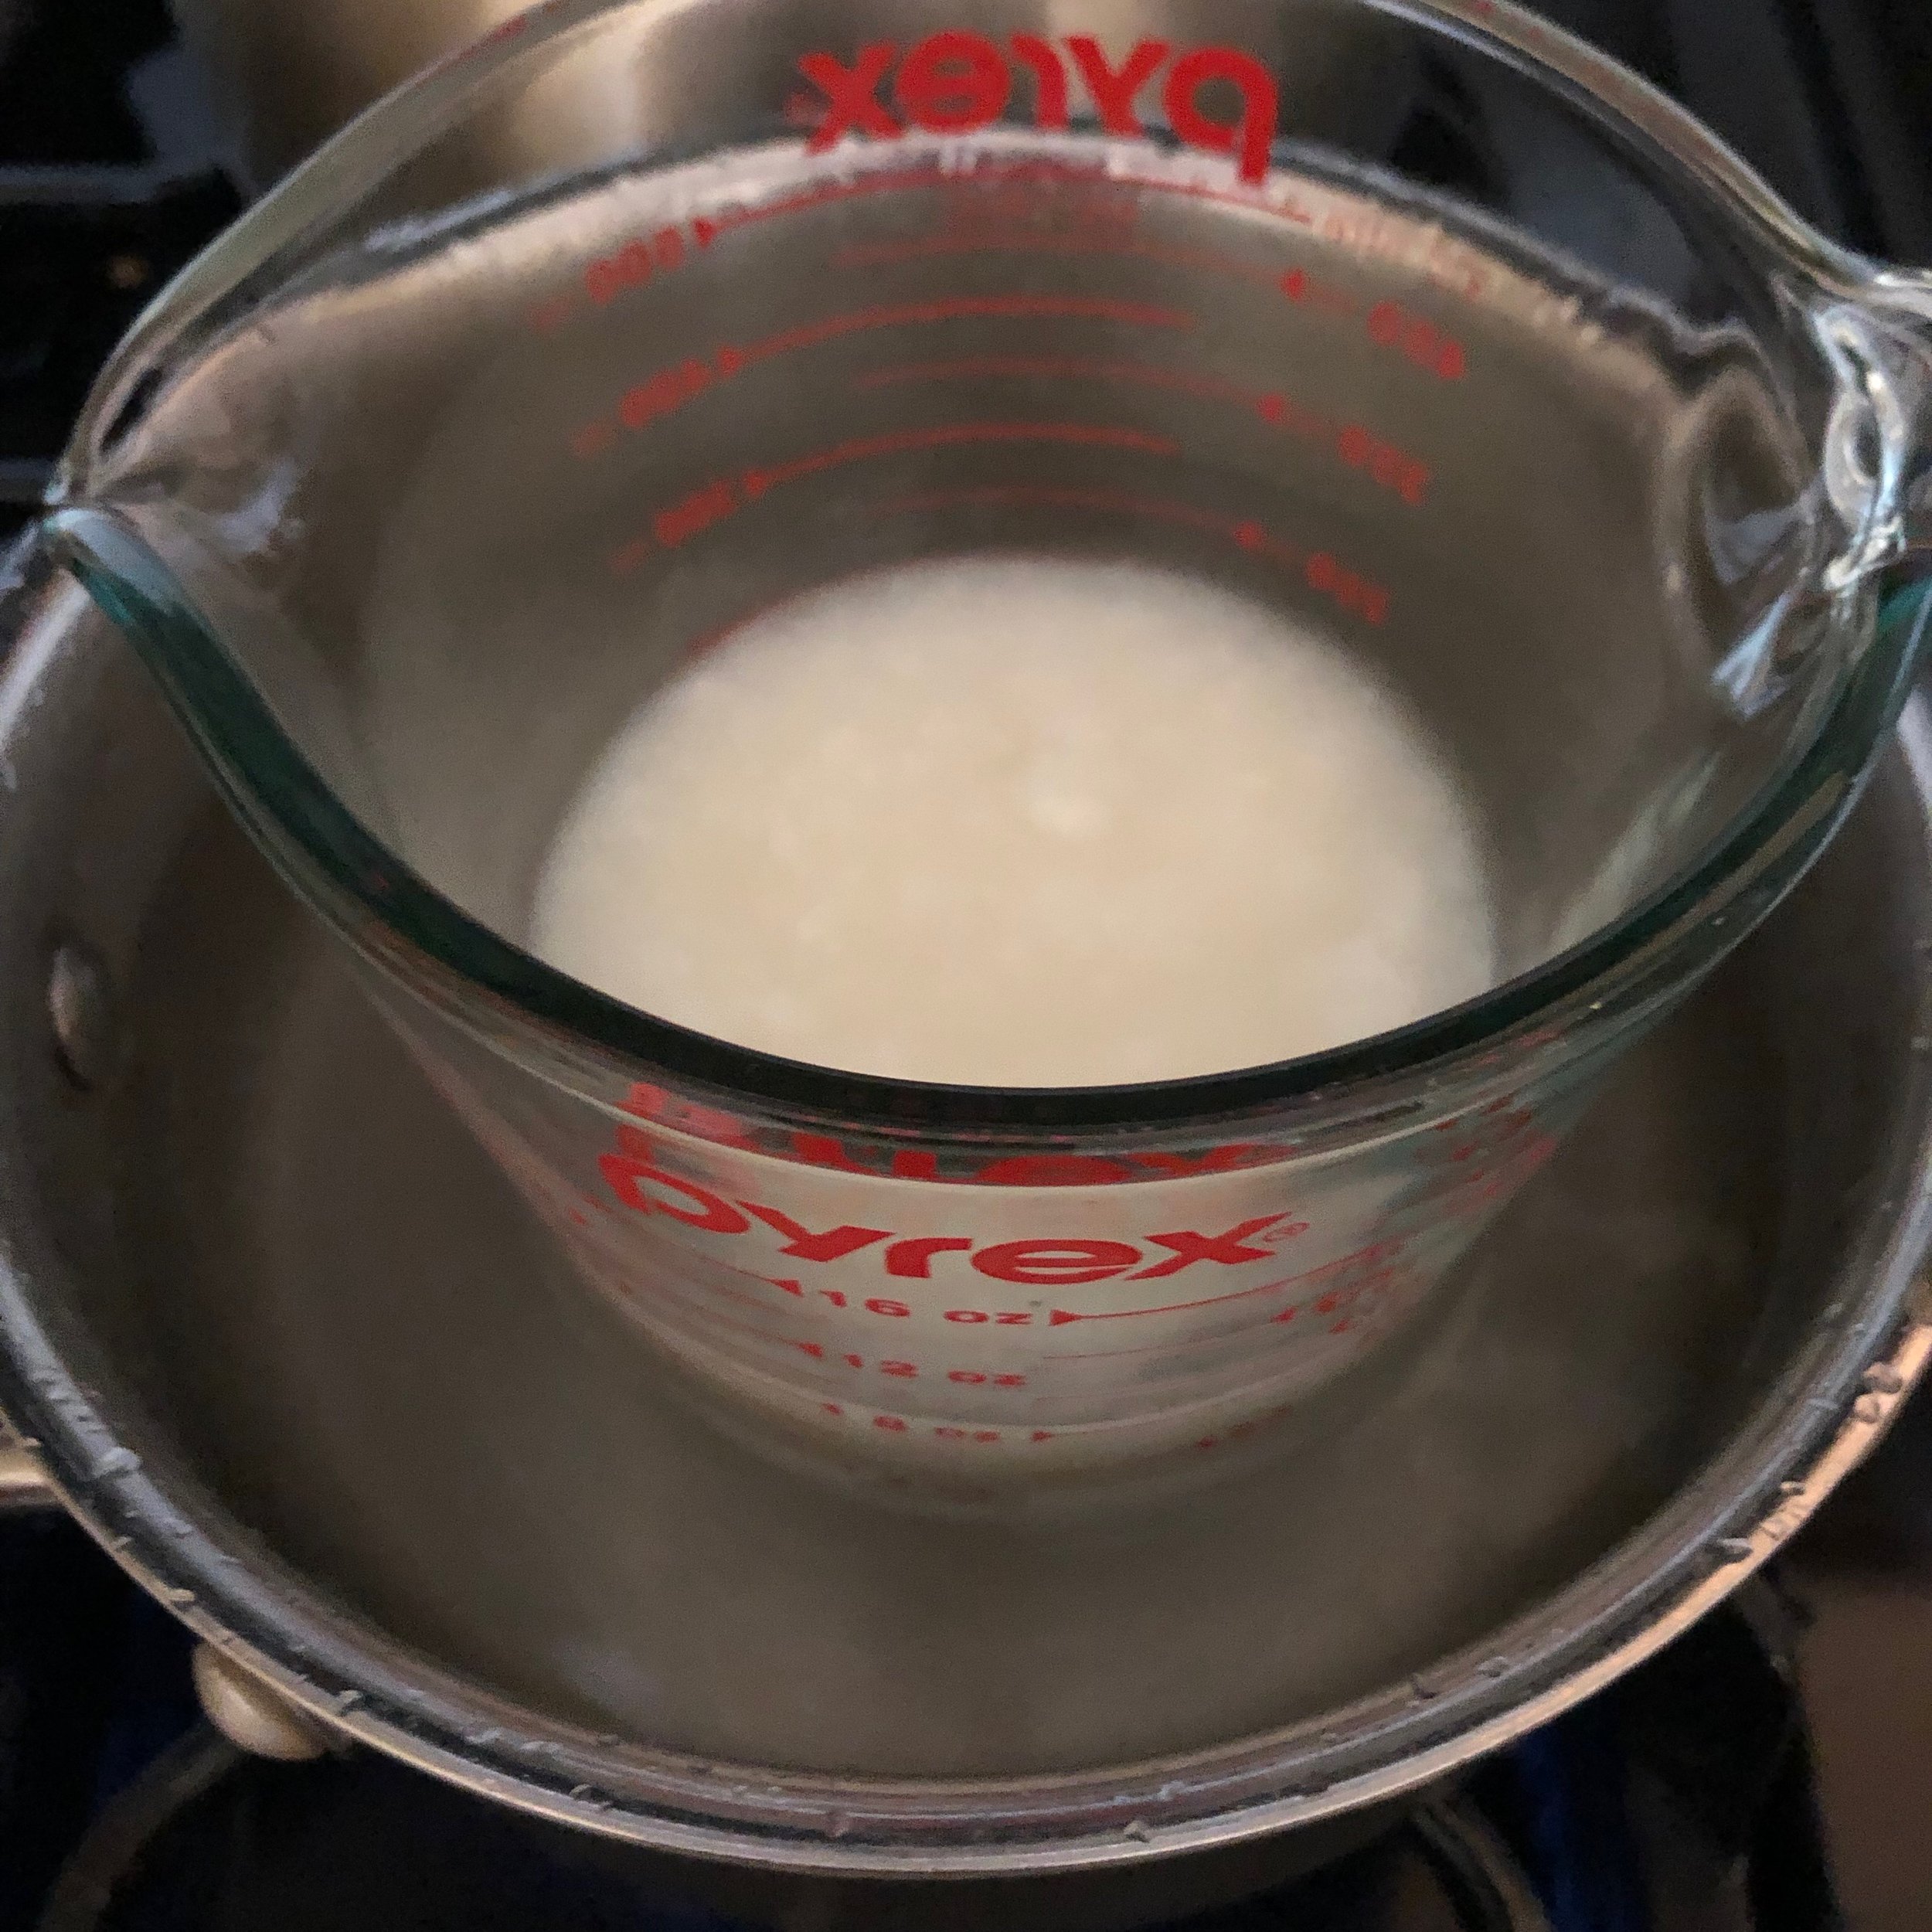
Over a double boiler (or in a glass bowl in the microwave), melt the coconut oil. Set aside 2 level teaspoons of coconut oil to be added to the chocolate later.
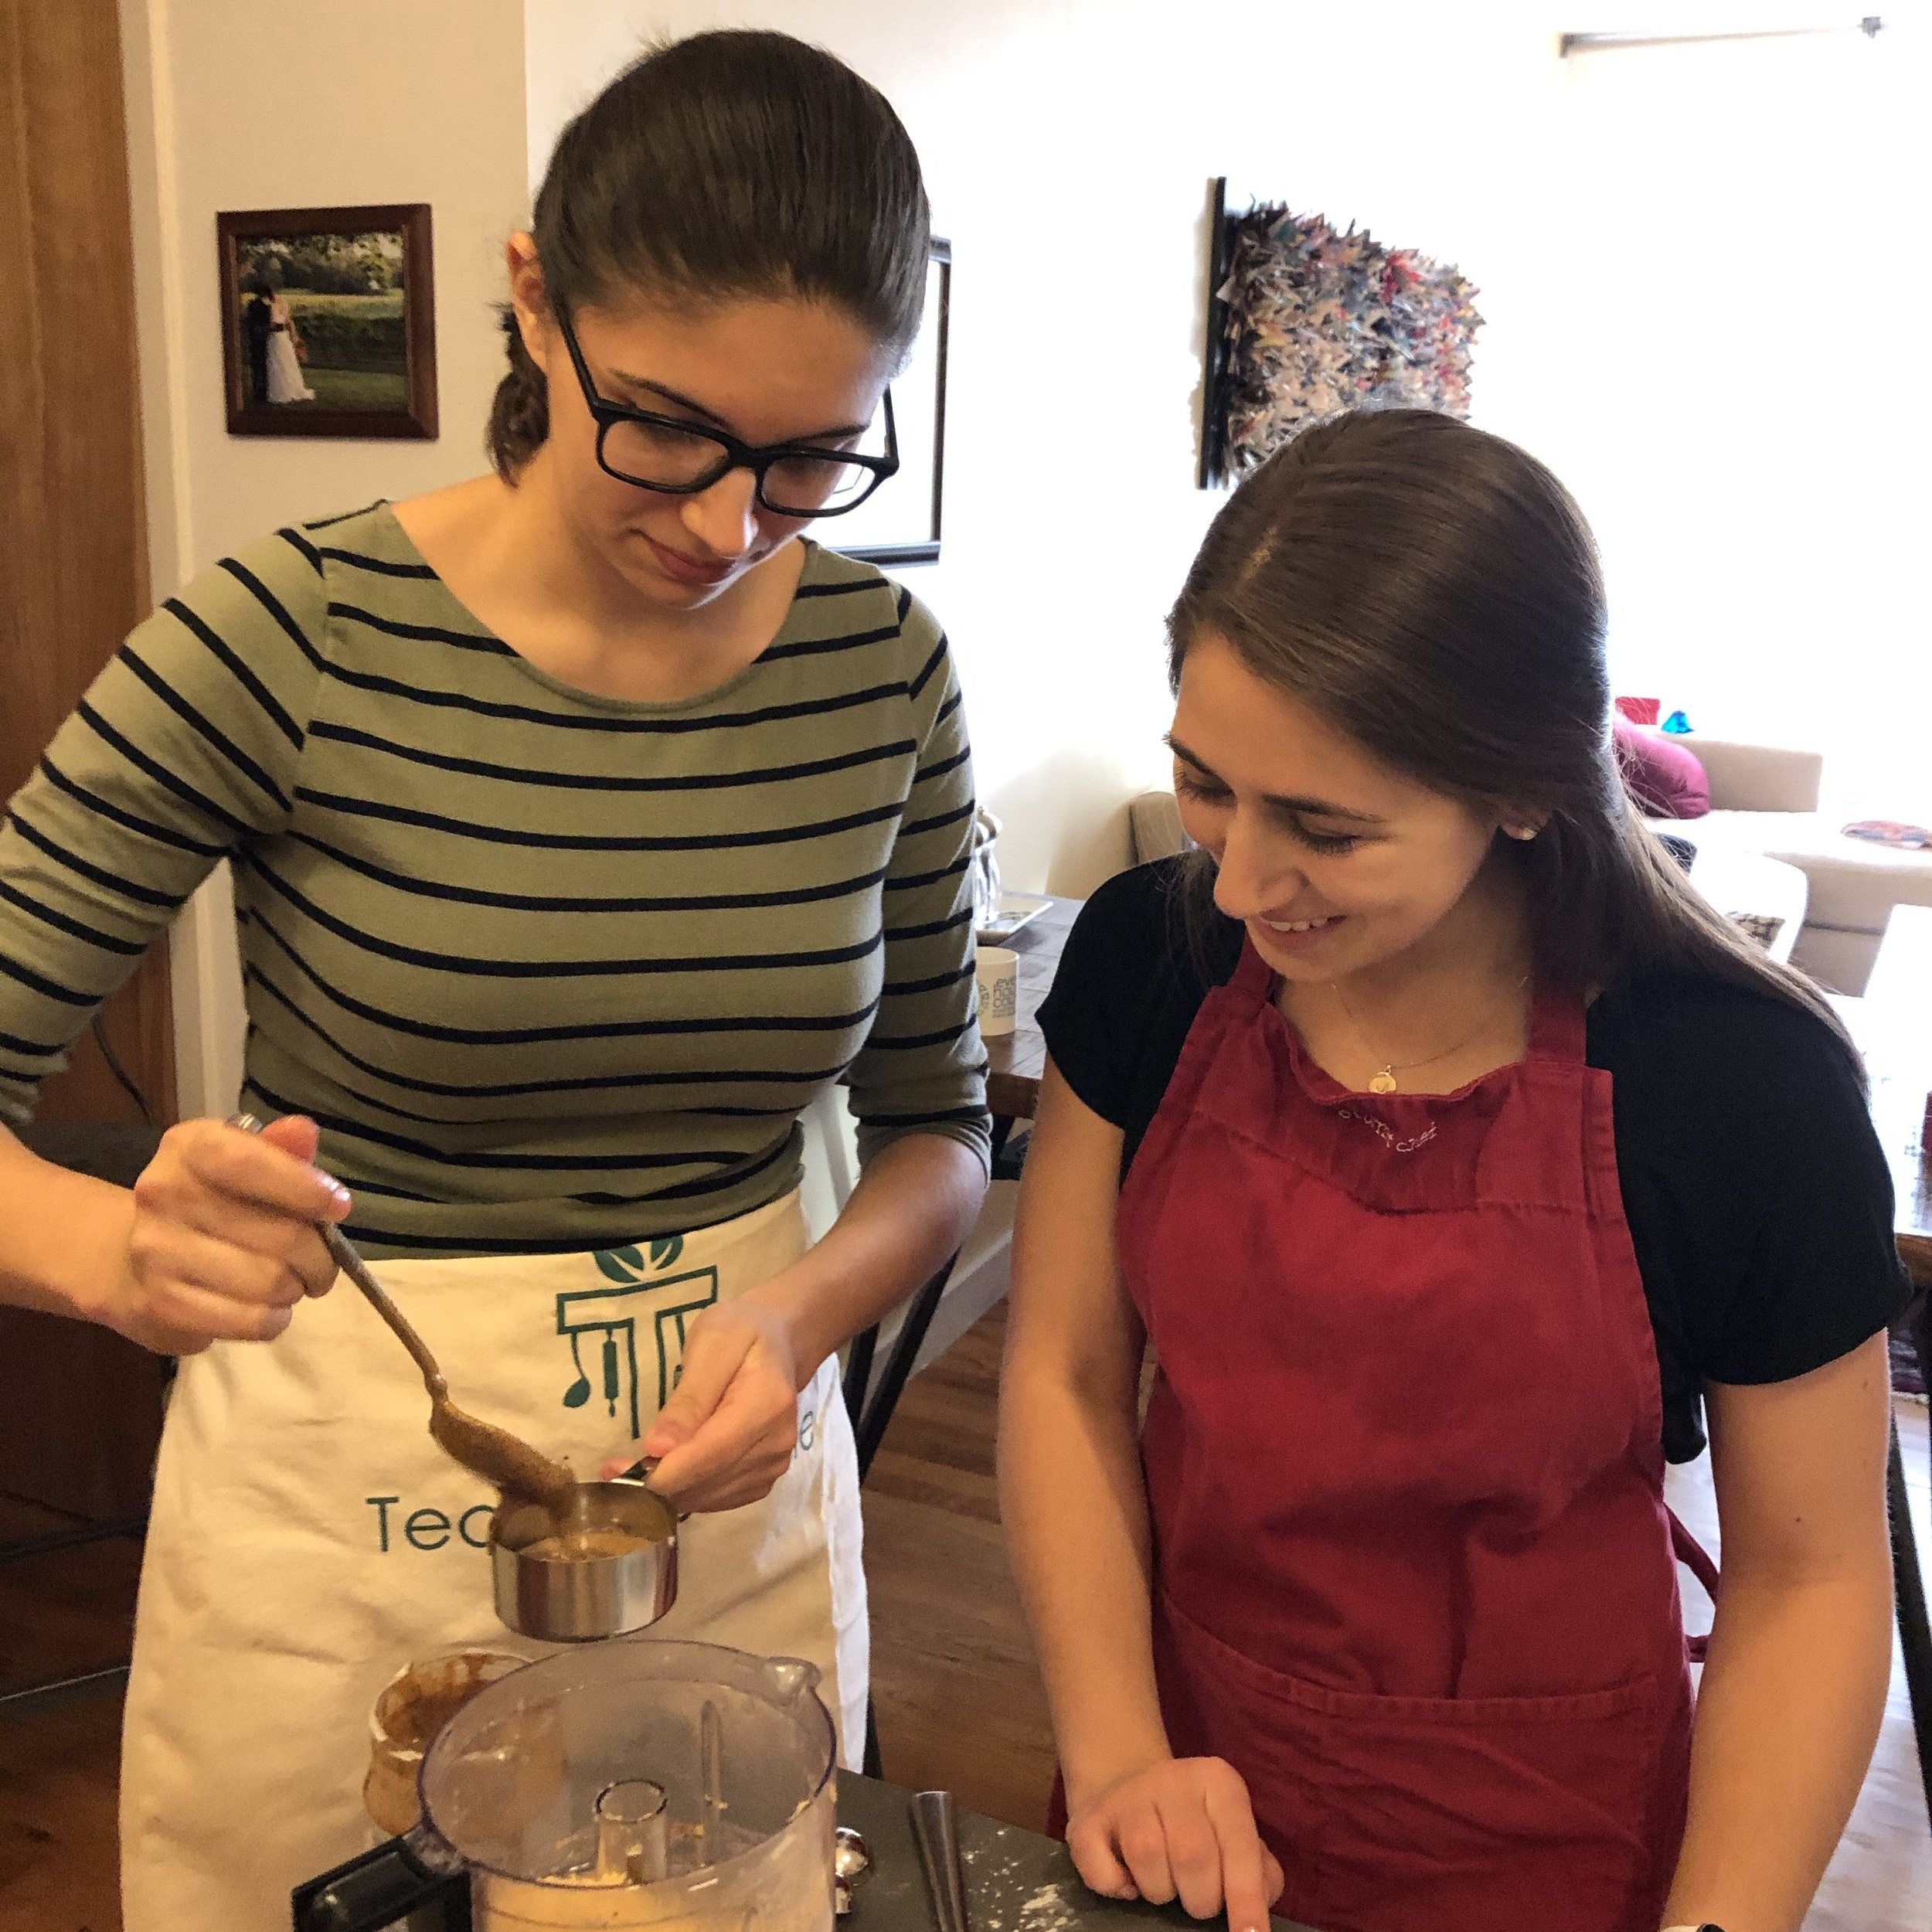
Combine 2 teaspoons melted coconut oil, biscuit crumbs, almond butter and salt in the bowl of a food processor. Process until smooth. Add 1 teaspoon more coconut oil if needed to smooth out the mixture.
In the same double boiler or bowl in which you melted the coconut oil, melt the chocolate with the reserved 2 teaspoons of coconut oil. Whisk until smooth.
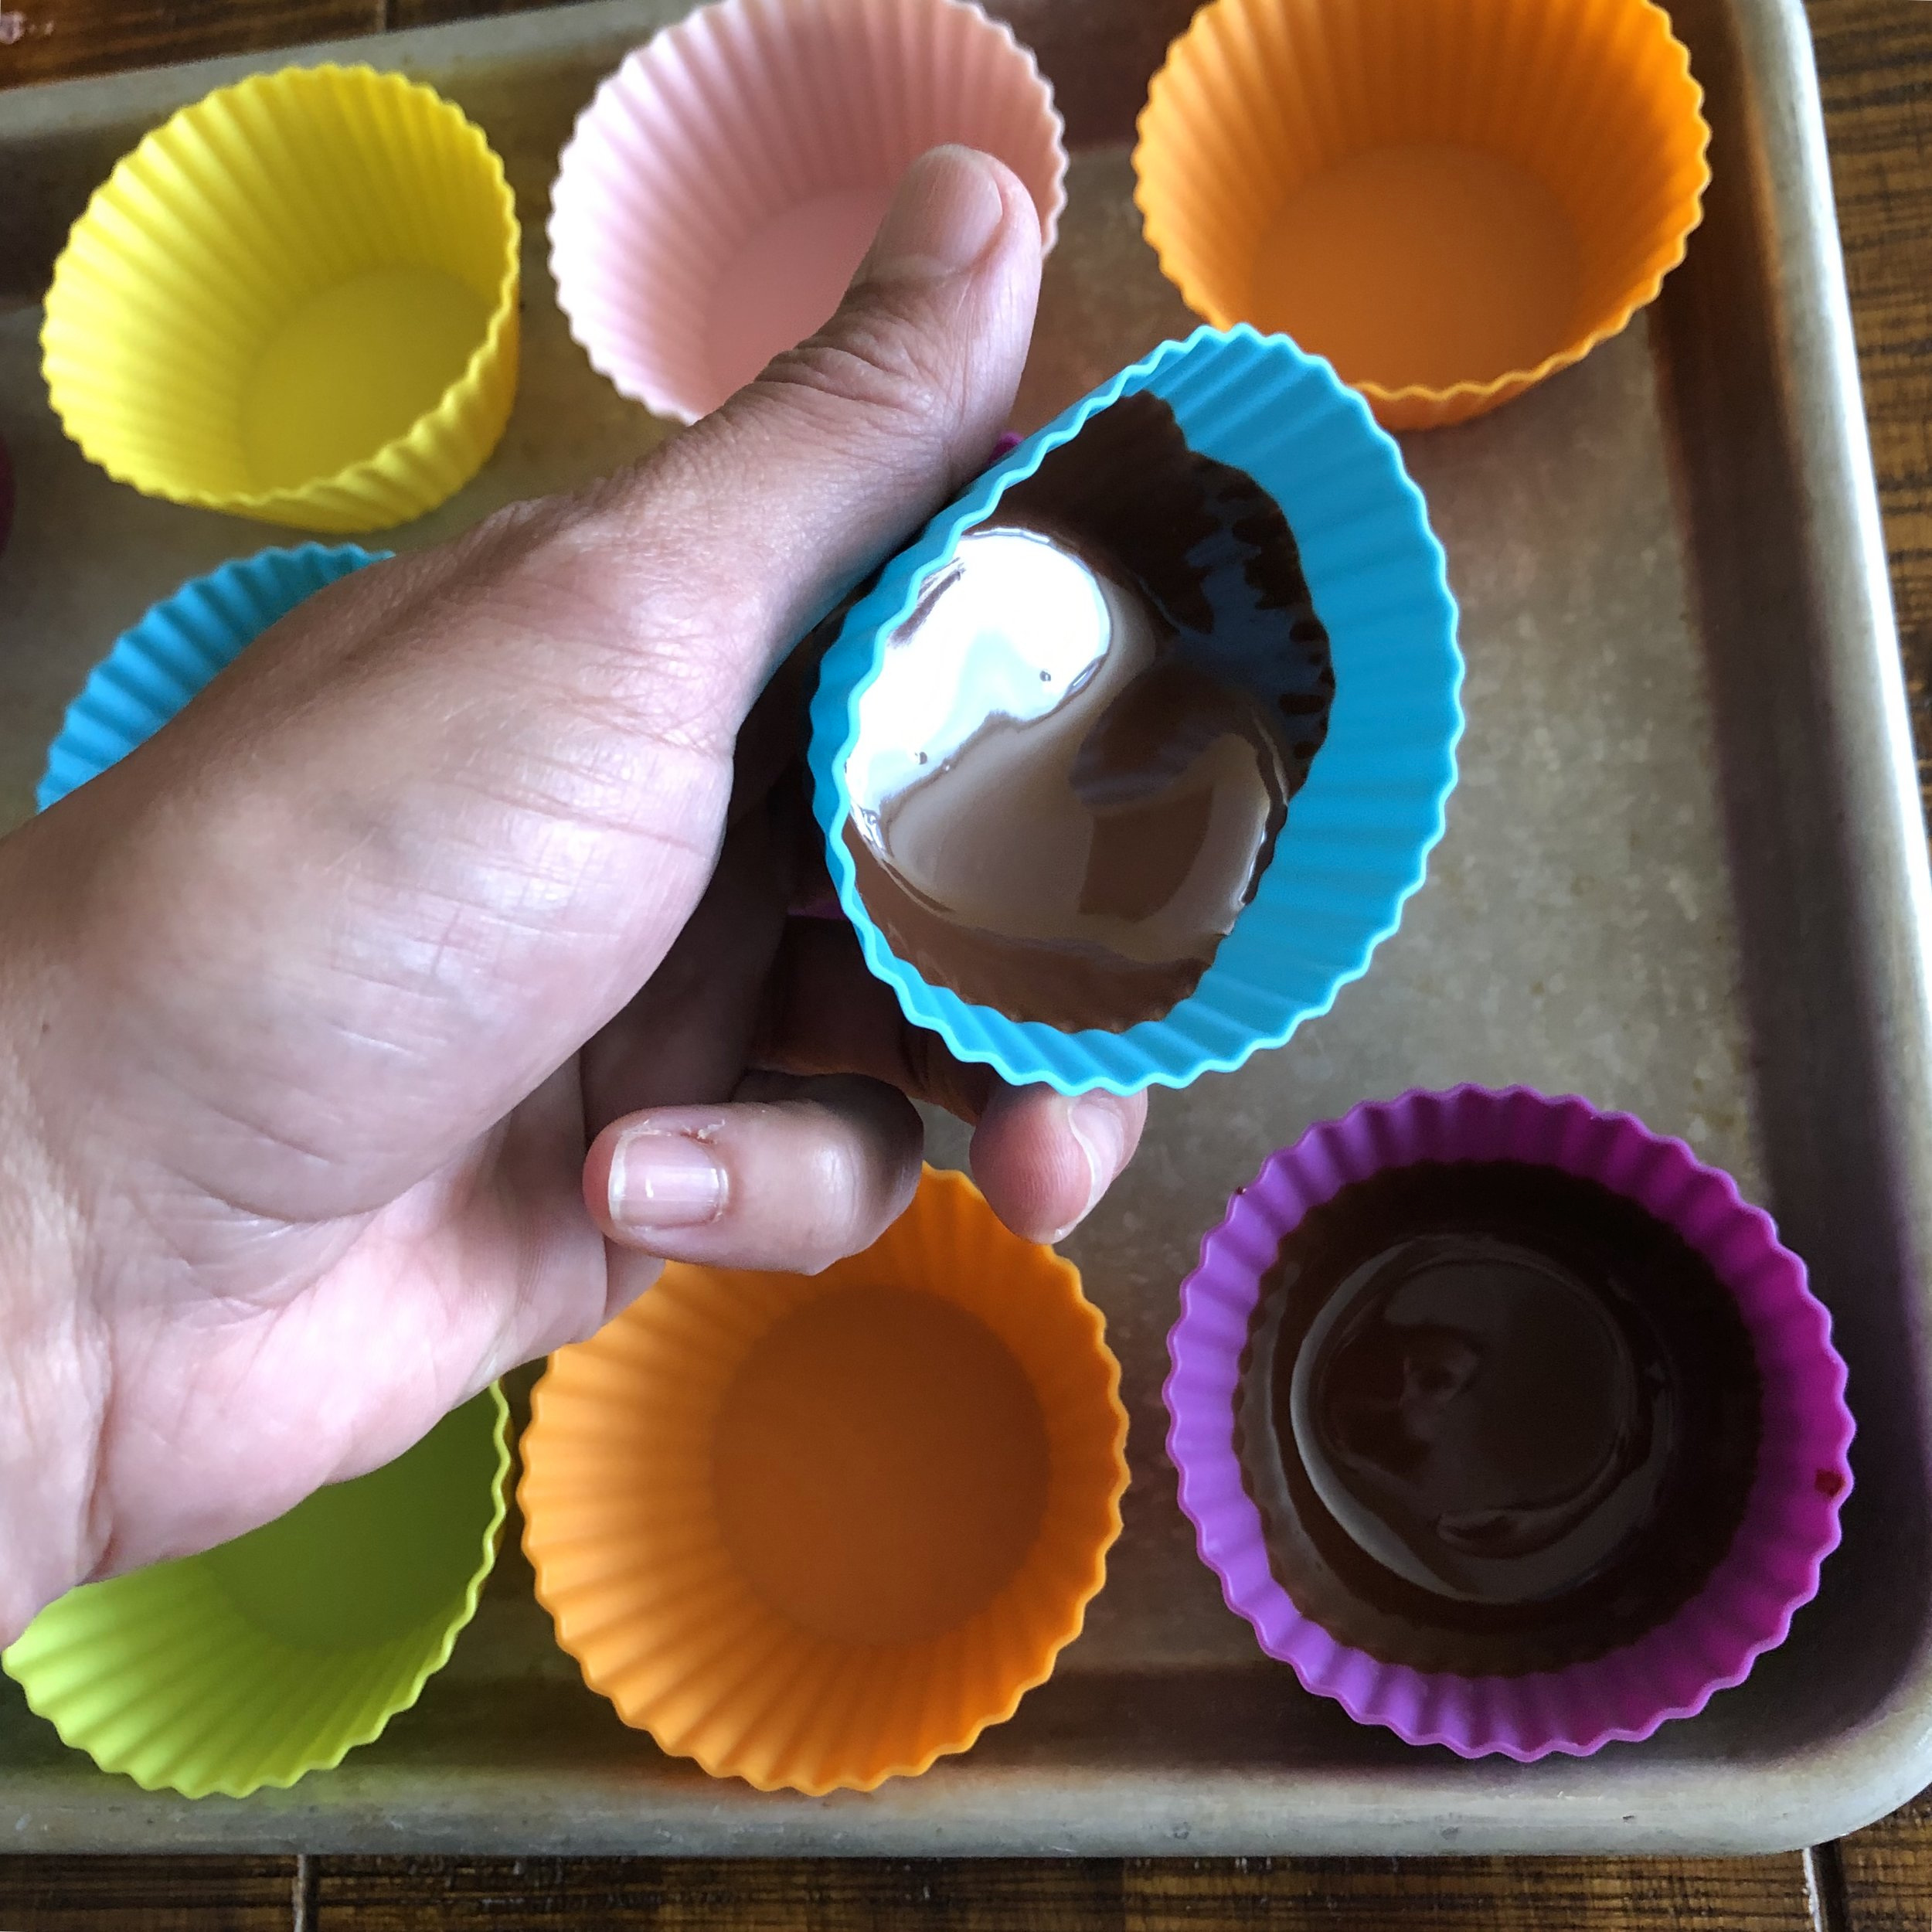
Drop about 1 tablespoon of the melted chocolate into the bottom of each cup and spread out, turning and tilting the cup so that the chocolate evenly coats the bottom of the cup and runs up the sides about half an inch. Freeze for 3-5 minutes.
Dollop approximately 1 tablespoon of the biscuit crumb and almond butter mixture on top of the chocolate base in each cup.
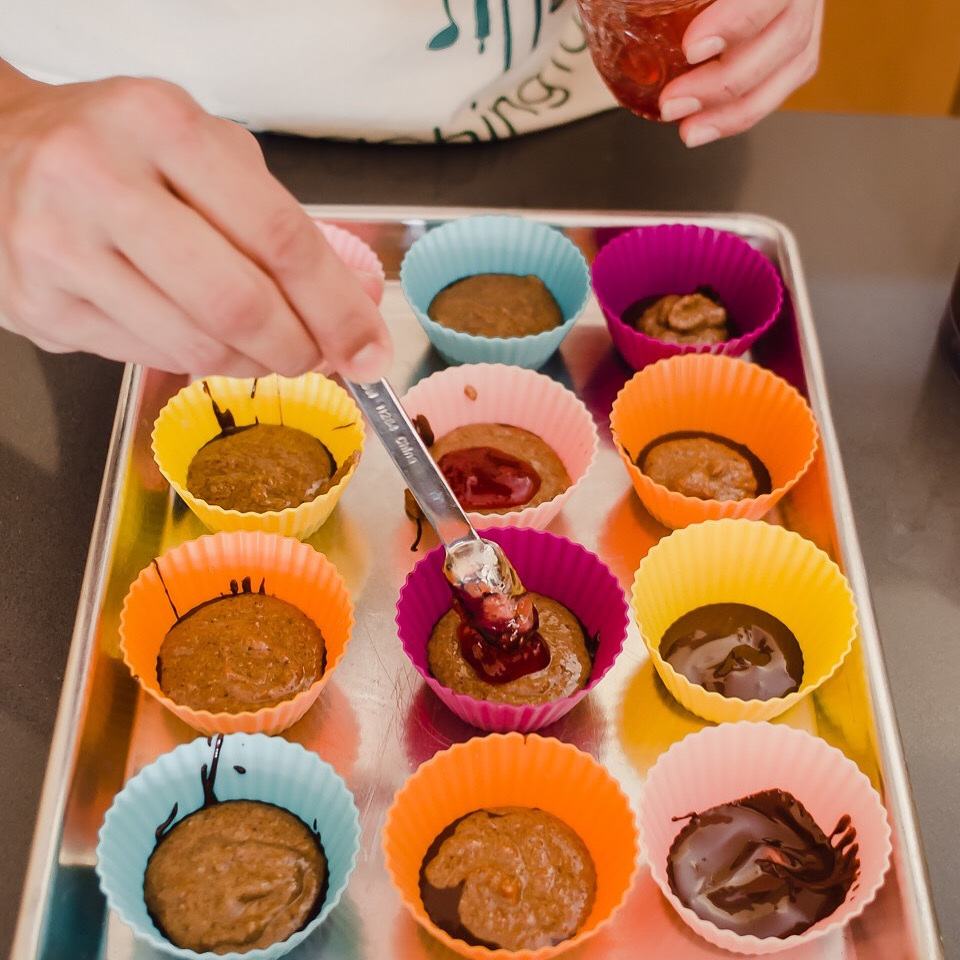
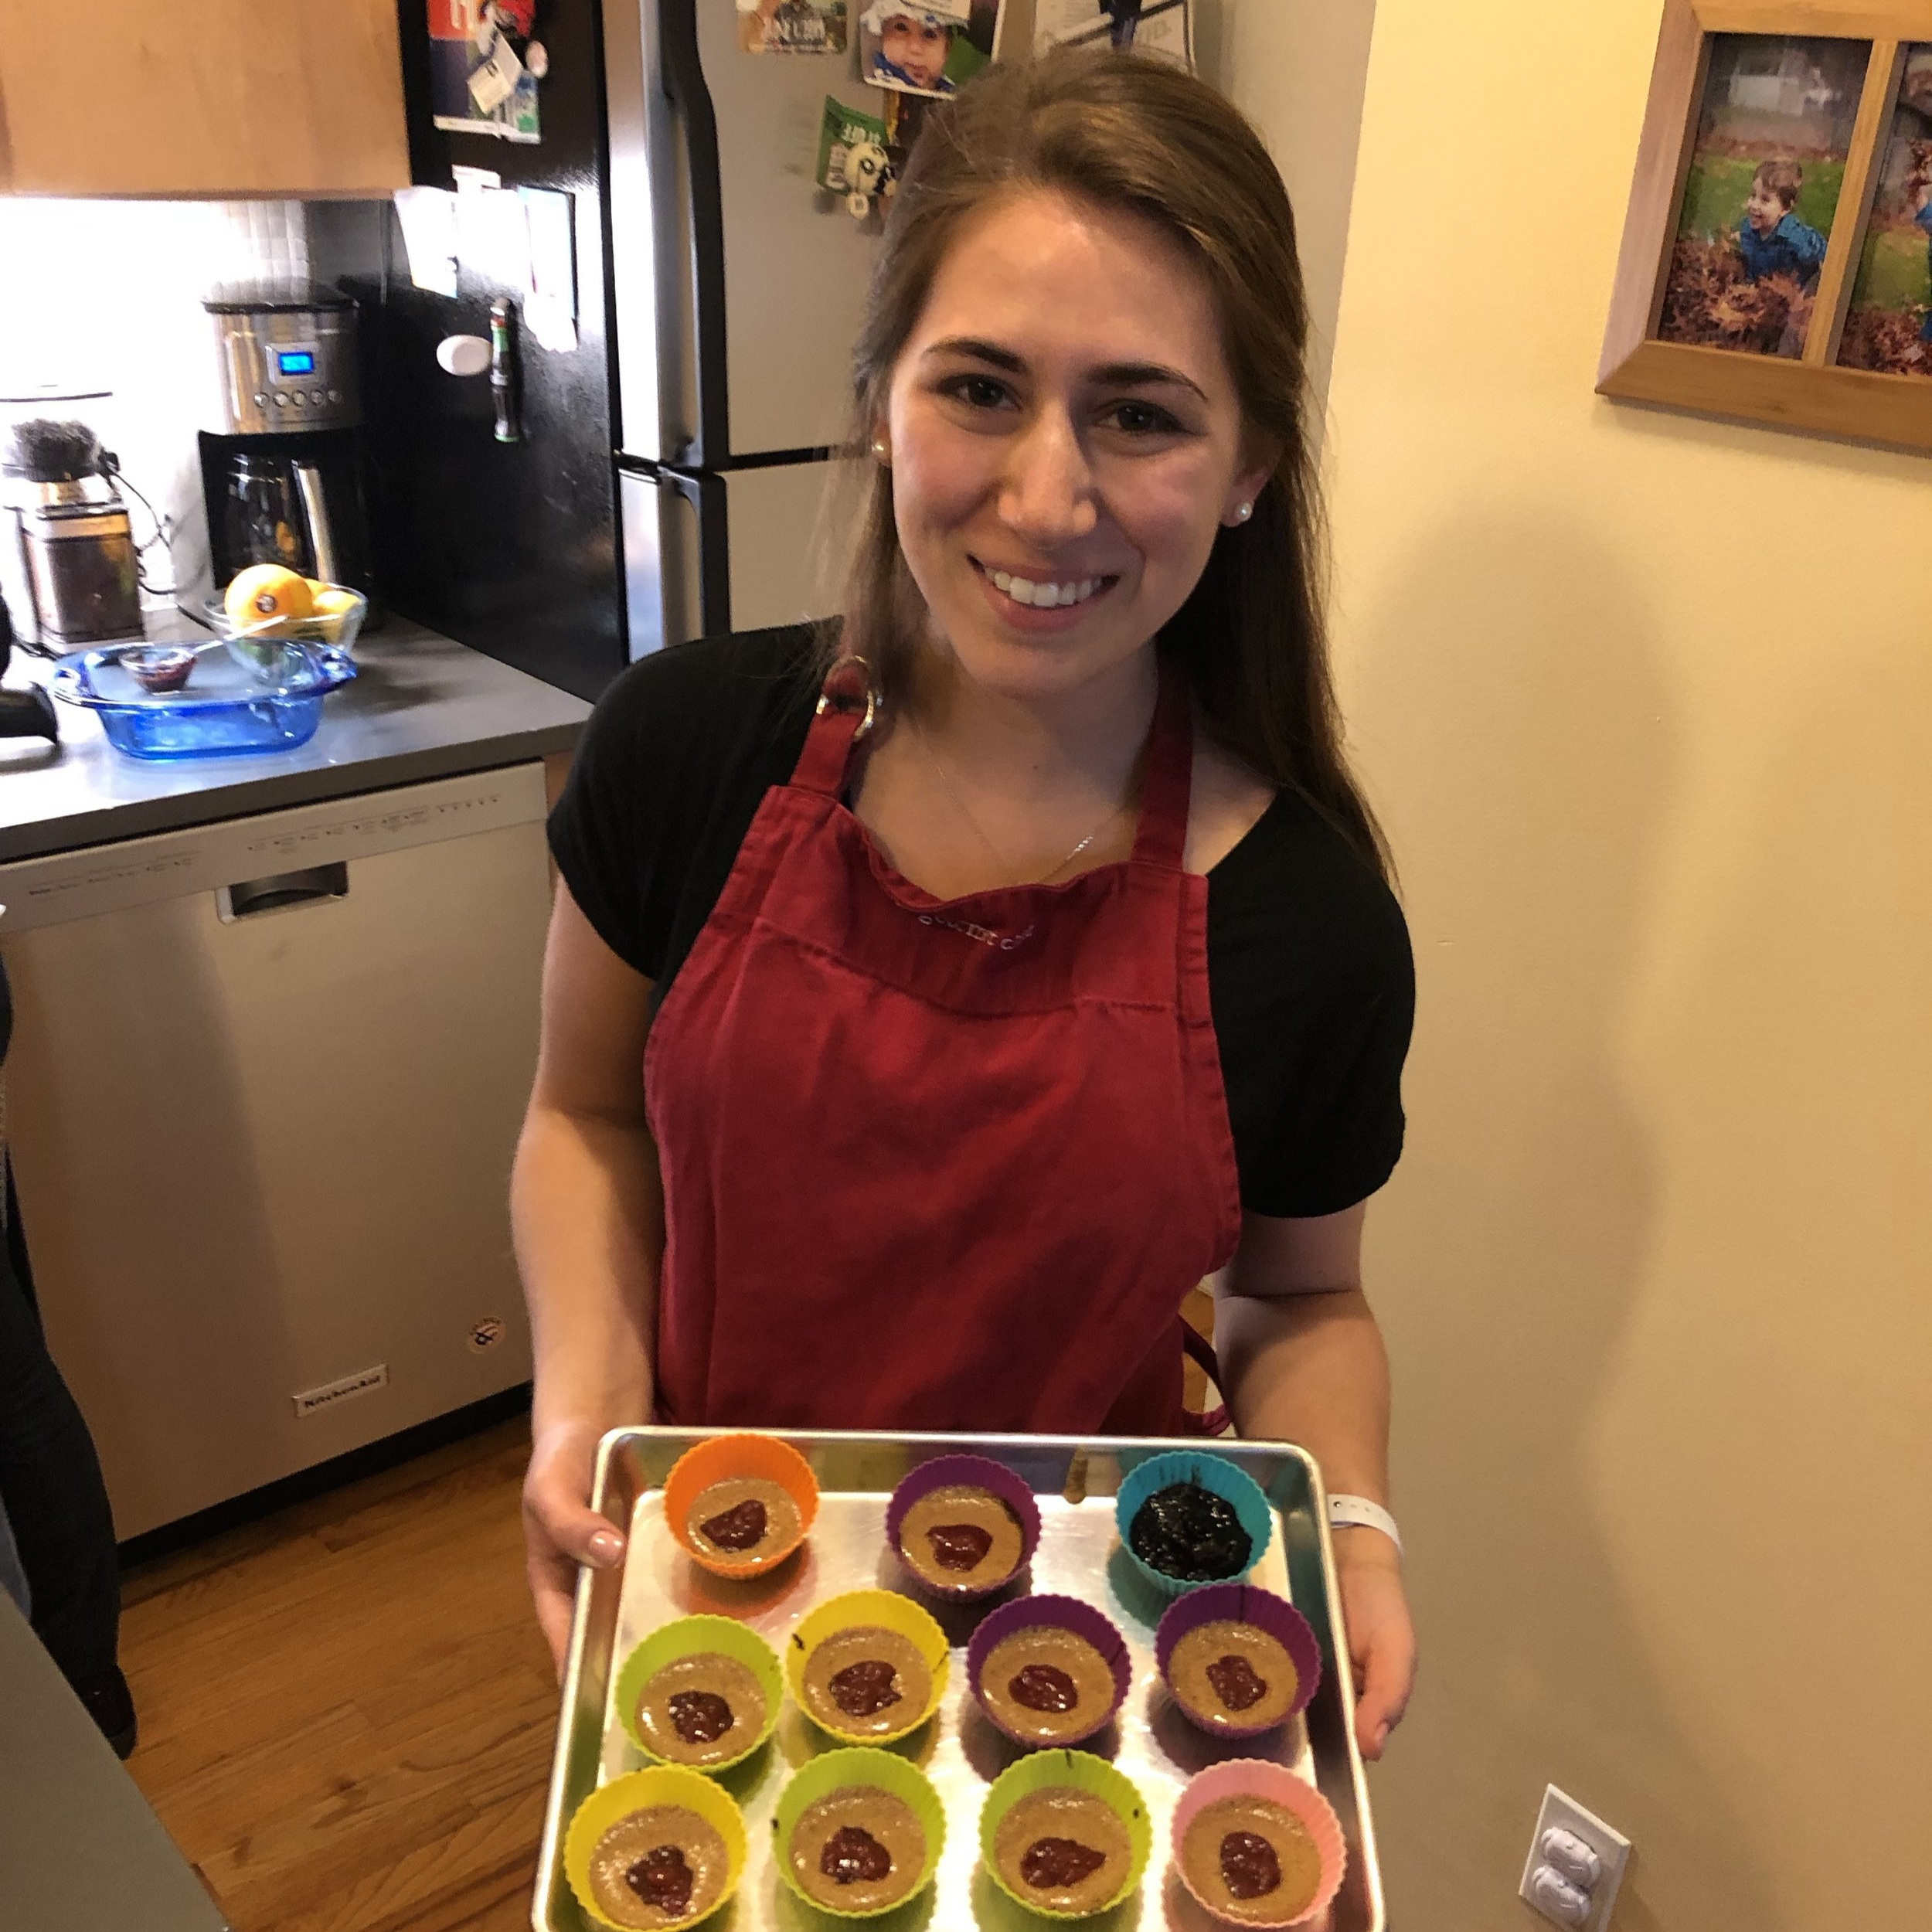
Dollop ½ - 1 teaspoon of jam into the center of each cup.
Freeze for 20-30 minutes or until jam is firm.
Top the cup with another 2-3 teaspoons melted chocolate (Reheat it over the double boiler first if it firmed up). Spread chocolate evenly across the tops of the cups. Freeze for 30 minutes before enjoying.
To Freeze:
After the cups have completely hardened, remove from their liners and transfer to a freezer safe bag or container. Store up to 6 months. But they will not last this long.
To Defrost:
Remove from freezer and allow to sit at room temperature for about 10 minutes before serving. Promptly return any uneaten portions to the freezer.
*Note about biscuits:
My favorite biscuits to use for these cups are the European graham cookies typically turned into speculoos. Biscoff works particularly well, but you can make these cups equally delicious with any sweetmeal or wholegrain biscuits that come in a cellophane tube (shown on the right), as well as gluten free graham cookies.
Dyeing Eggs with Natural Colors
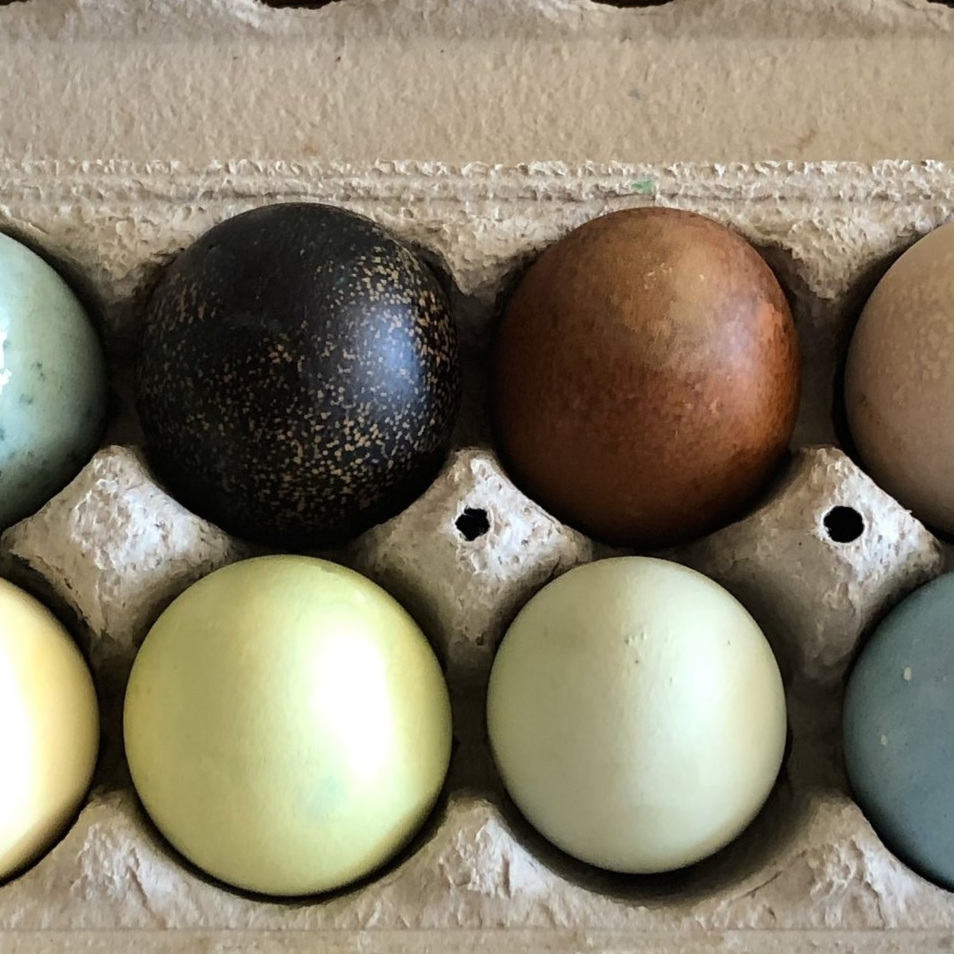
I first started exploring natural food dyes when trying to decorate my son’s birthday cake without using artificial colors from a little squeeze bottle. I knew there had to be ways to get vibrant colors out of actual foods. After discovering how to make pink, blue, green and yellow frosting, I moved on to coloring pasta, which is by far the most forgiving medium for natural food coloring. One can easily adjust moisture levels in pasta dough, which absorbs colors from solids, pastes, liquids and powders. Eggs, which are dyed in a quick bath of a colorful liquid, posed a new set of challenges.
Since we dunk eggs into liquid dyes, the pigments from colorful foods need to be transferred as much as possible to the water they are cooked in before straining off solids like shredded beets or dried flowers. And ground spice powders, like turmeric and paprika would ideally dissolve into the liquid. Not the case. Many formulas for natural dyes will tell you to use powdered turmeric for yellow. I love spices and figured I’d try others too like paprika, sumac, & chili powder. Why not?
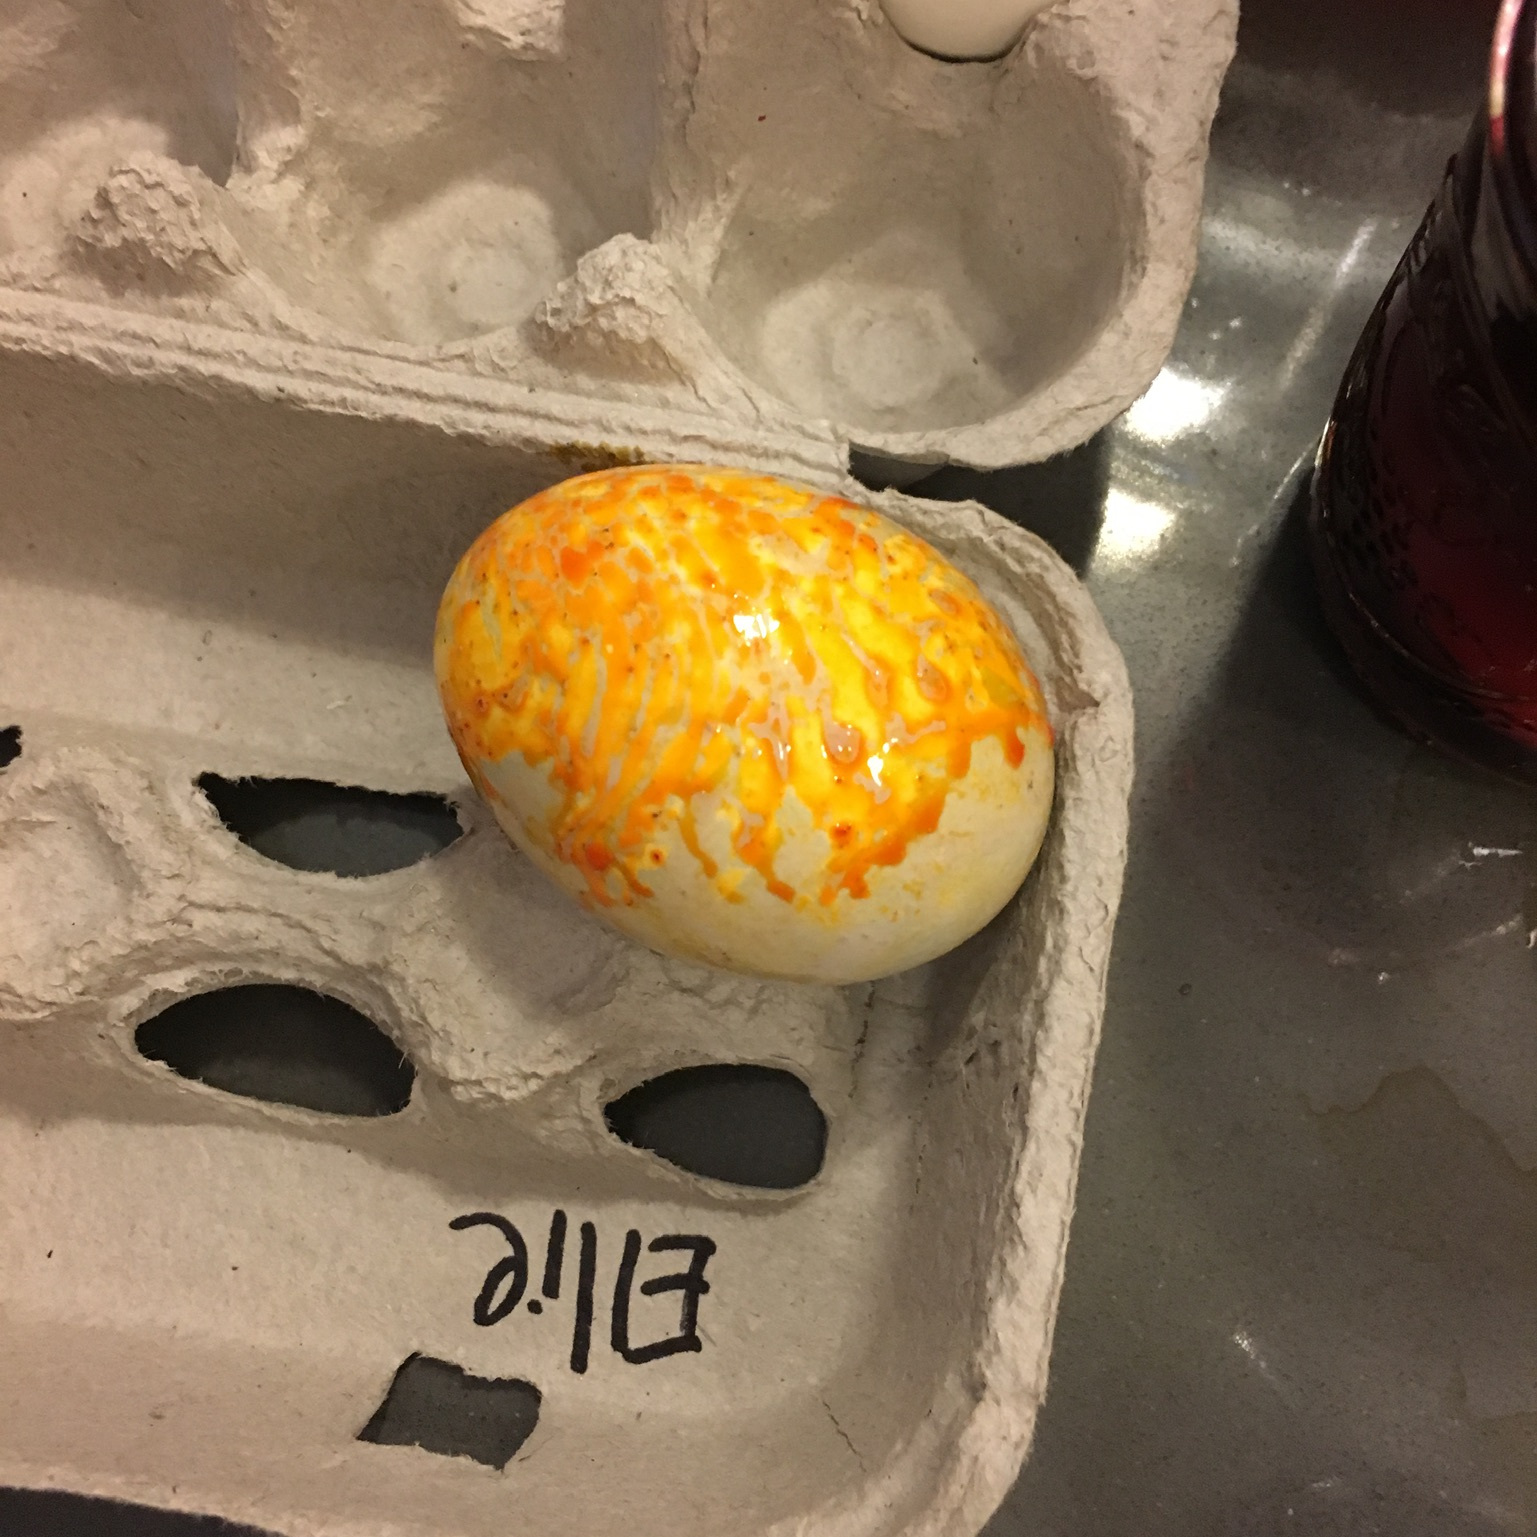
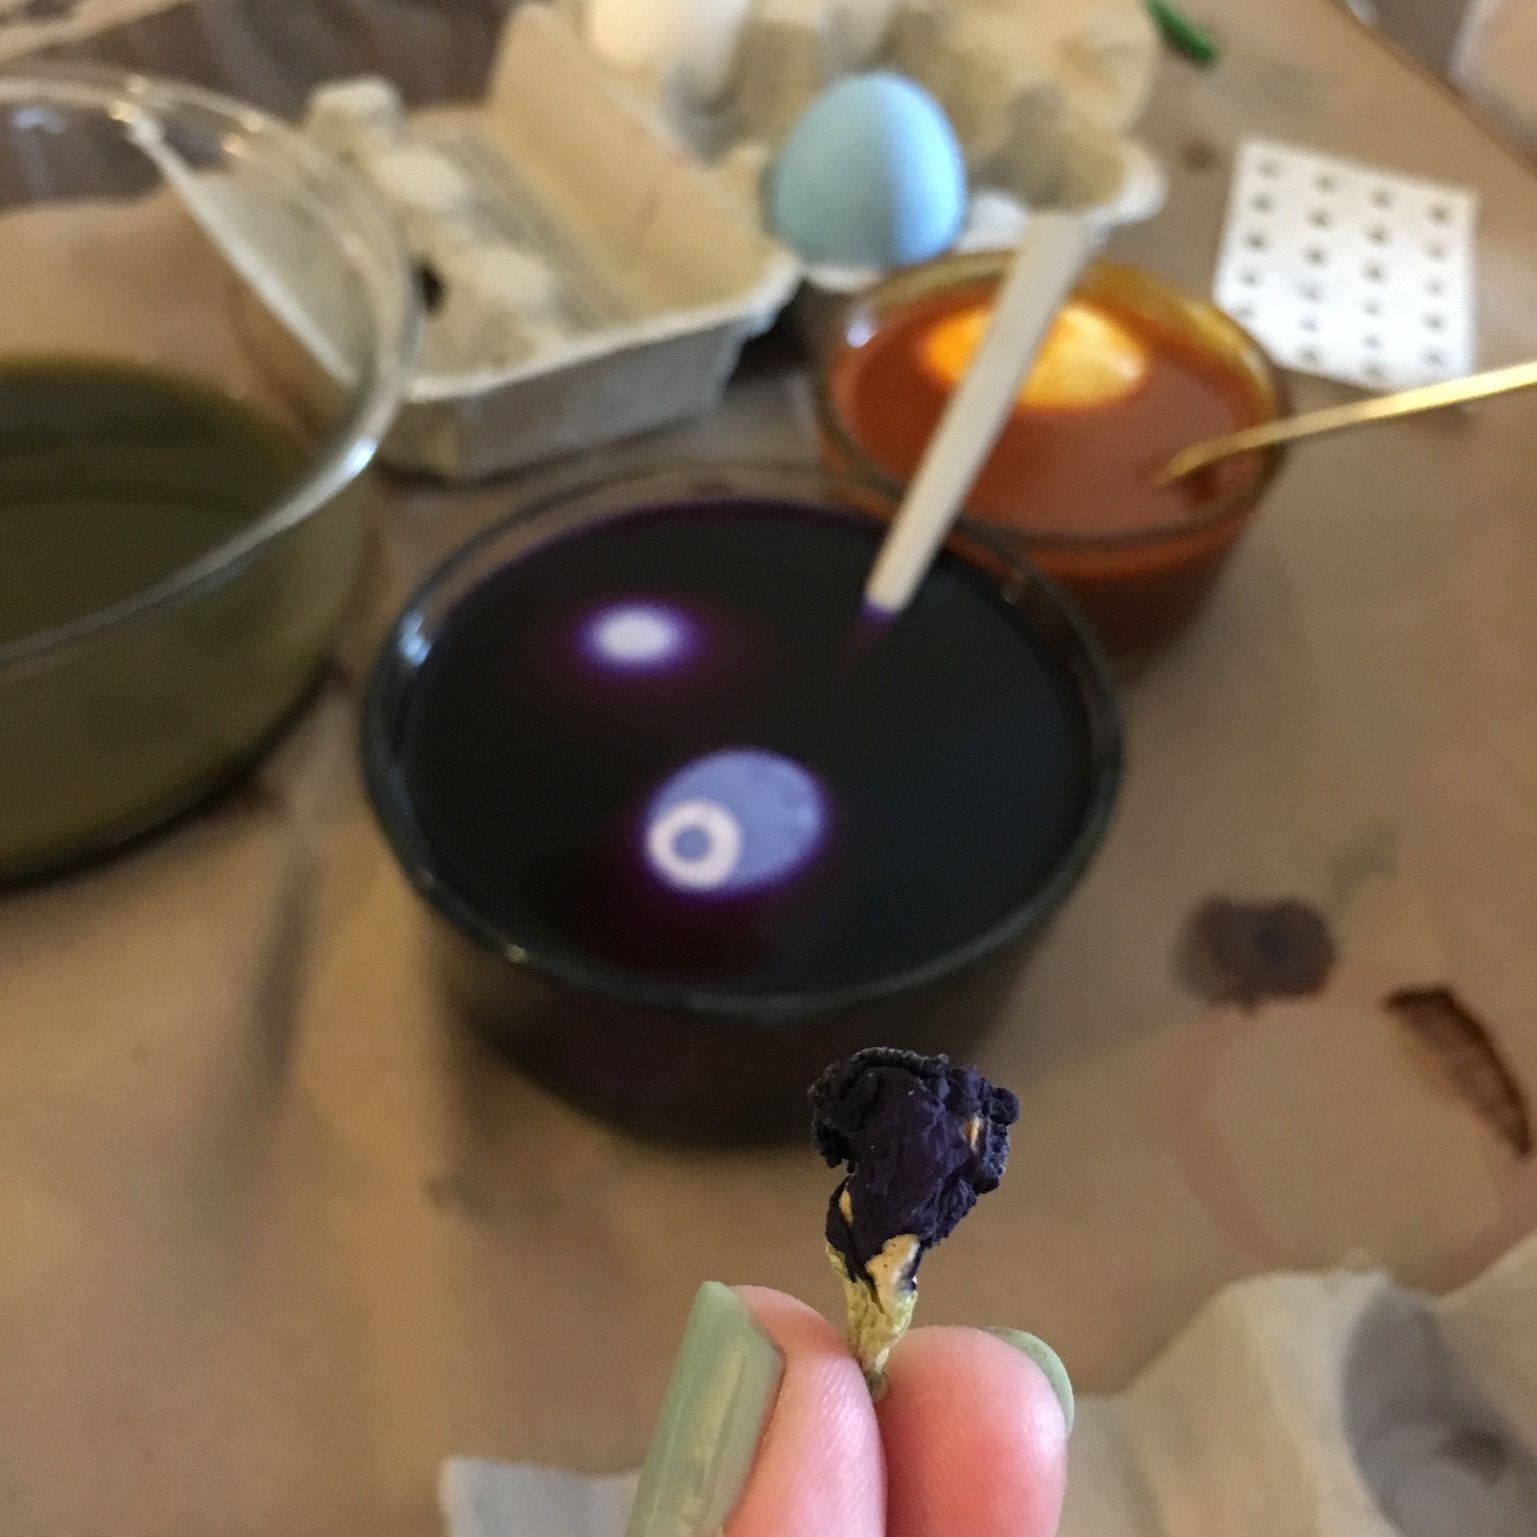
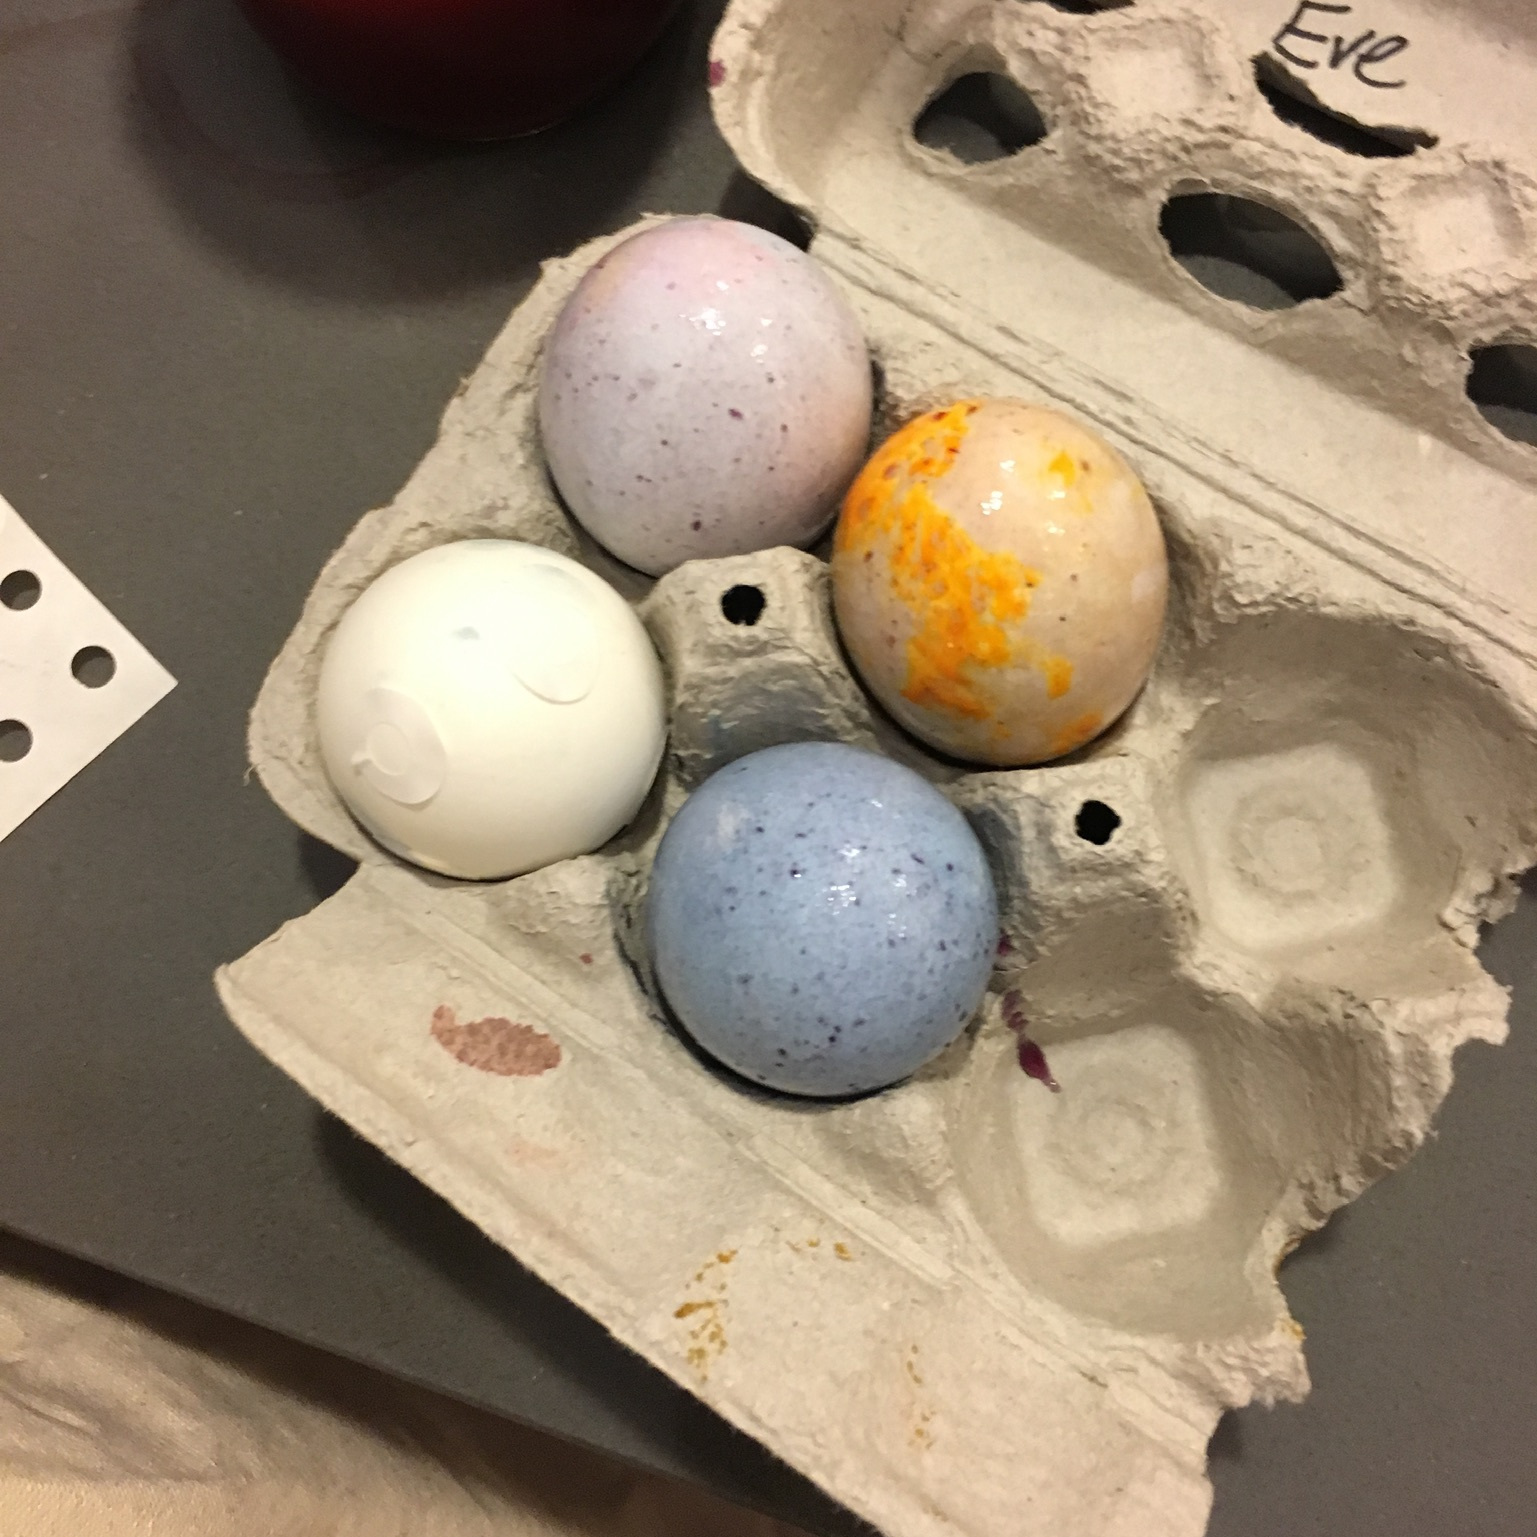
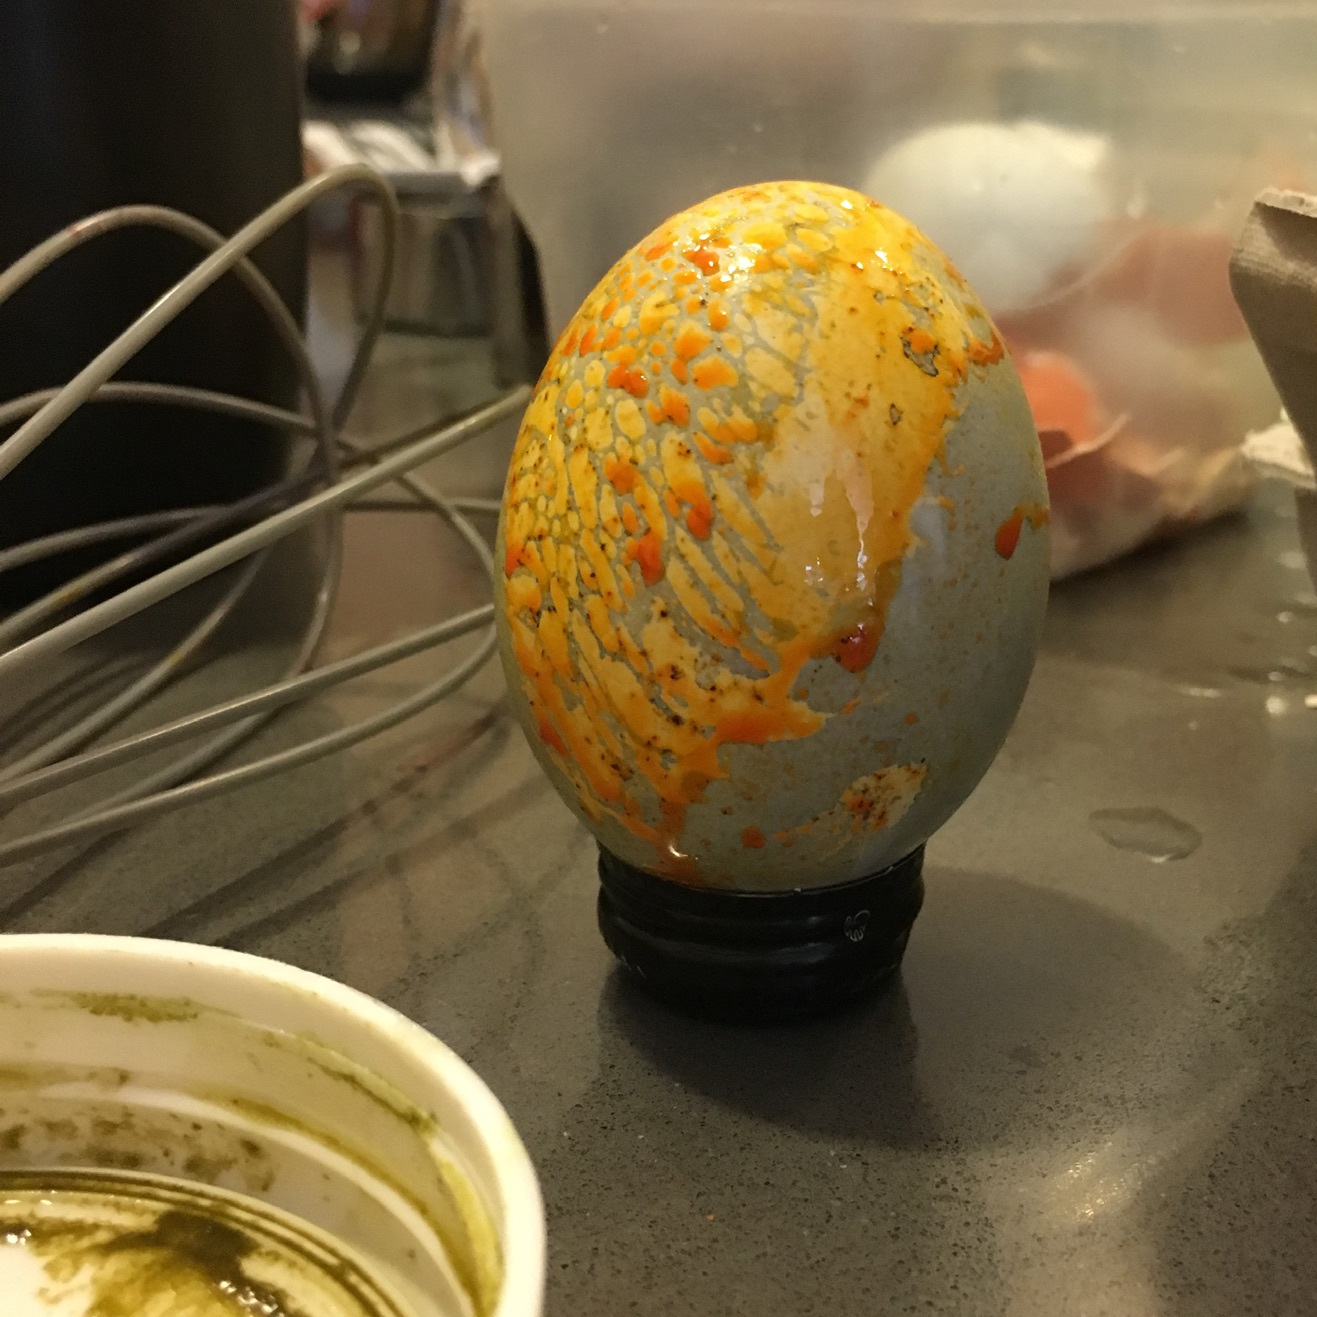
Left: Speckled orange egg created with ground turmeric, ground paprika and oil based dye. Right: Blue polka dot egg created with butterfly pea flower dye and stickers.
It’s challenging to get clear vibrant color from these ground spices. First, ground spices are fat soluble, which means they work better with oil to break down and disperse their colors. But dunking an egg in oil sounded unorthodox and messy. So I followed the advice and simply simmered ground spices in boiling water for 20 minutes & then strained. The color was there, but it required a multi-hour, if not an overnight soak to dye eggs, and it left a little grit on the eggs, no matter how fine the strainer. So I revisited spices 101 and decided to bloom them first (or sauté them in a little bit of oil) before adding some water to make the liquid dye. The colors were certainly more vibrant and adhered in under 20 minutes, but the oil left a splotched rather than smooth finish on the egg - check out the orange speckled egg made from a combination of paprika and turmeric. Up next, I will attempt a dye made 100% from the ground spices bloomed in oil.
Fresh turmeric root. Grated.
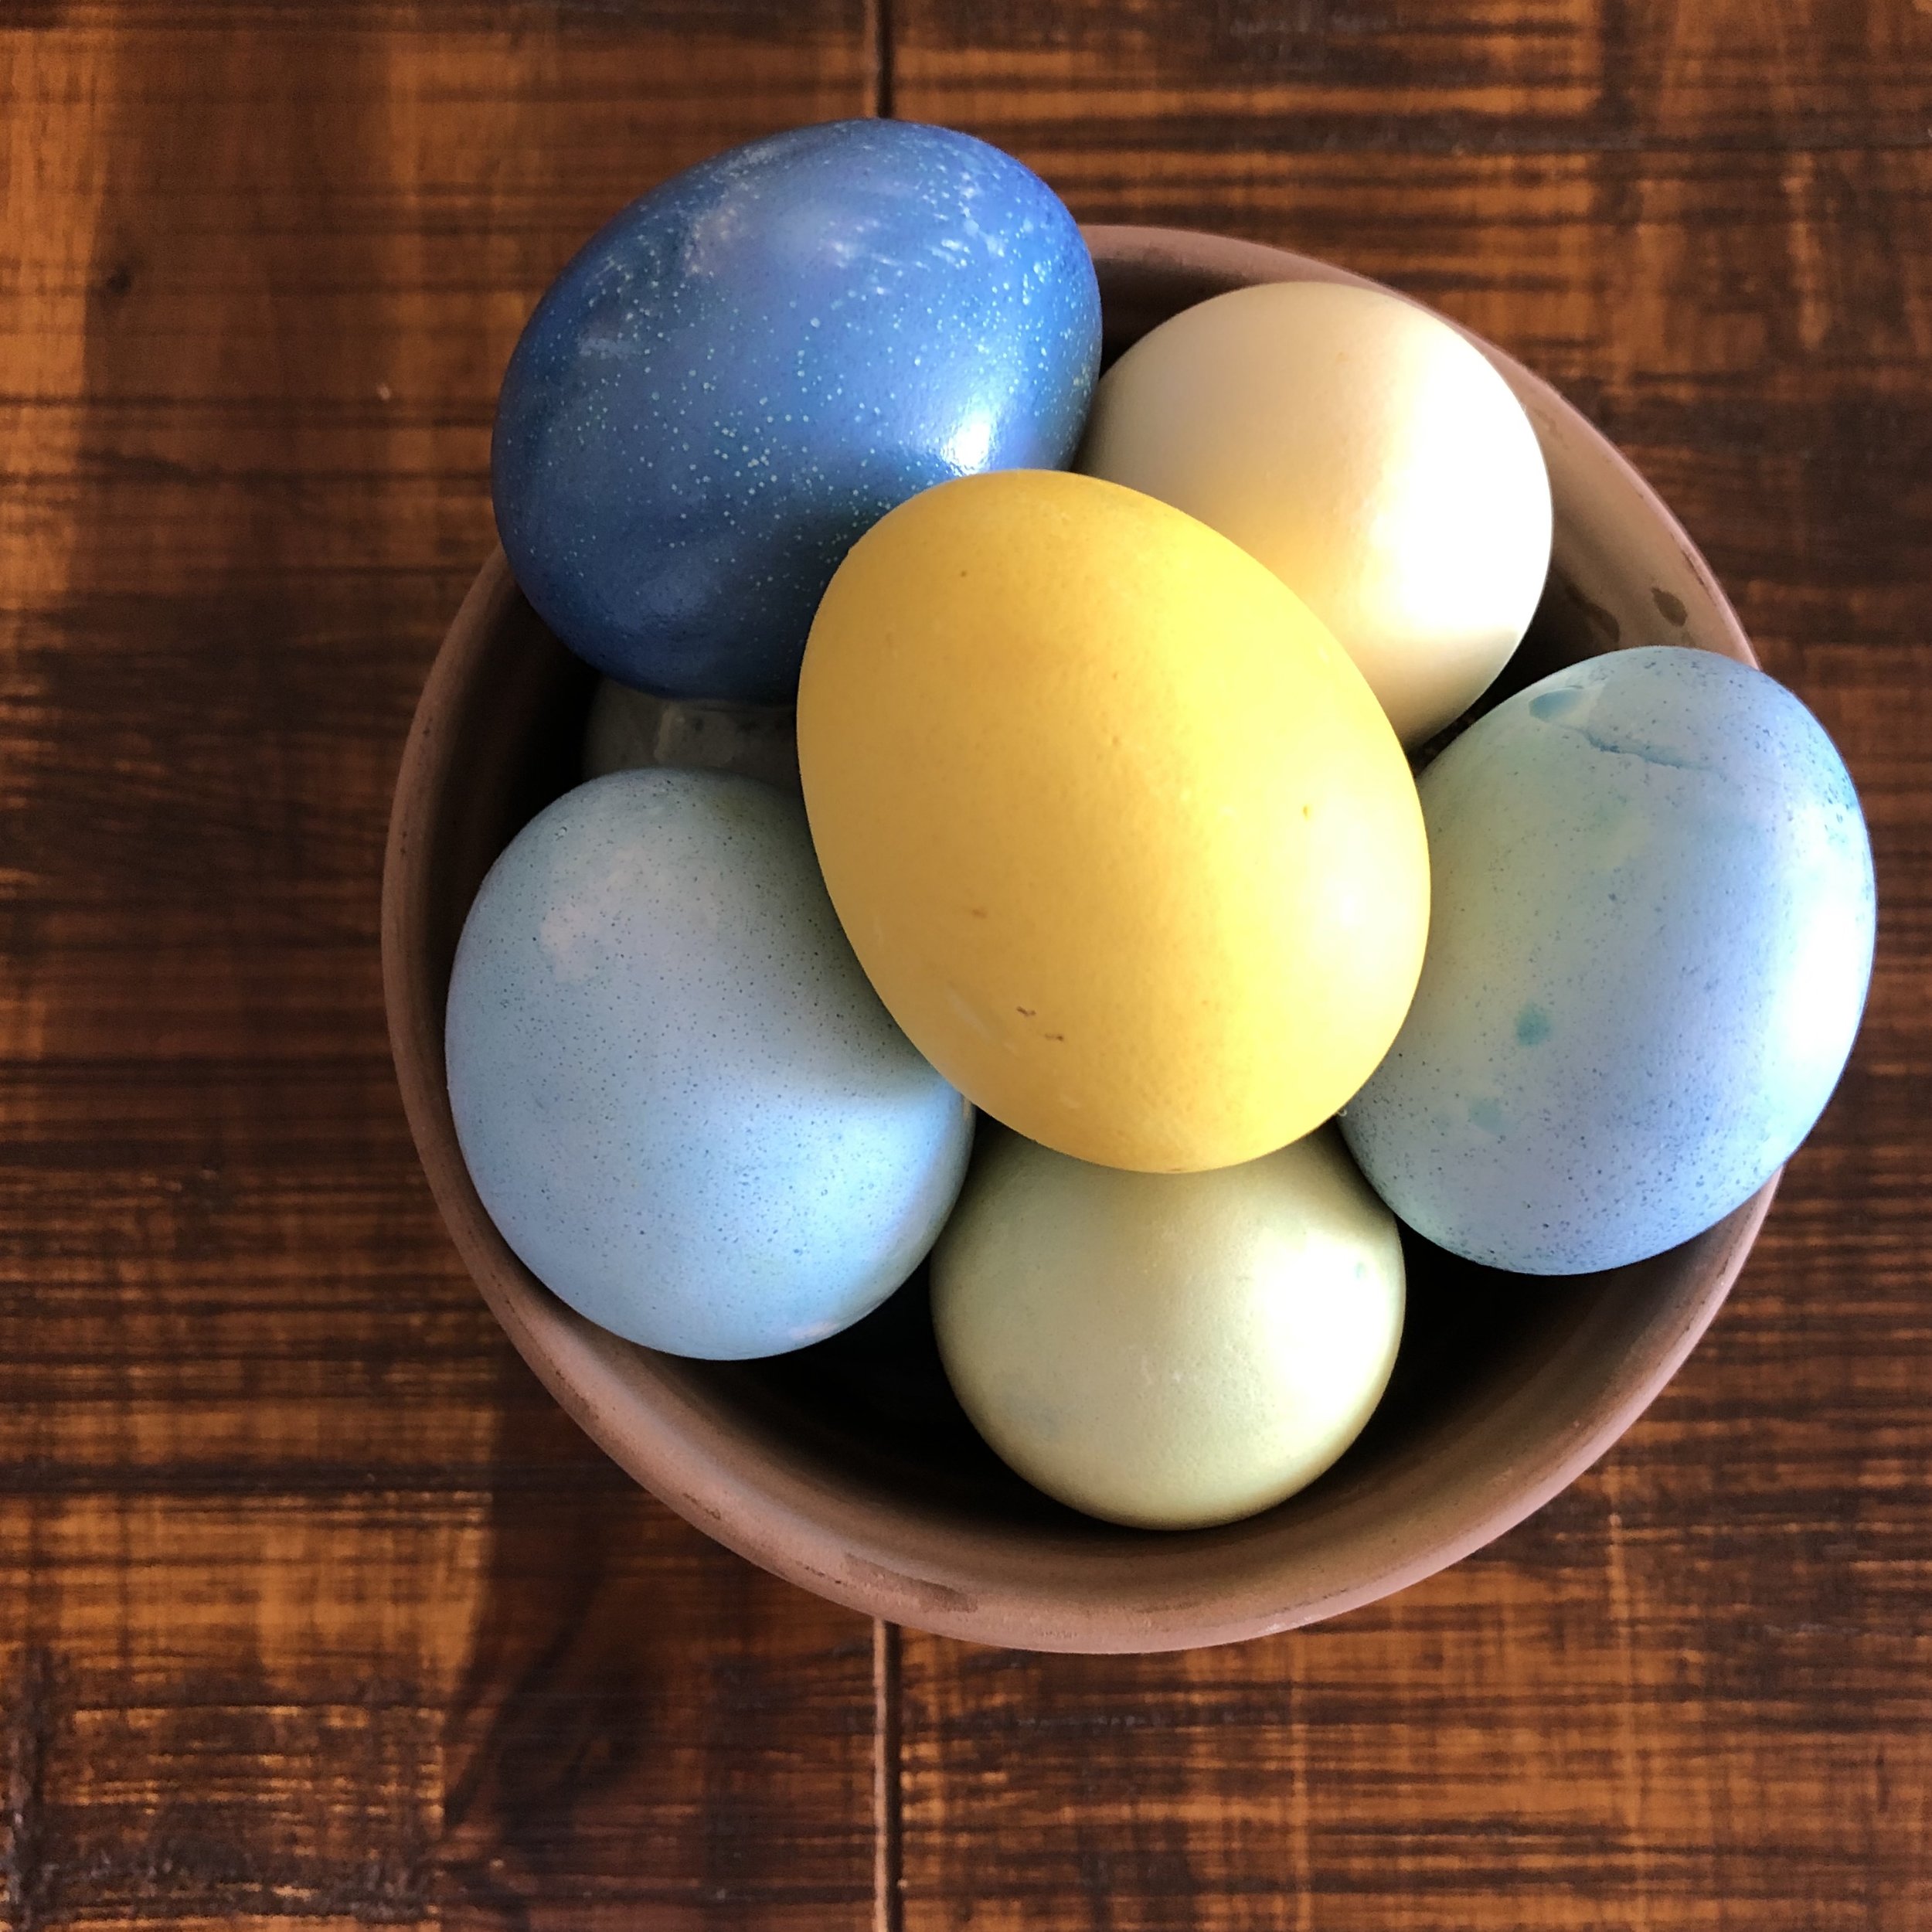
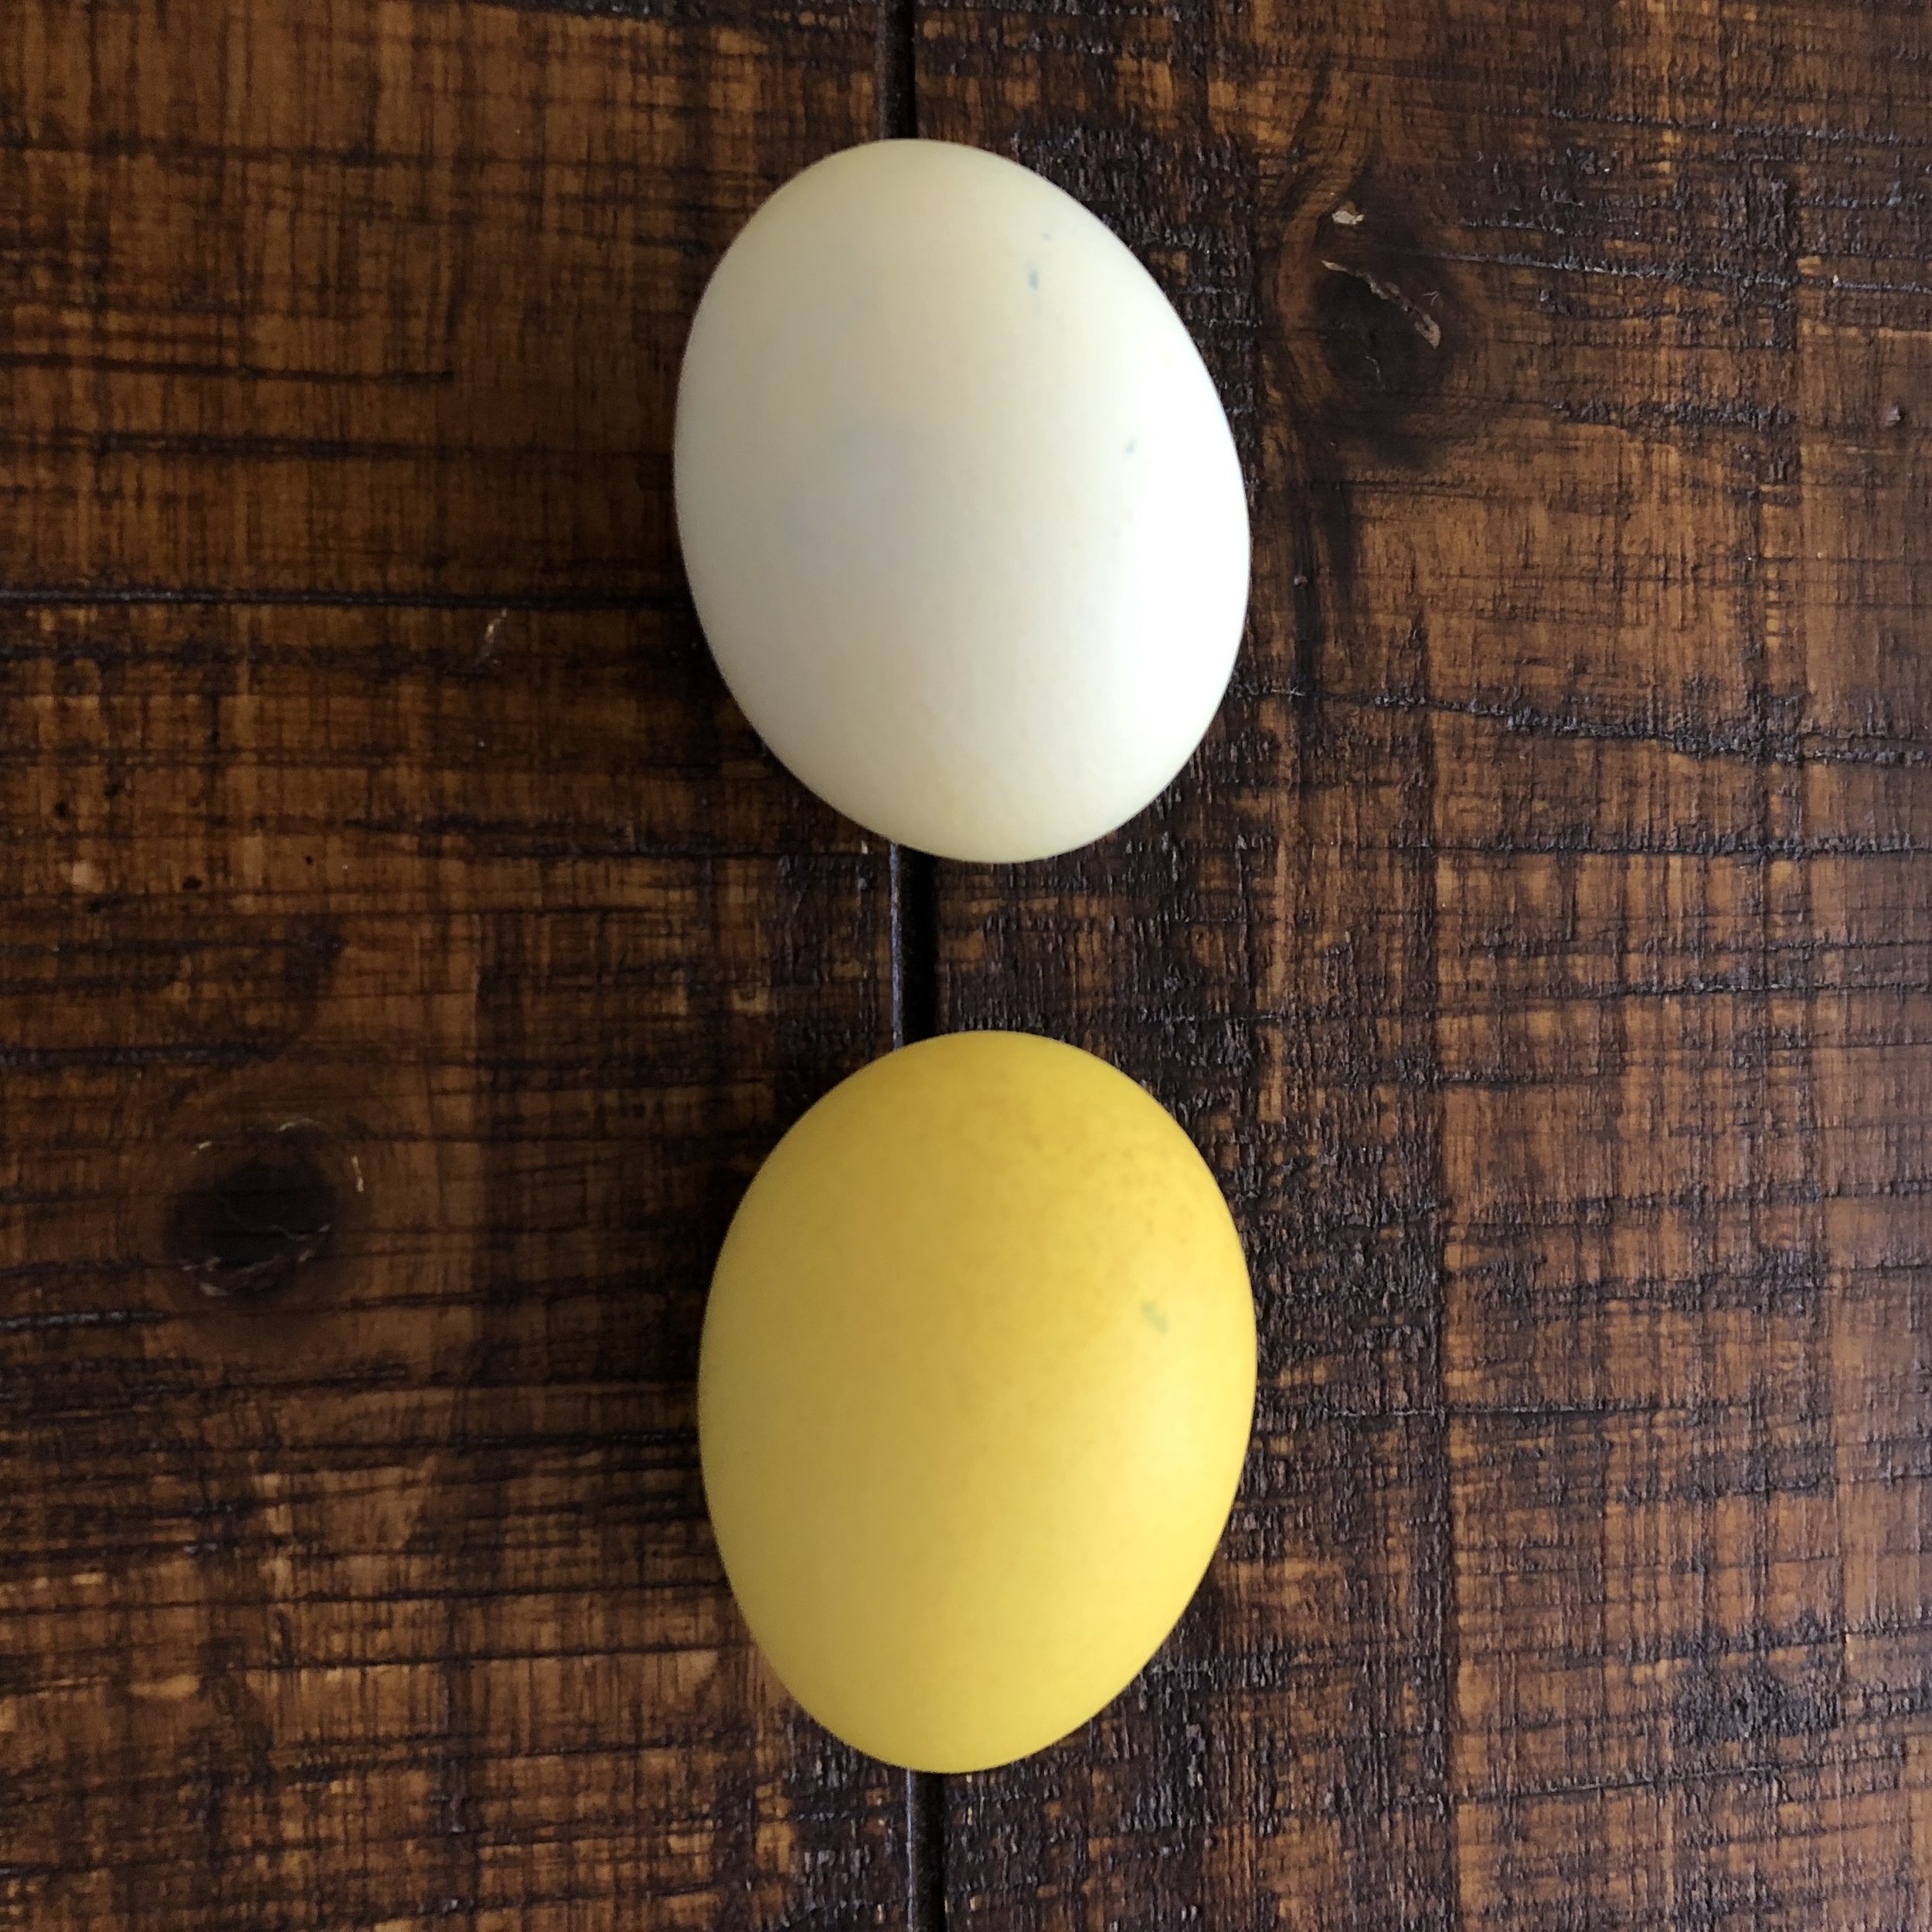
So, how do you get the best clear liquid yellow dye? If you have it available, fresh grated turmeric root works best. I simmered it in water just like the other fresh vegetables, and then strained off the solids. While the turmeric root itself appears orange, the liquid it creates makes a beautiful soft and natural yellow. If fresh turmeric root is not available, shredded golden beets work as well.
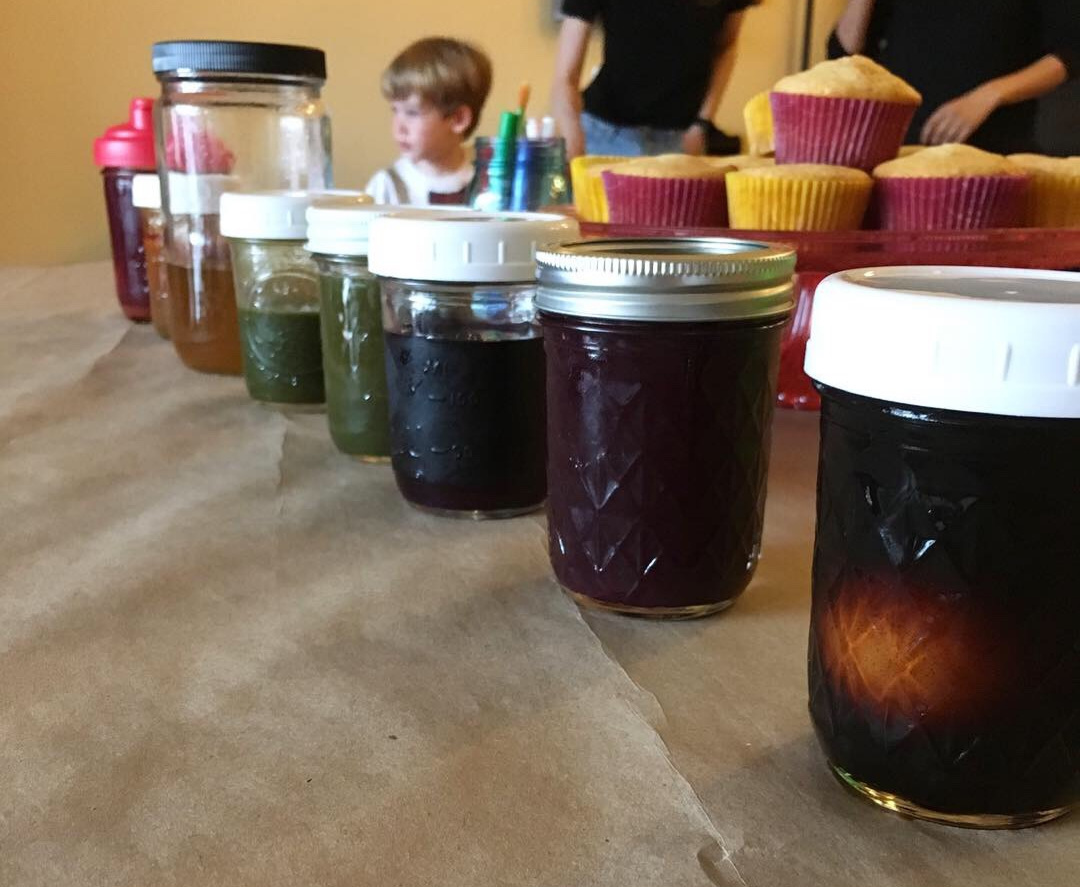
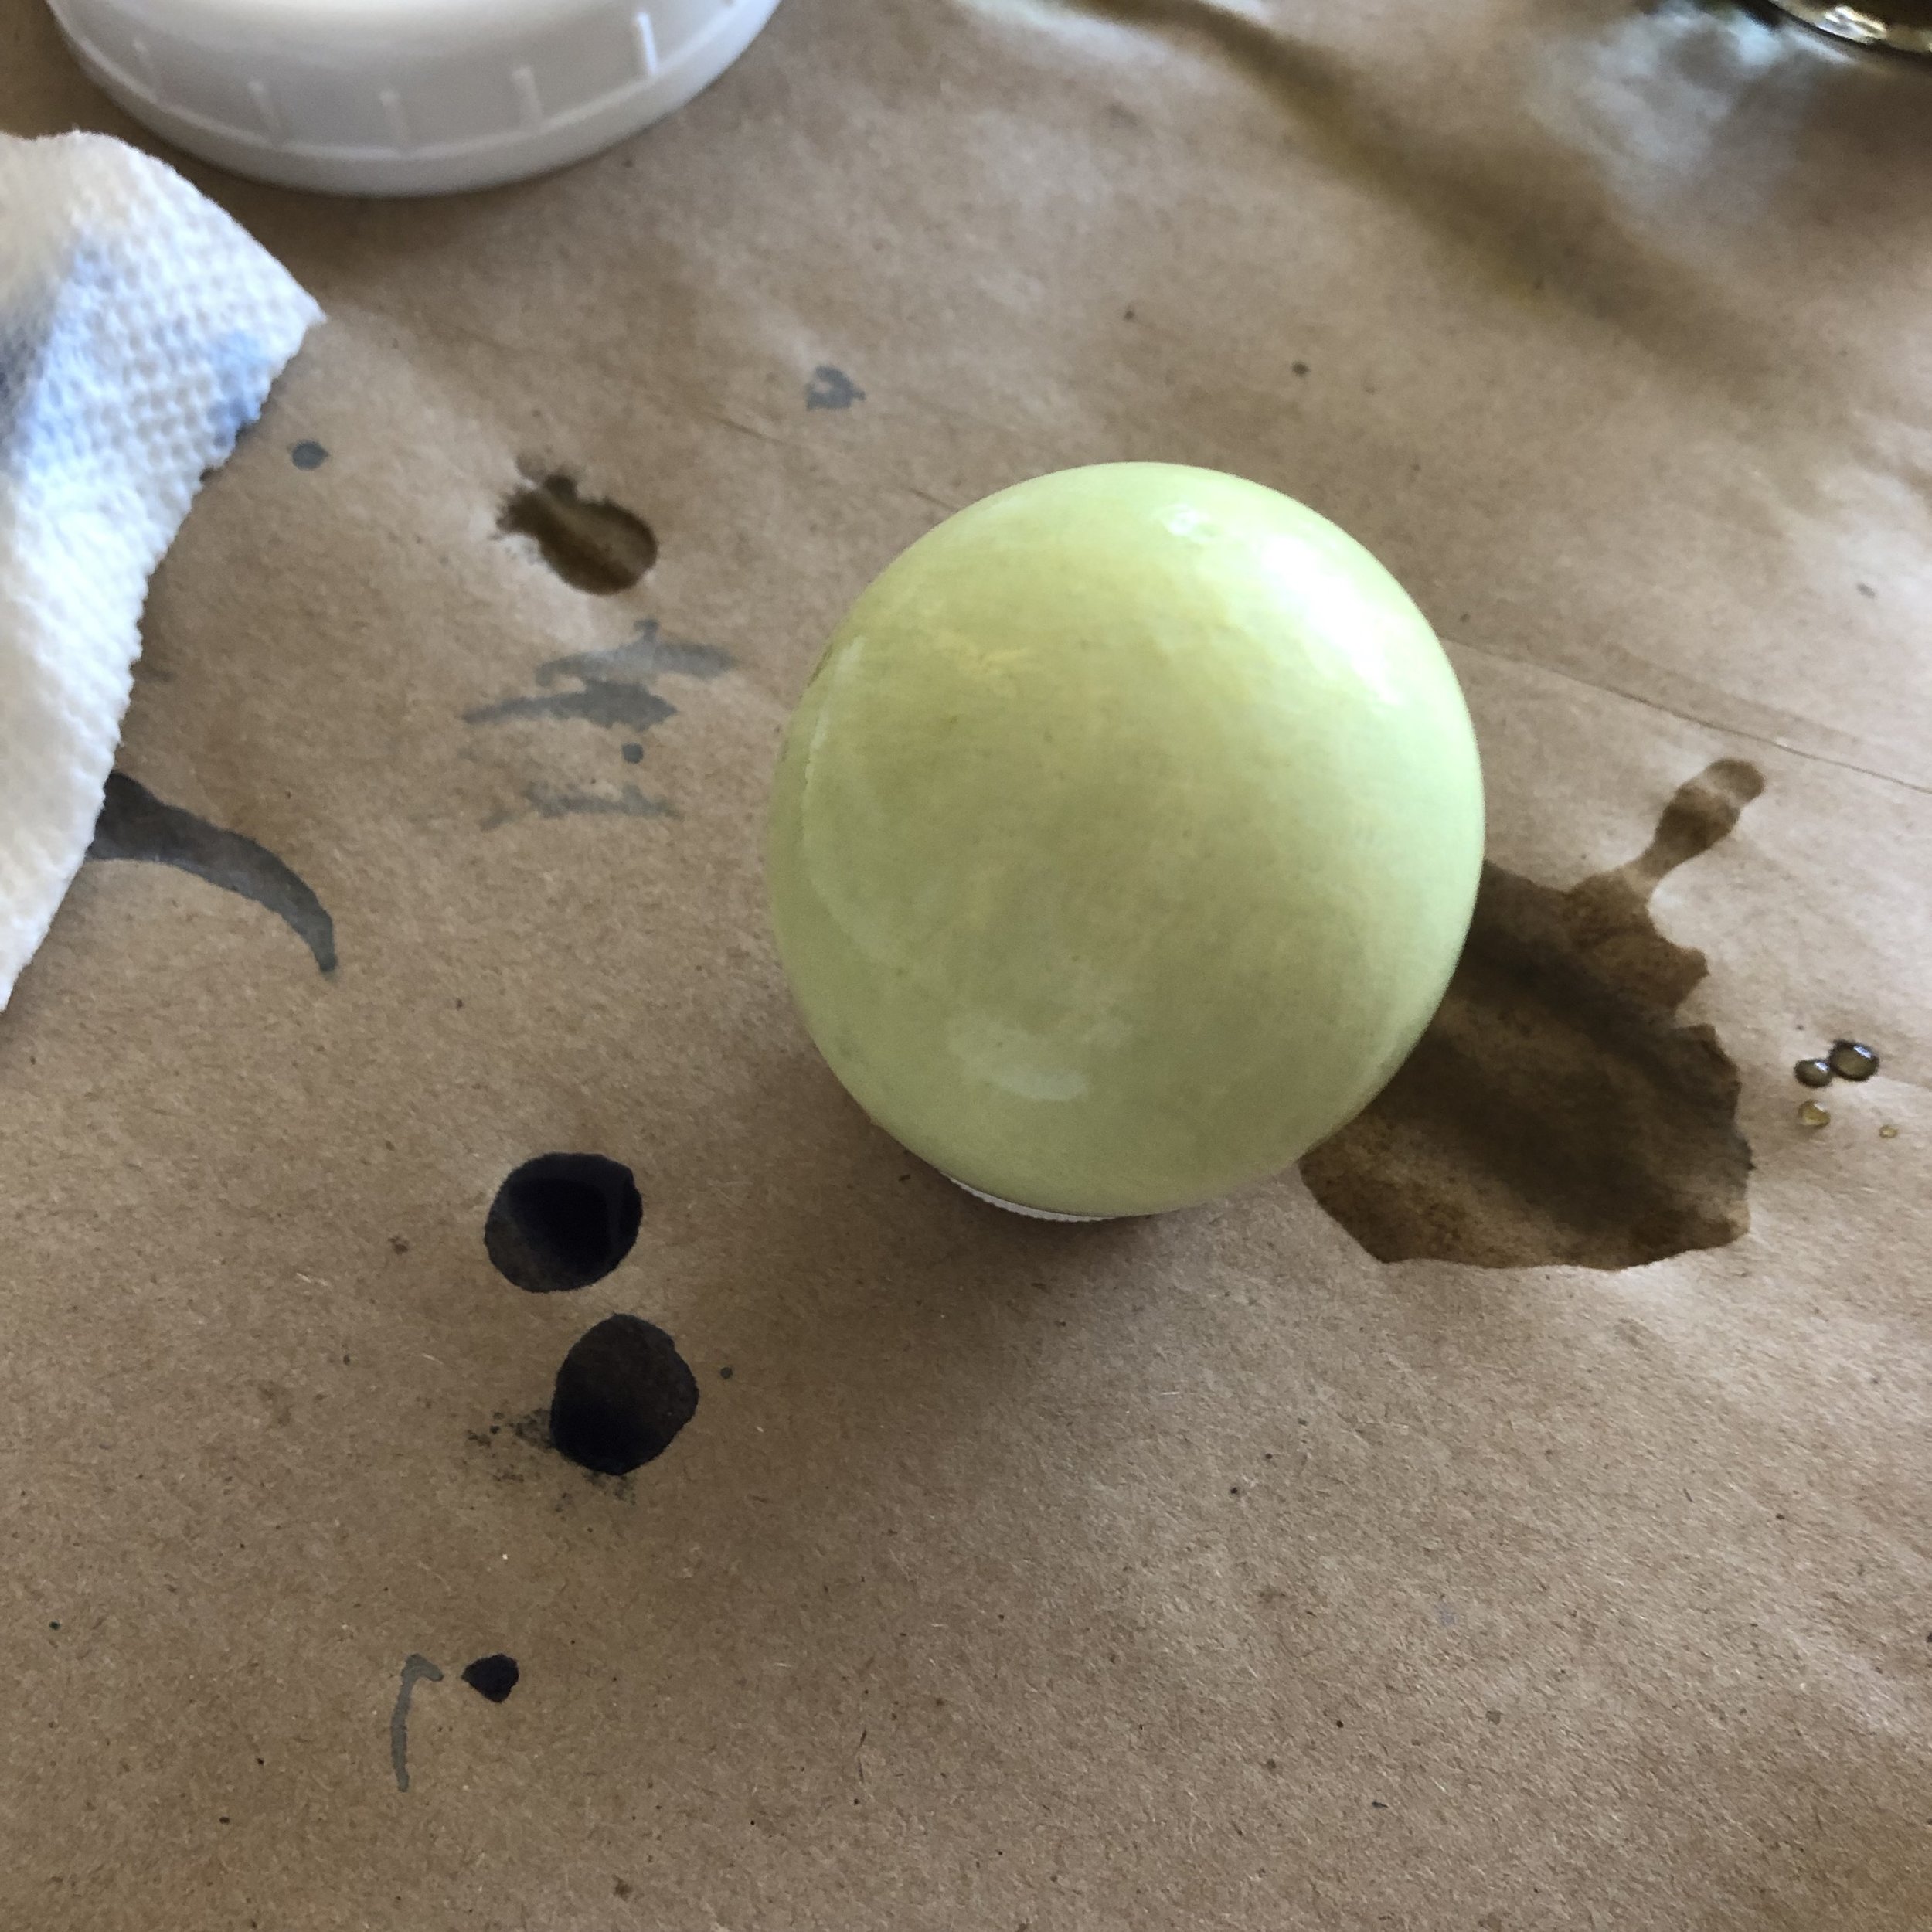
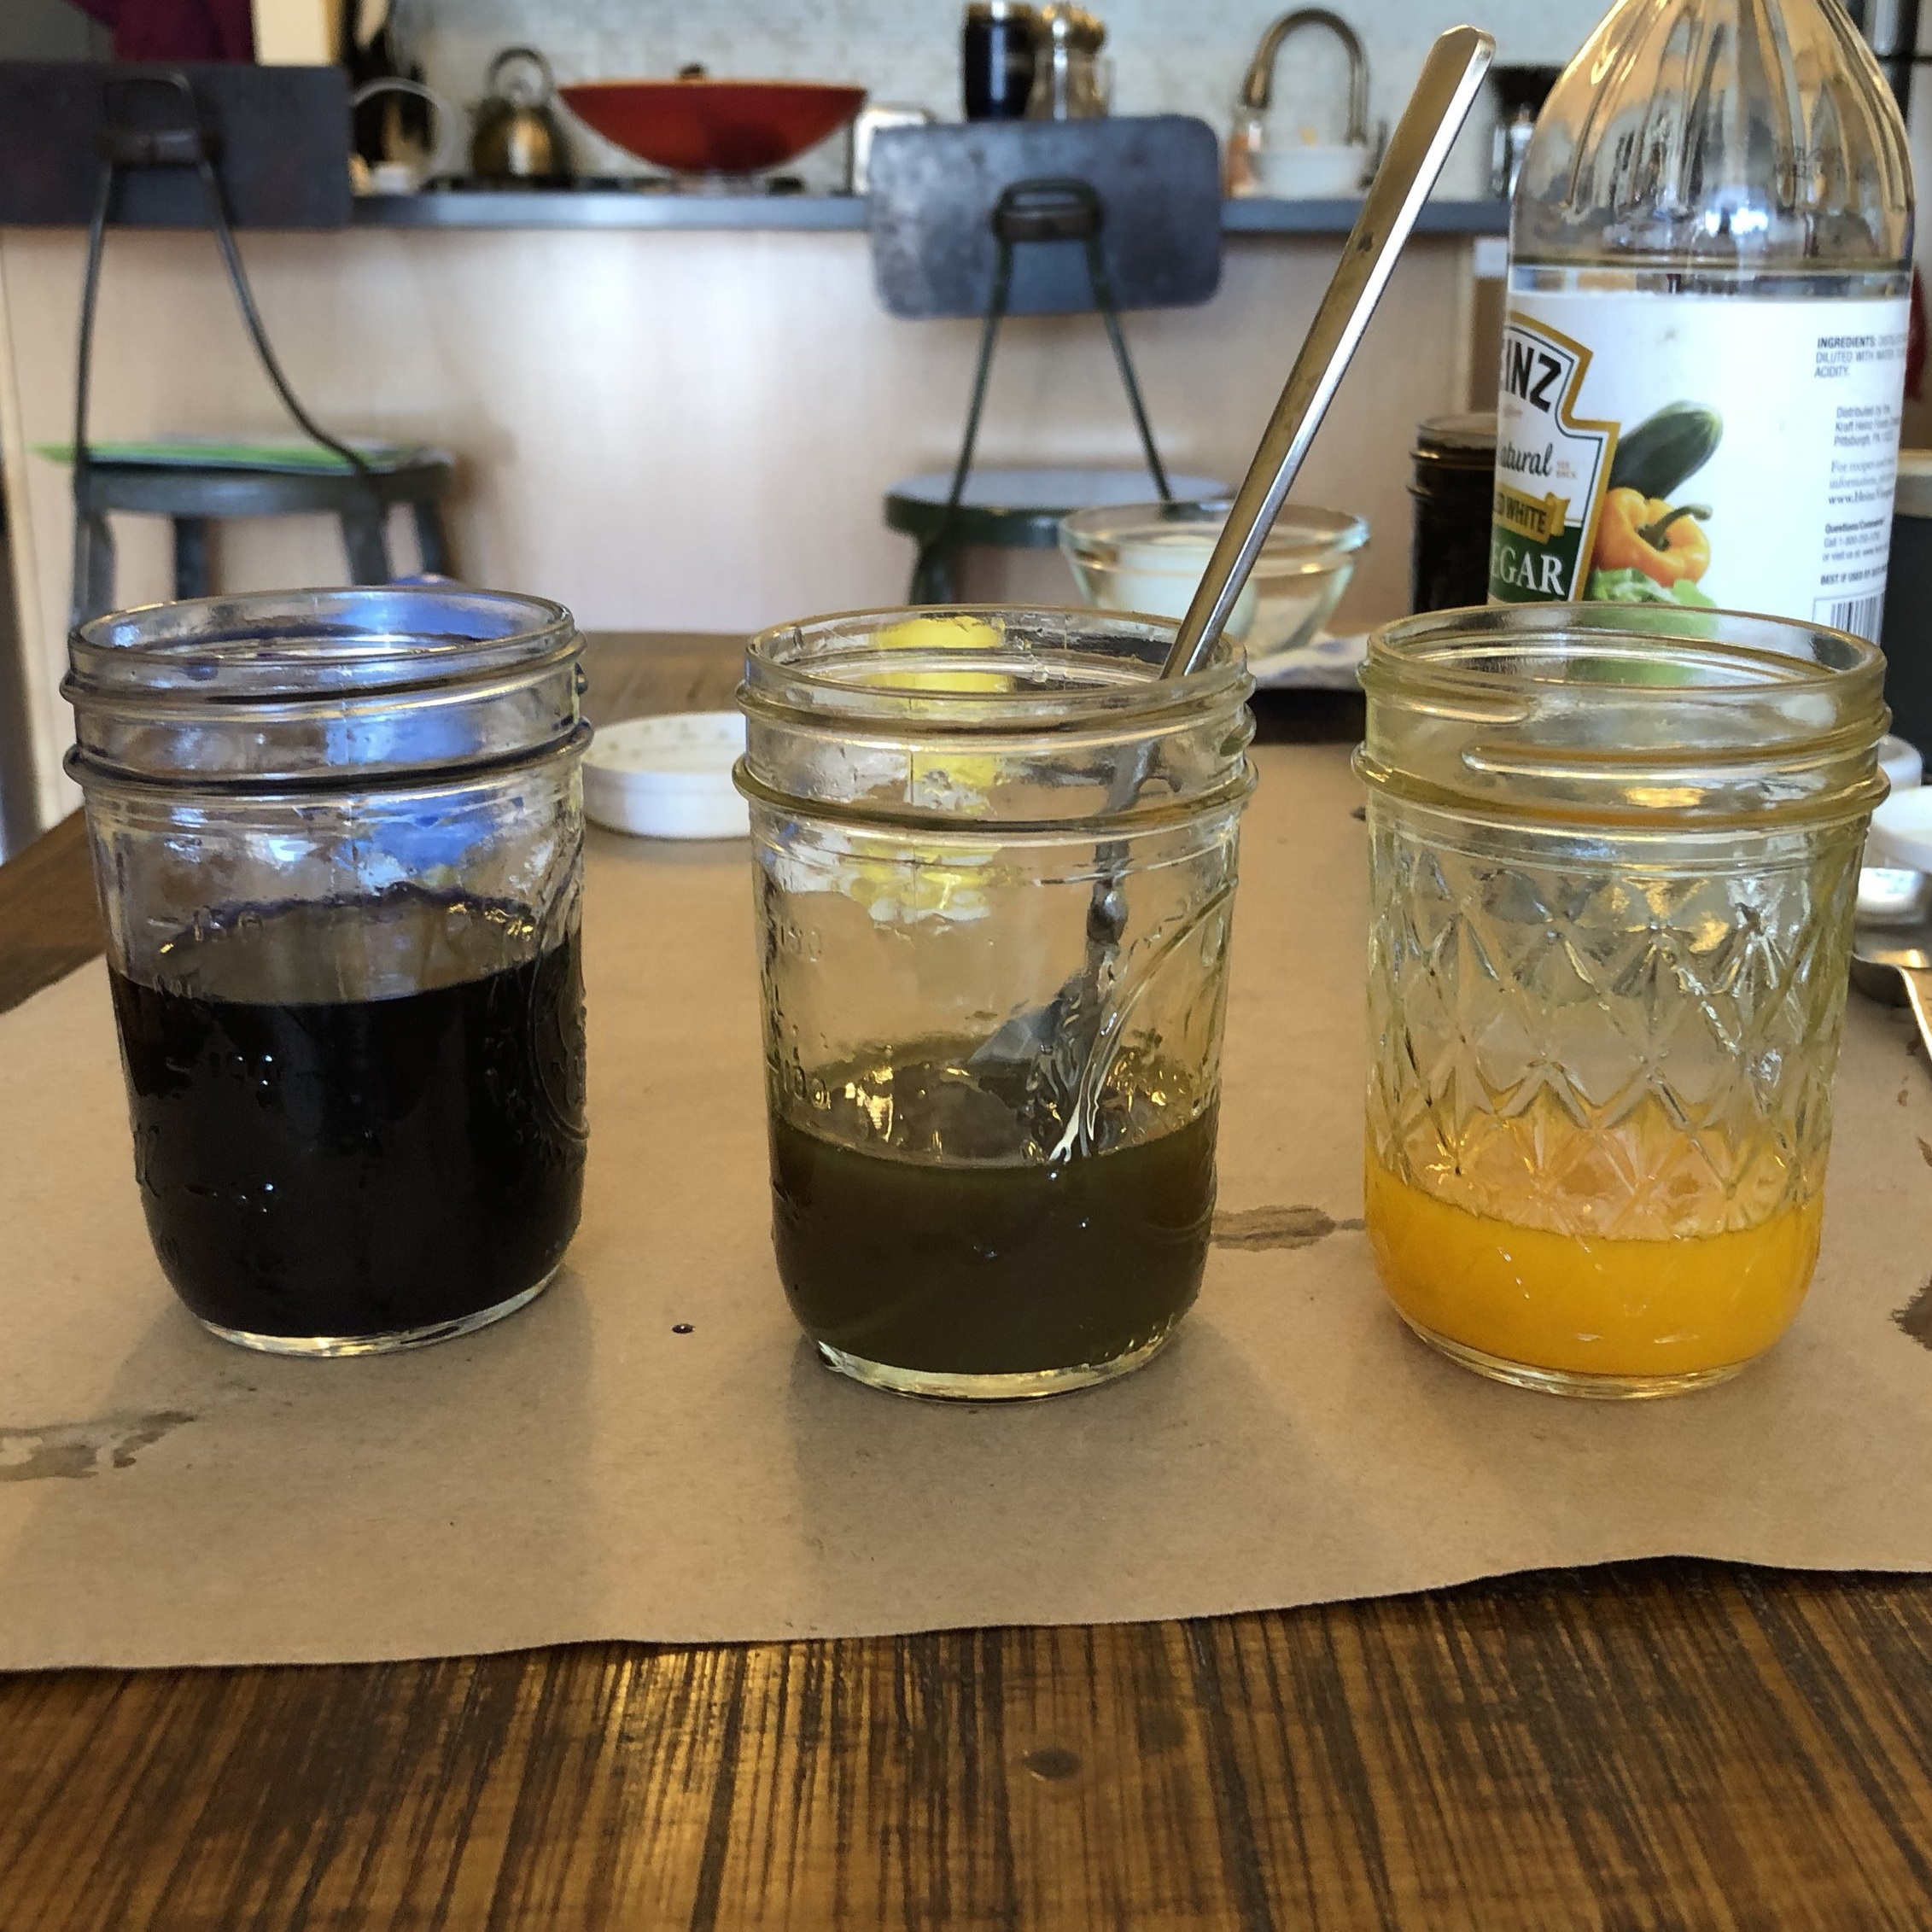
Top left: blue butterfly pea flower dye; Top right: yellow turmeric root dye; Bottom: Green dye made from combining
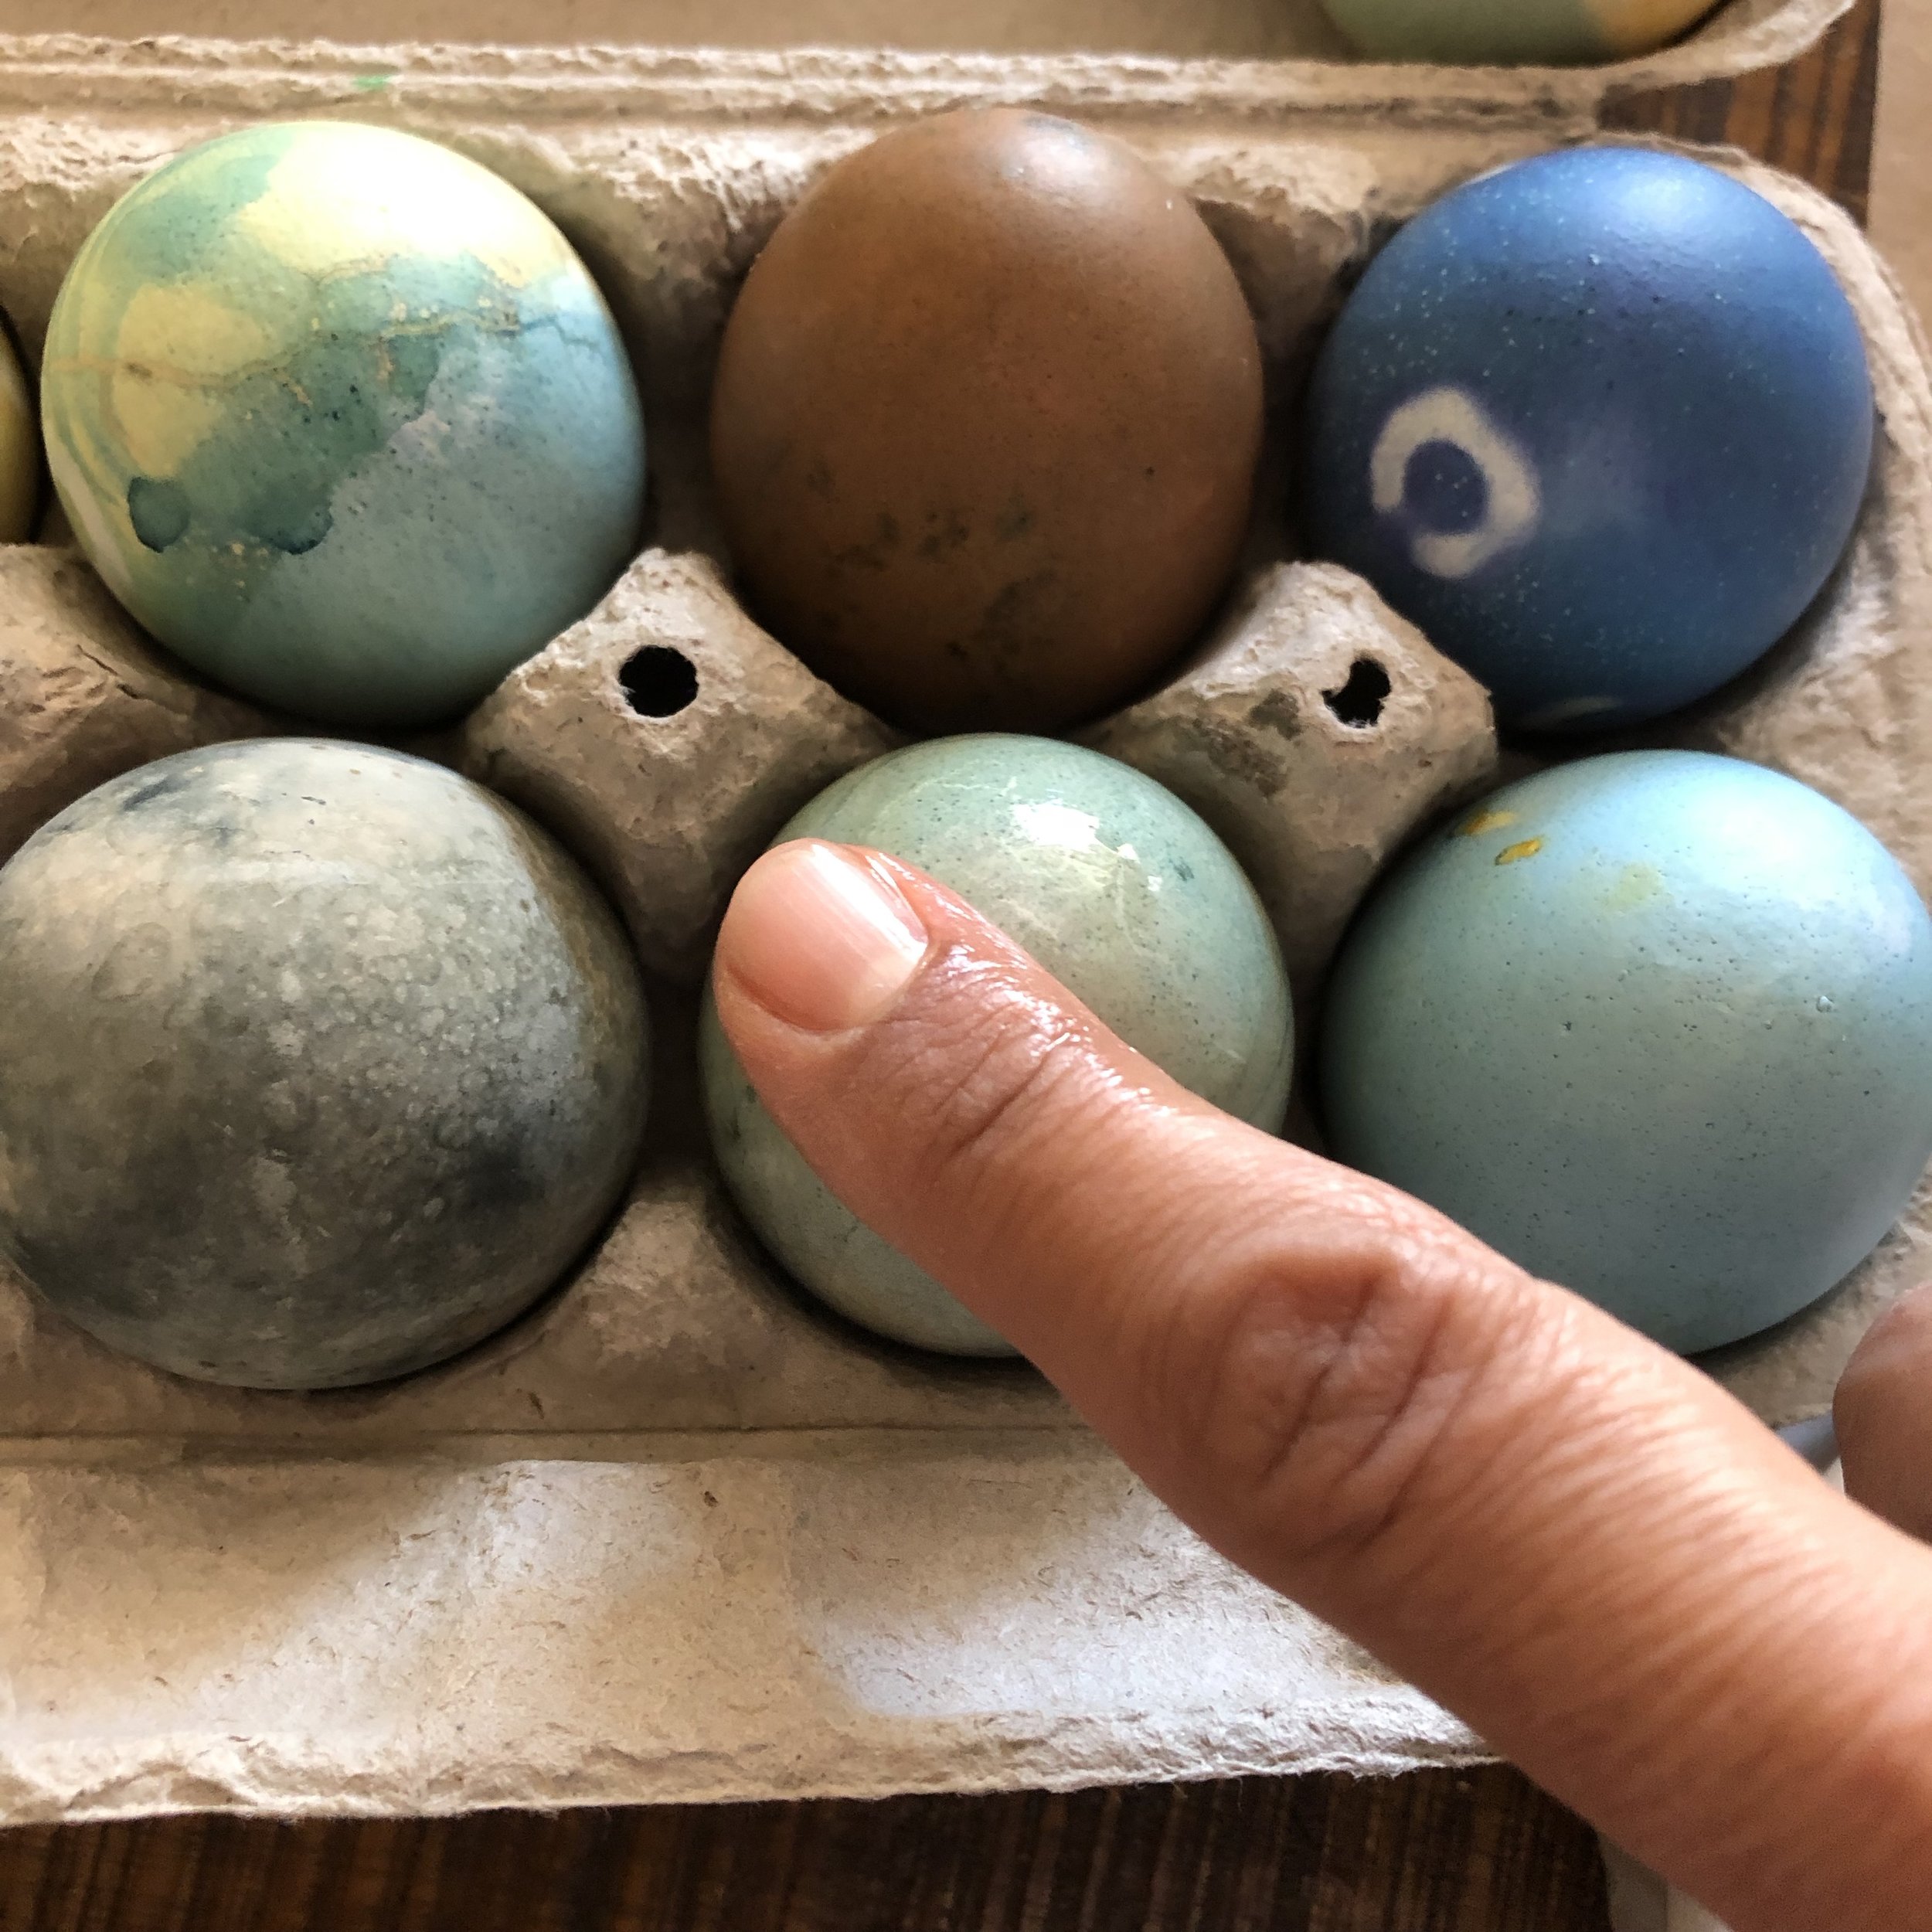
I had such success adding greens of all shades and varieties — sautéed, steamed, juiced and blanched spinach, kale, parsley & chard — to pasta dough & frosting that I didn’t expect it to be so challenging to dye eggs green. And, green eggs & ham, right? Wrong. For egg dying, not only do the green colors become terribly diluted in liquid, but the key ingredient required for getting dye to adhere to eggs destroys the green pigments. We add vinegar to egg dyes to create an acidic mixture that reacts with the calcium in the egg shell, allowing colors to be absorbed. While this acid creates vivid blues and bright pinks, any acid (lemon juice, wine, tomato sauce) deteriorates green rapidly and transforms it to an unappetizing olive or brown. The answer? Create vibrant greens by combining yellow and blue dye immediately before dunking eggs.
How to Produce a Rainbow of Natural Dyes
To make most types of natural liquid dye:
Boil or steep vegetables (1 cup), spices (1 tablespoon), or dried flowers or teas (1/2 cup) in water (1 1/2 - 2 cups) for 10-20 minutes.
Strain through a fine mesh strainer. Discard, compost or reuse the solids.
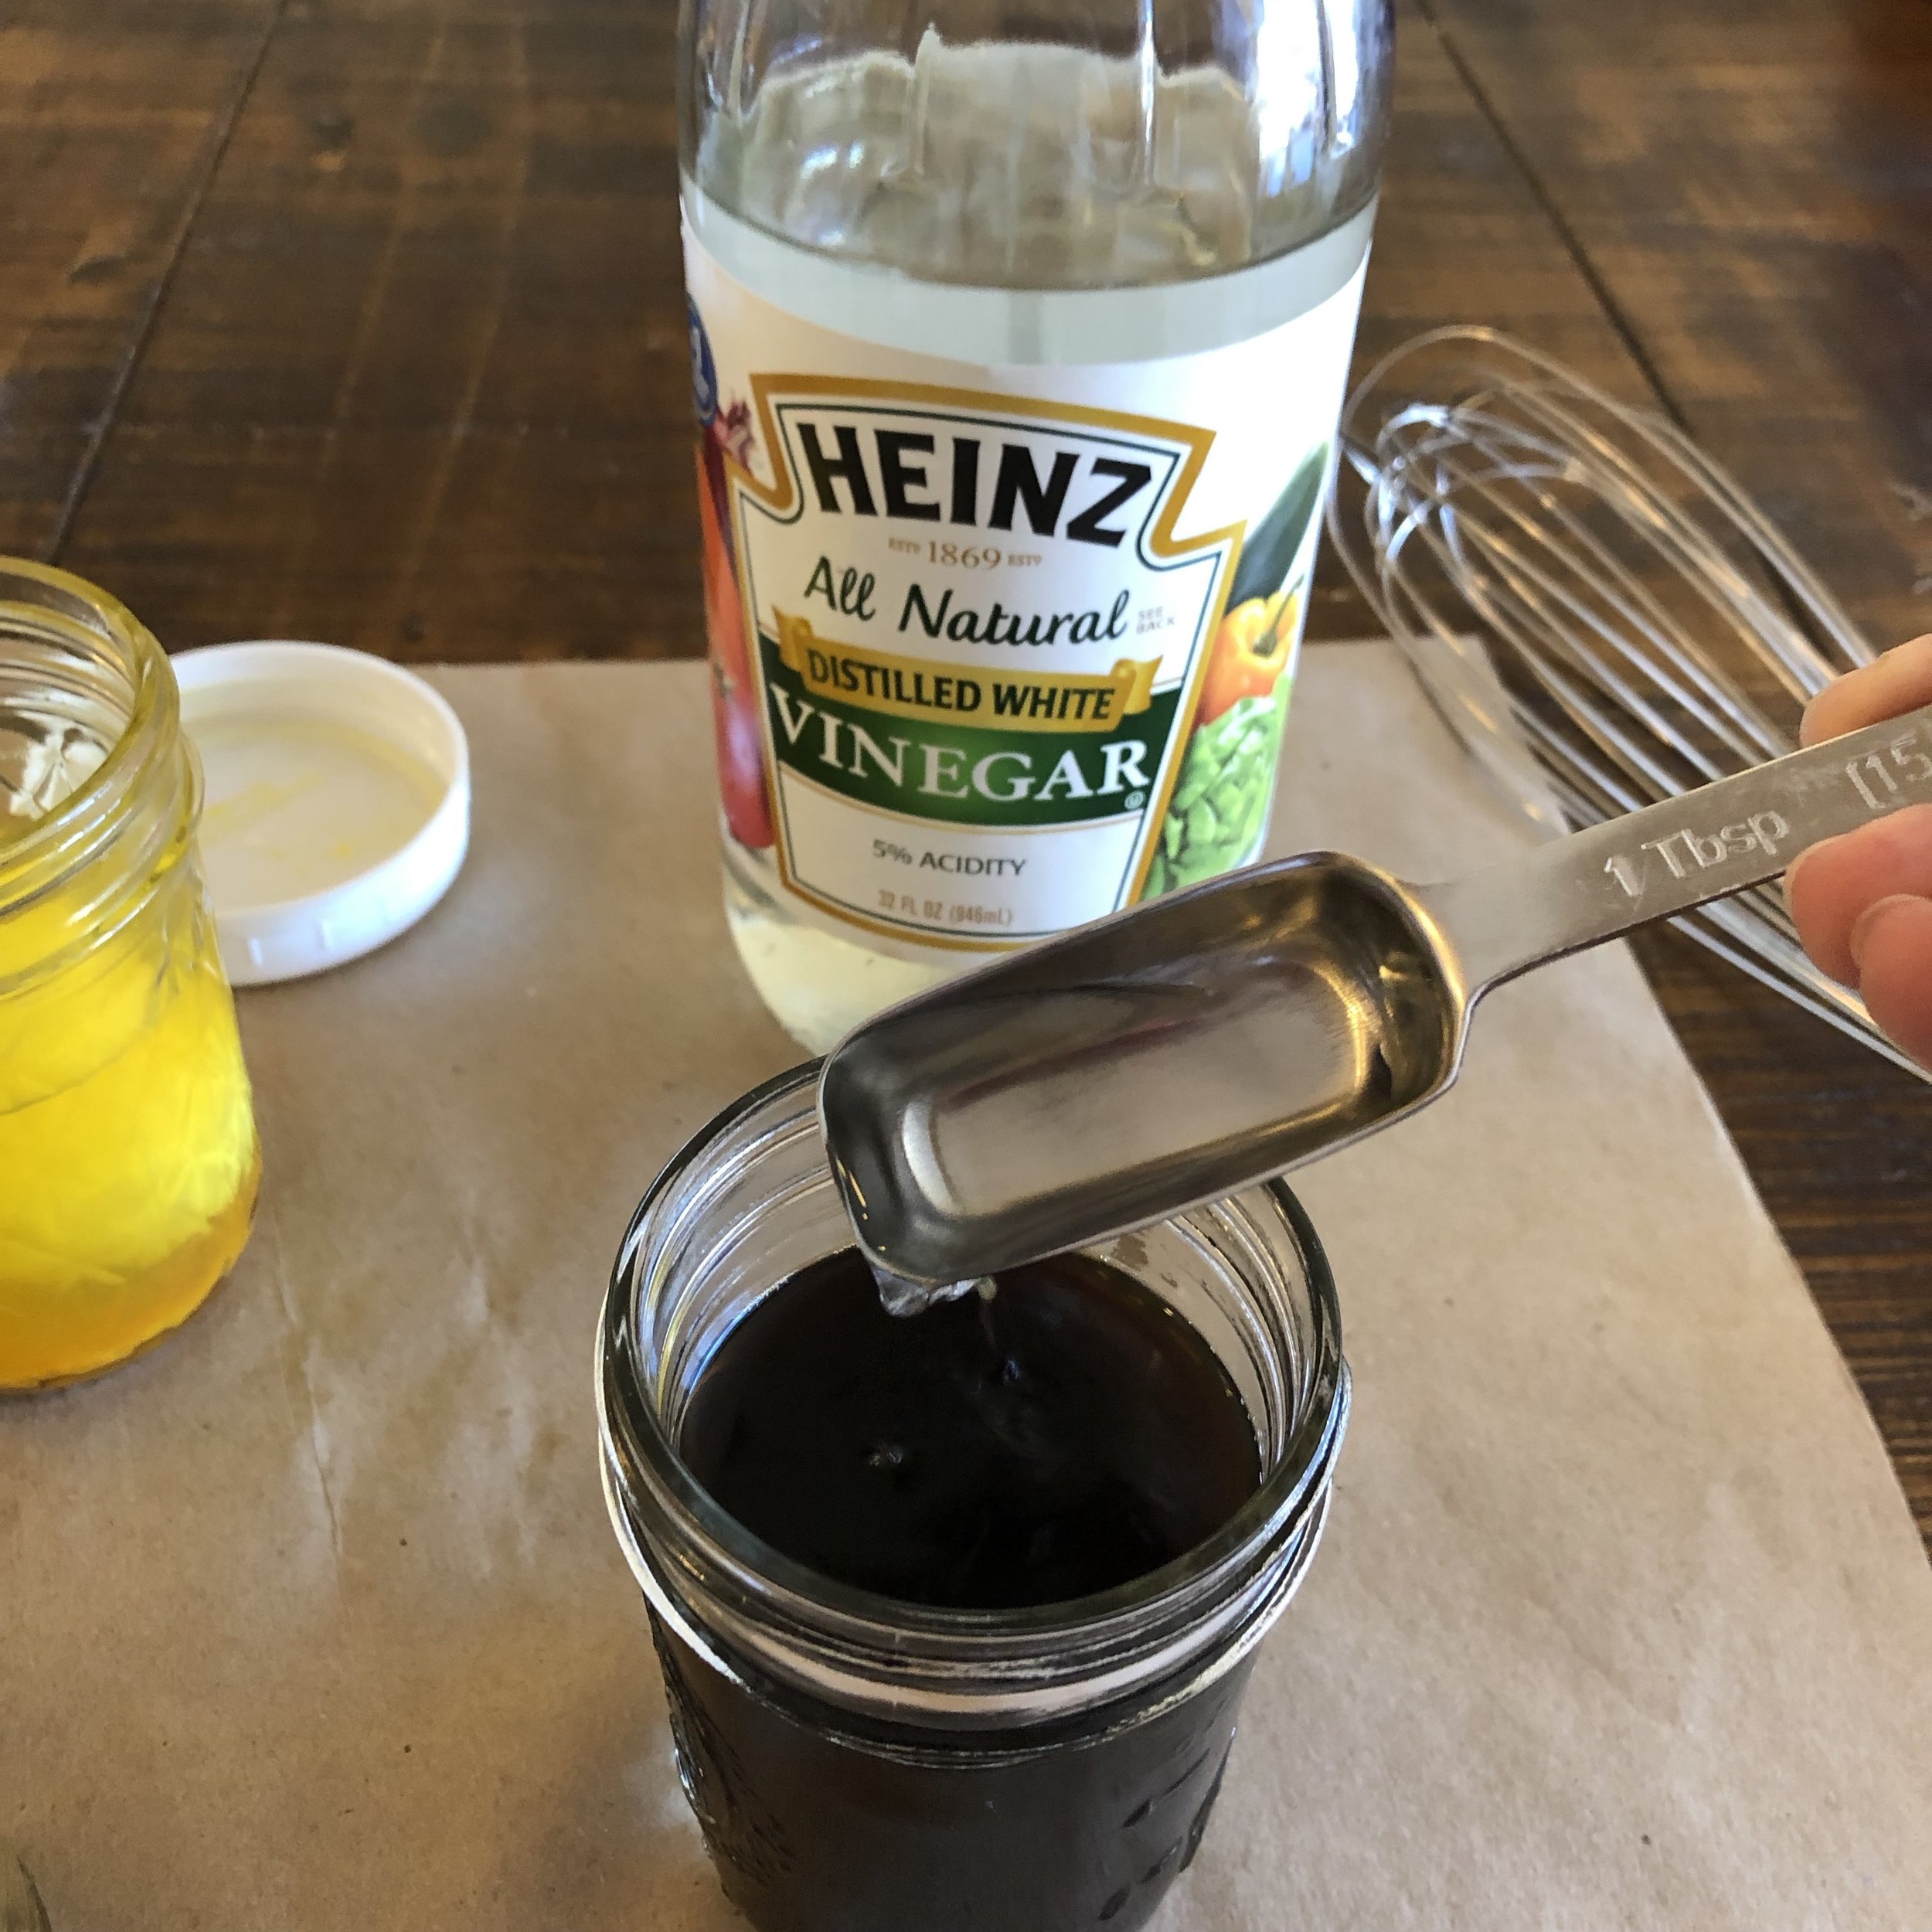
Add vinegar and stir. Use ~1 tablespoon vinegar to 1 cup liquid dye. Use less for acidic mixtures like berries cooked in lemon juice.
Steep: to soak (food, tea, etc.) in hot water so as to extract its flavor or color or to soften or reconstitute it
Boil: to cook (food) in boiling water over a heat source
Recommended formulas
For a quick reference list of formulas for these and a full rainbow of dyes, click here.



General Tips and Hacks for Dying Eggs
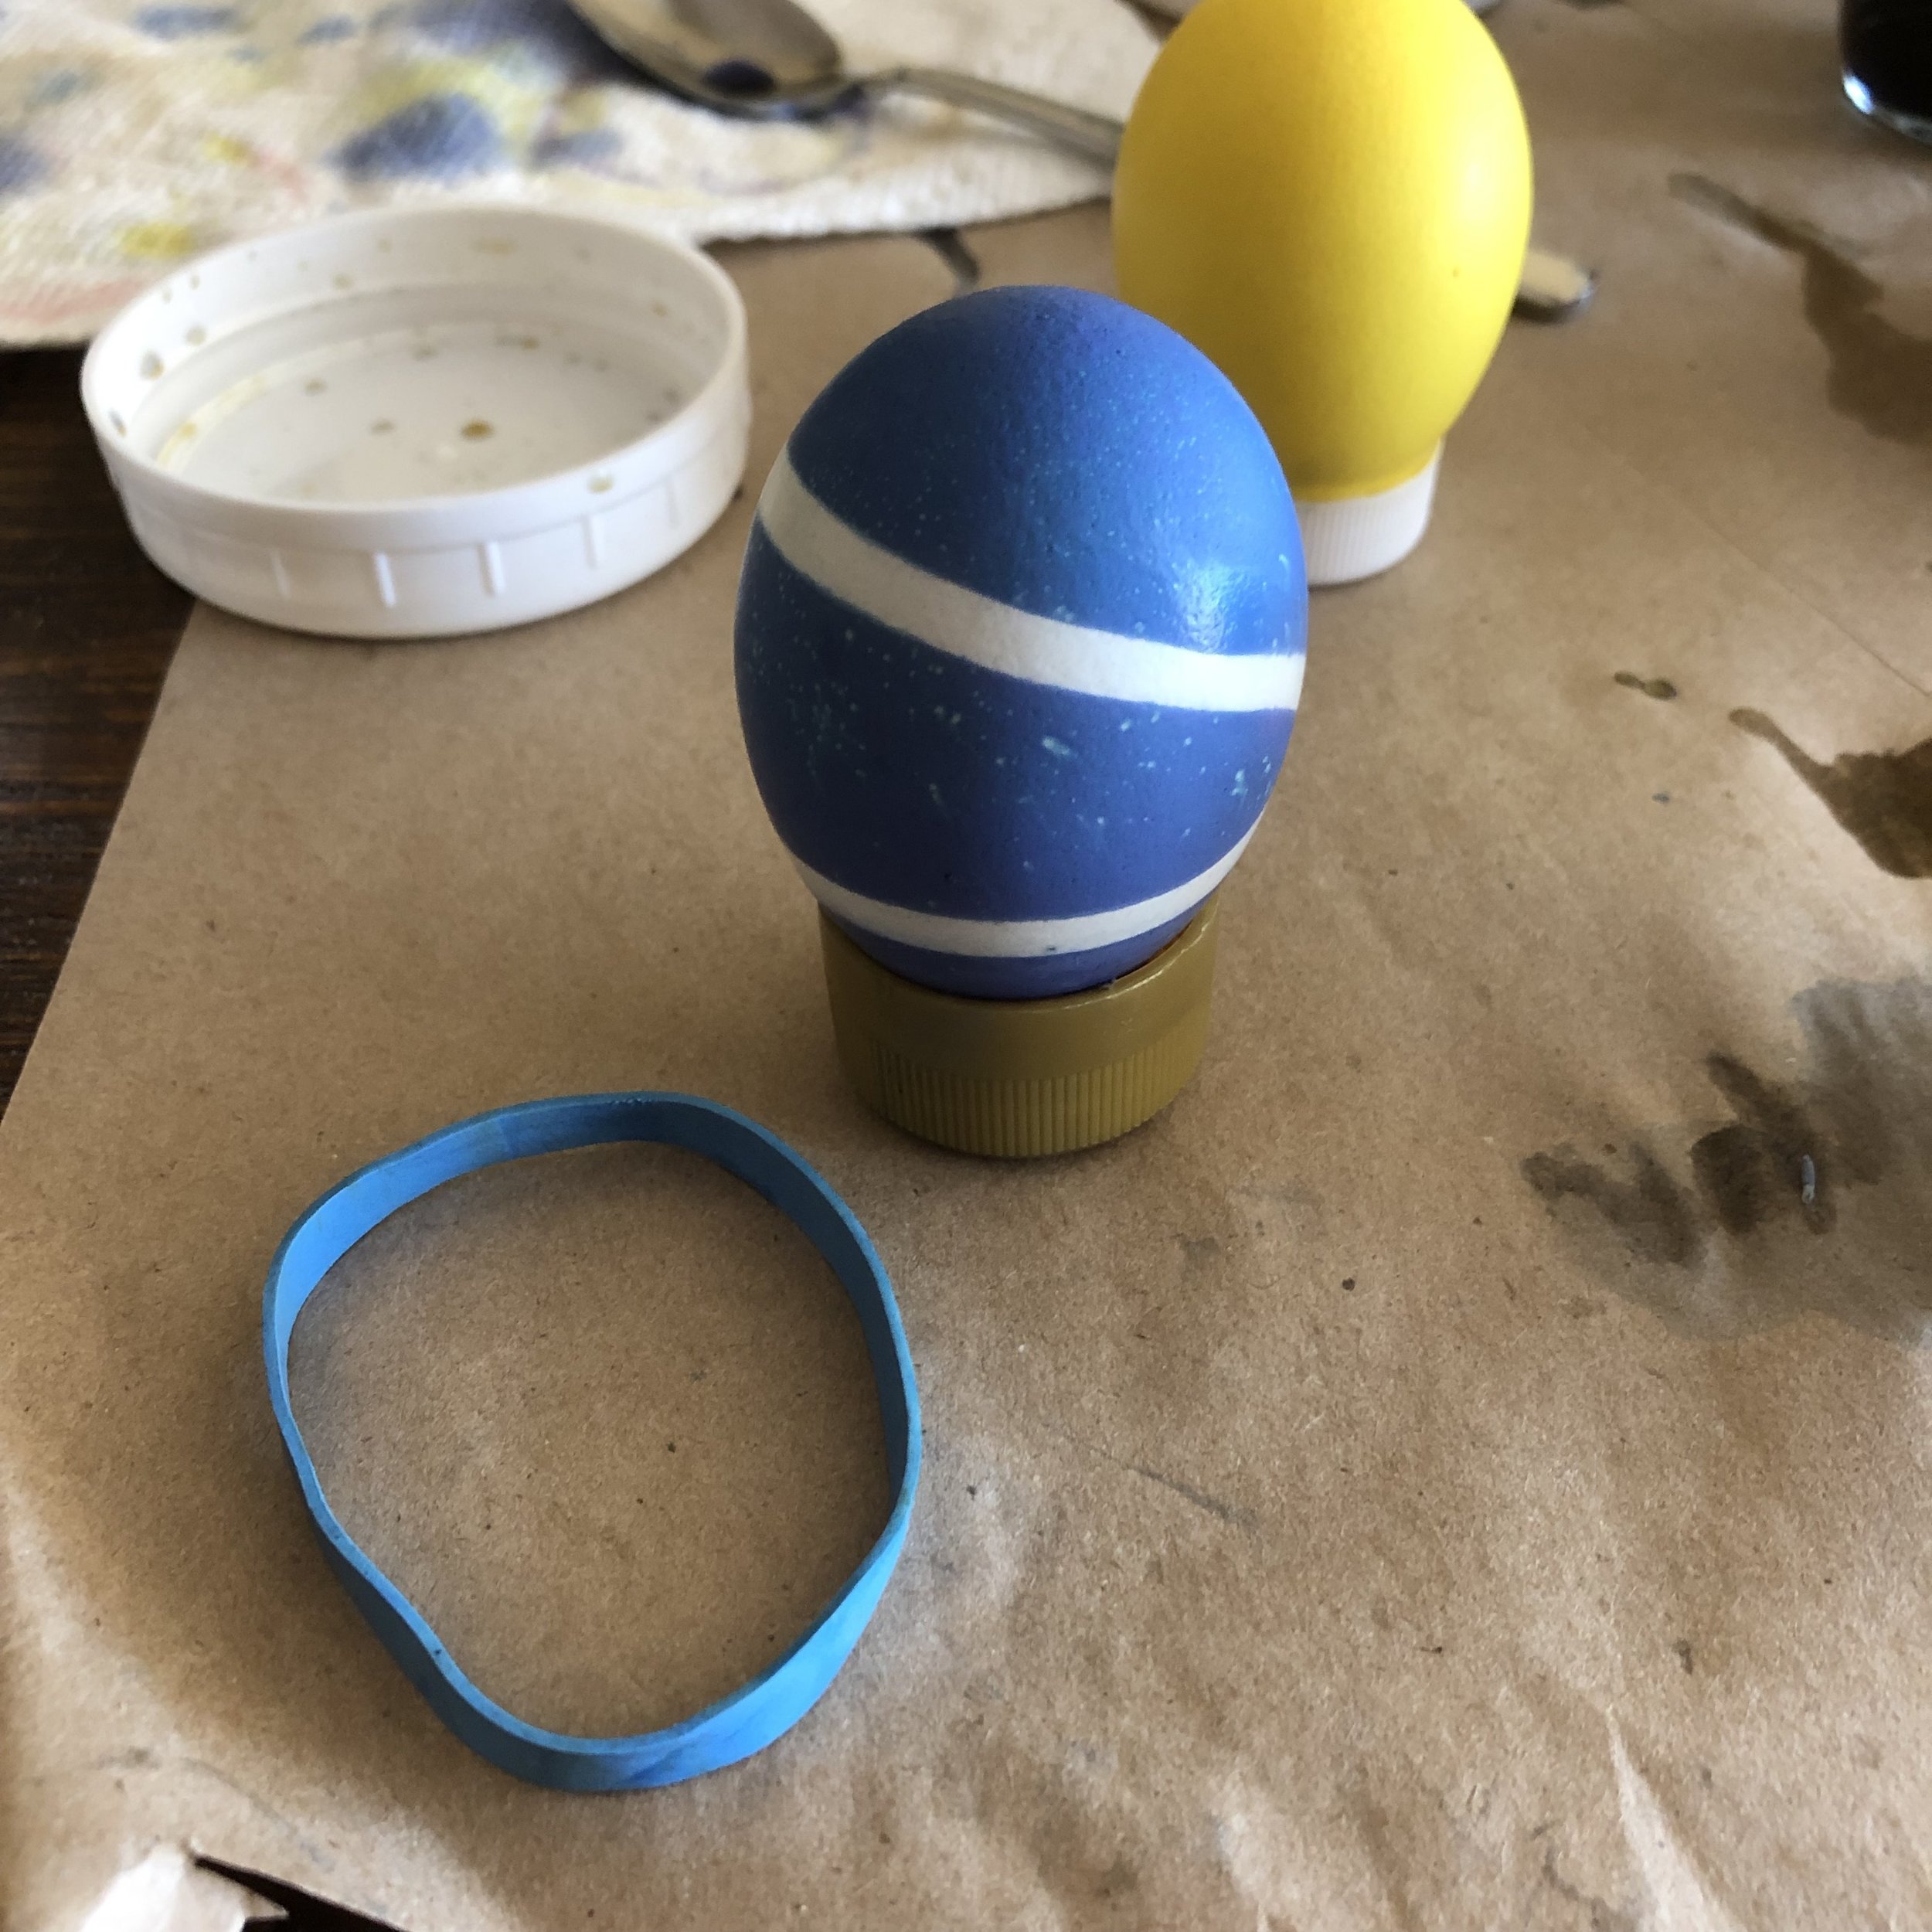
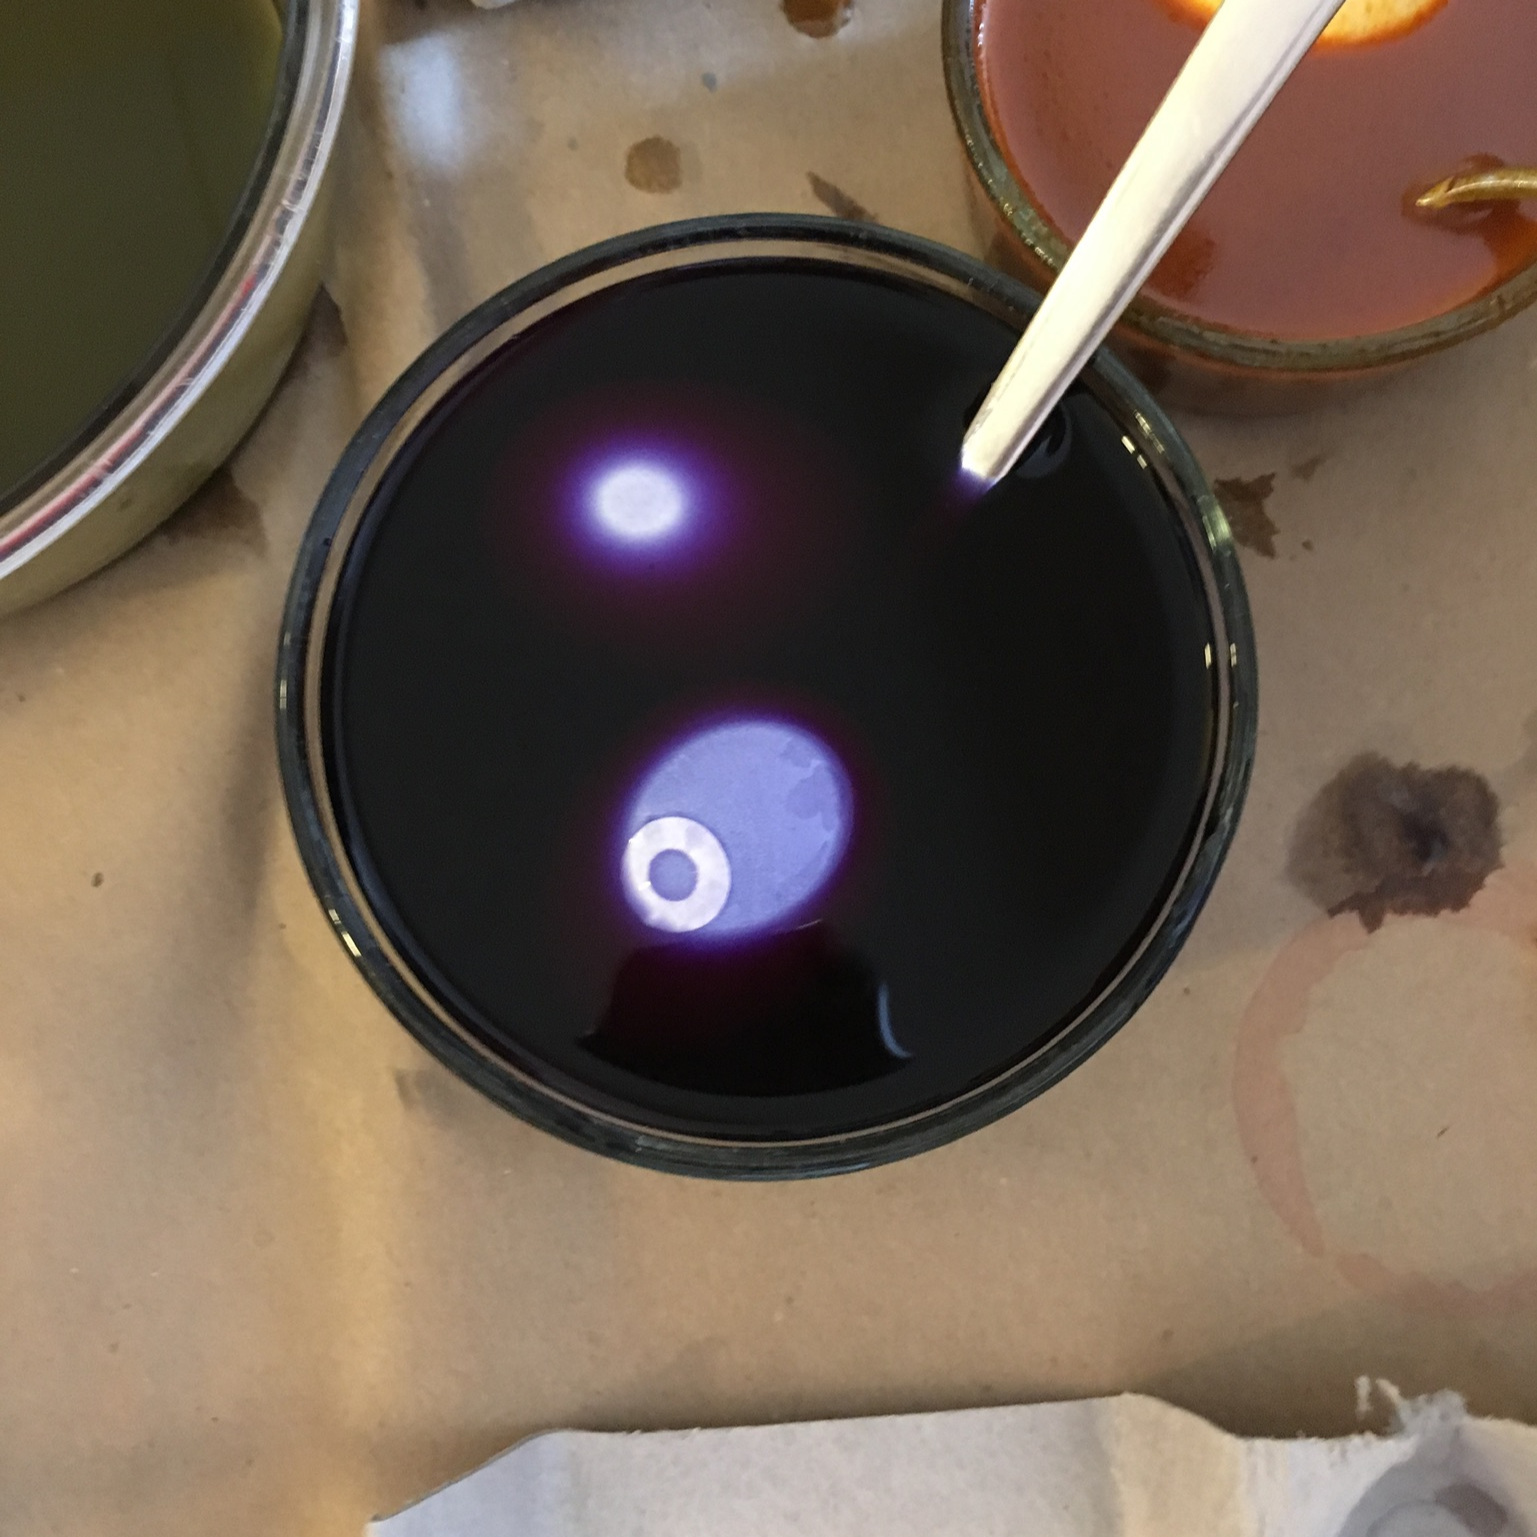

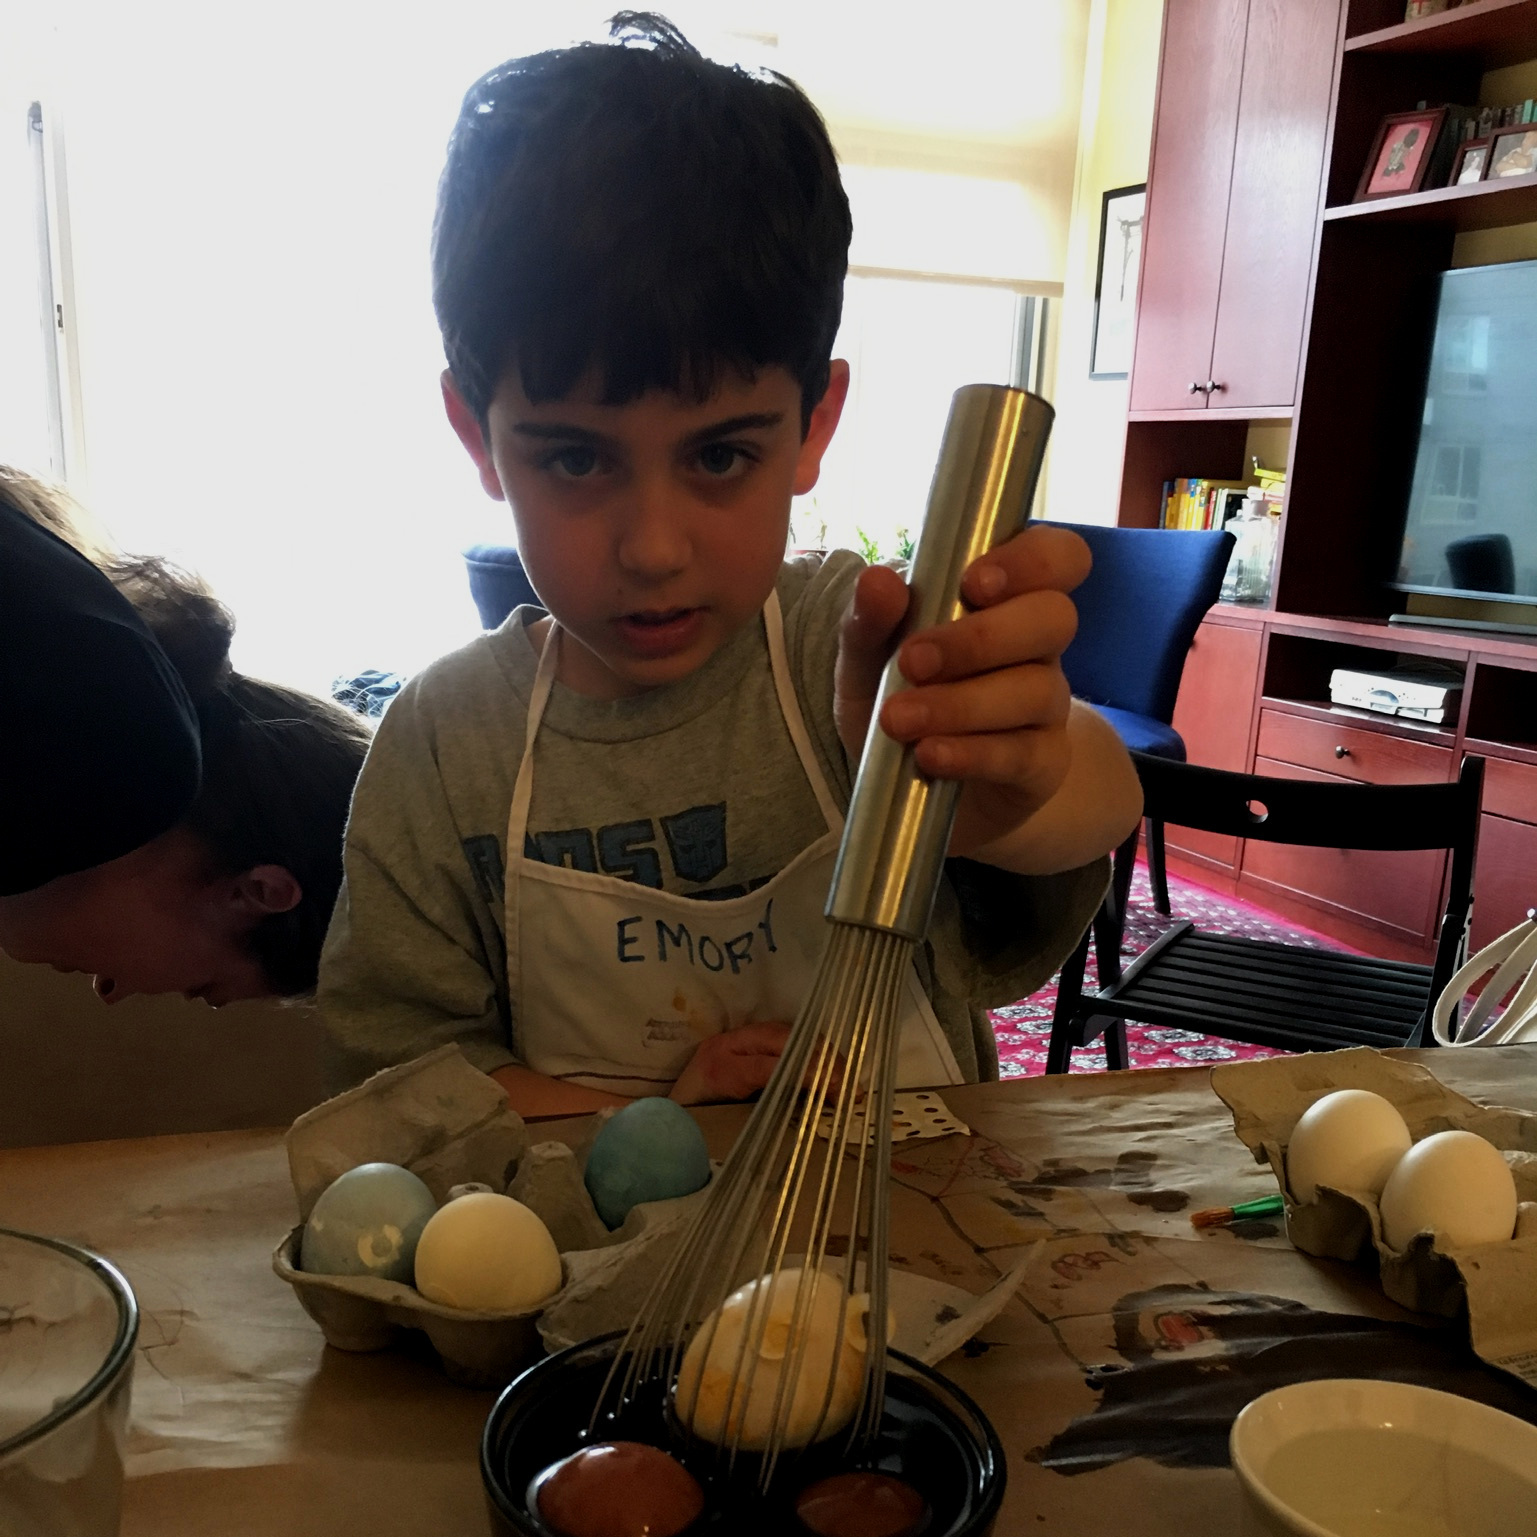
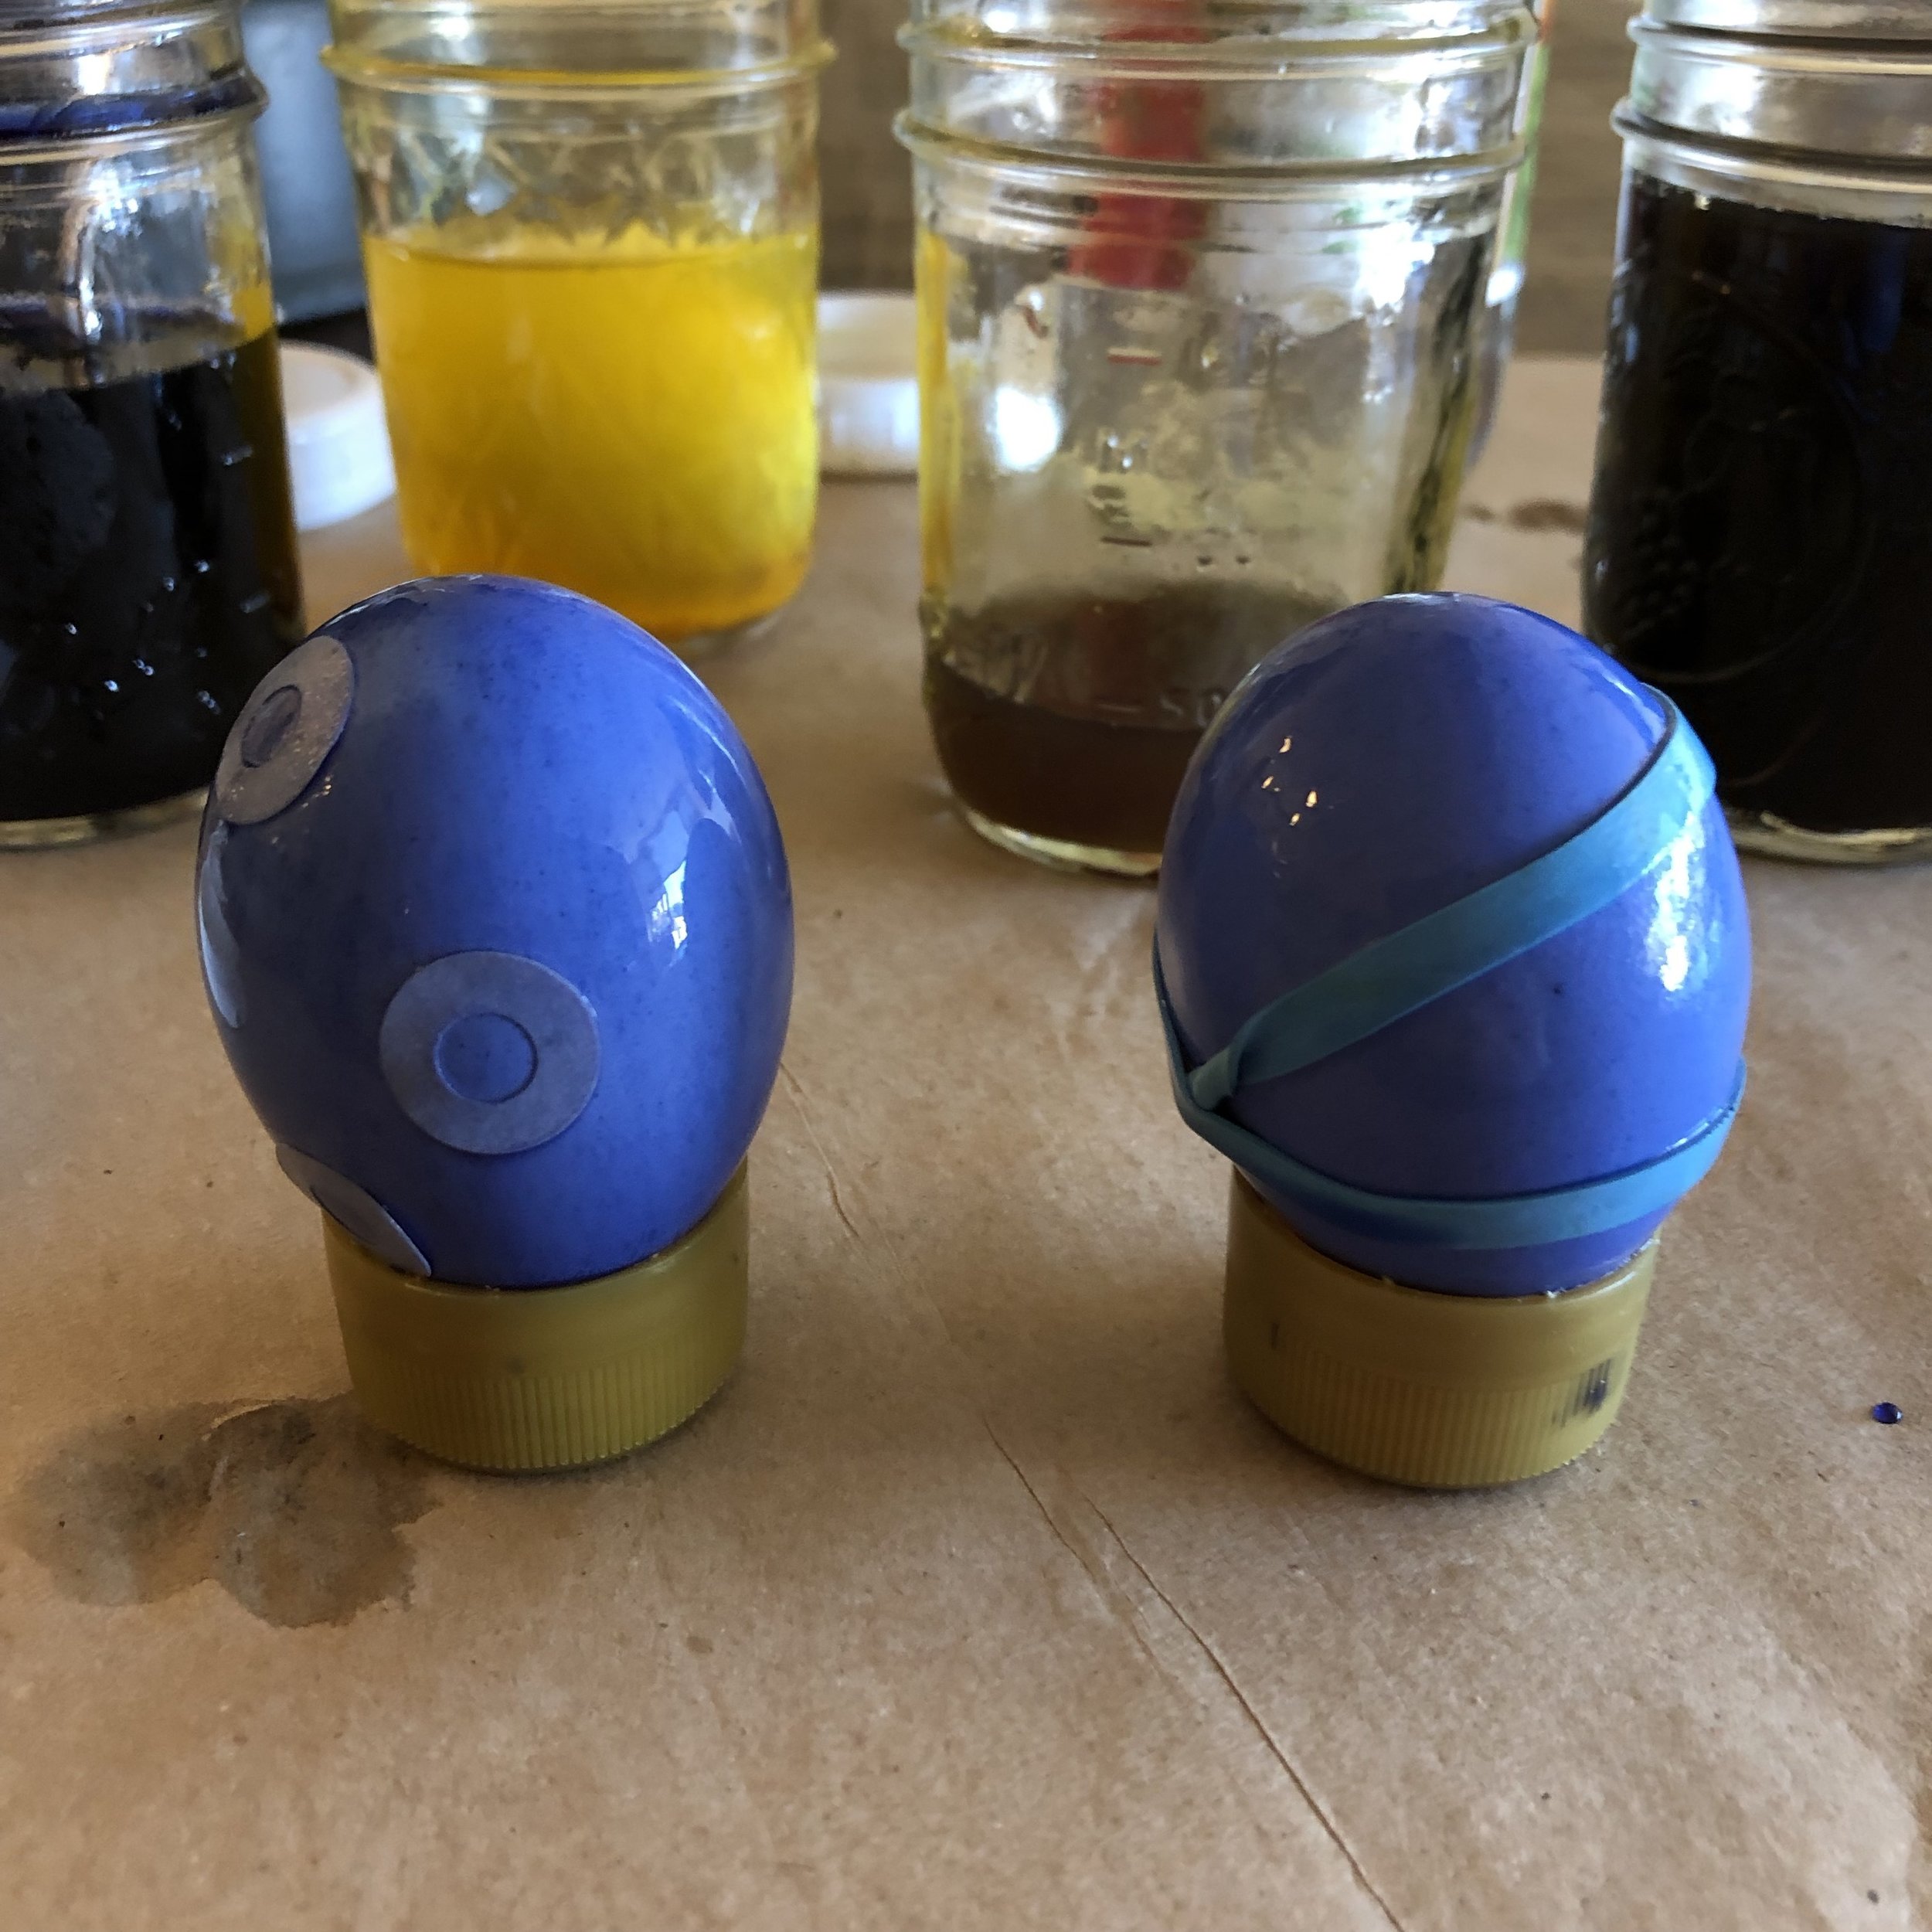
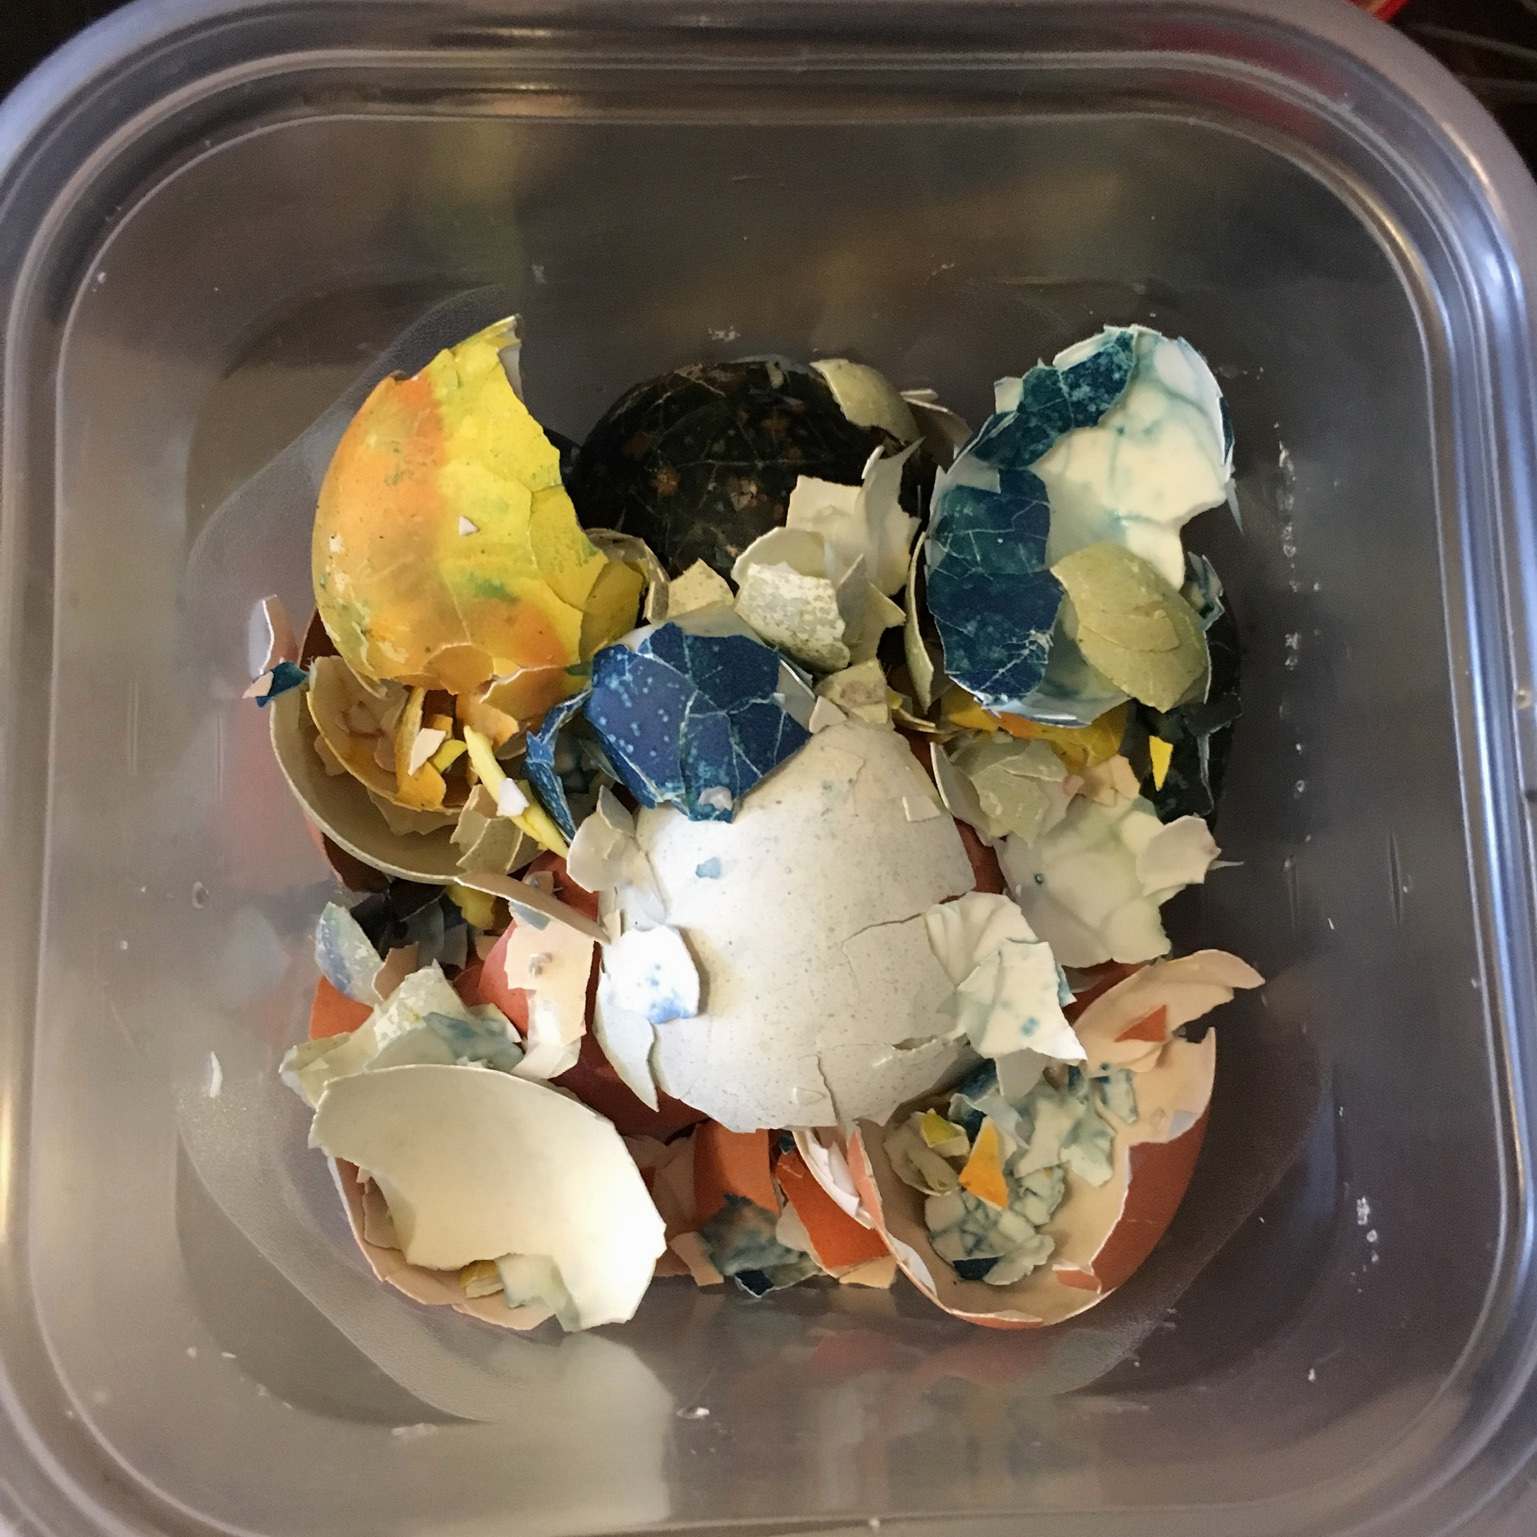
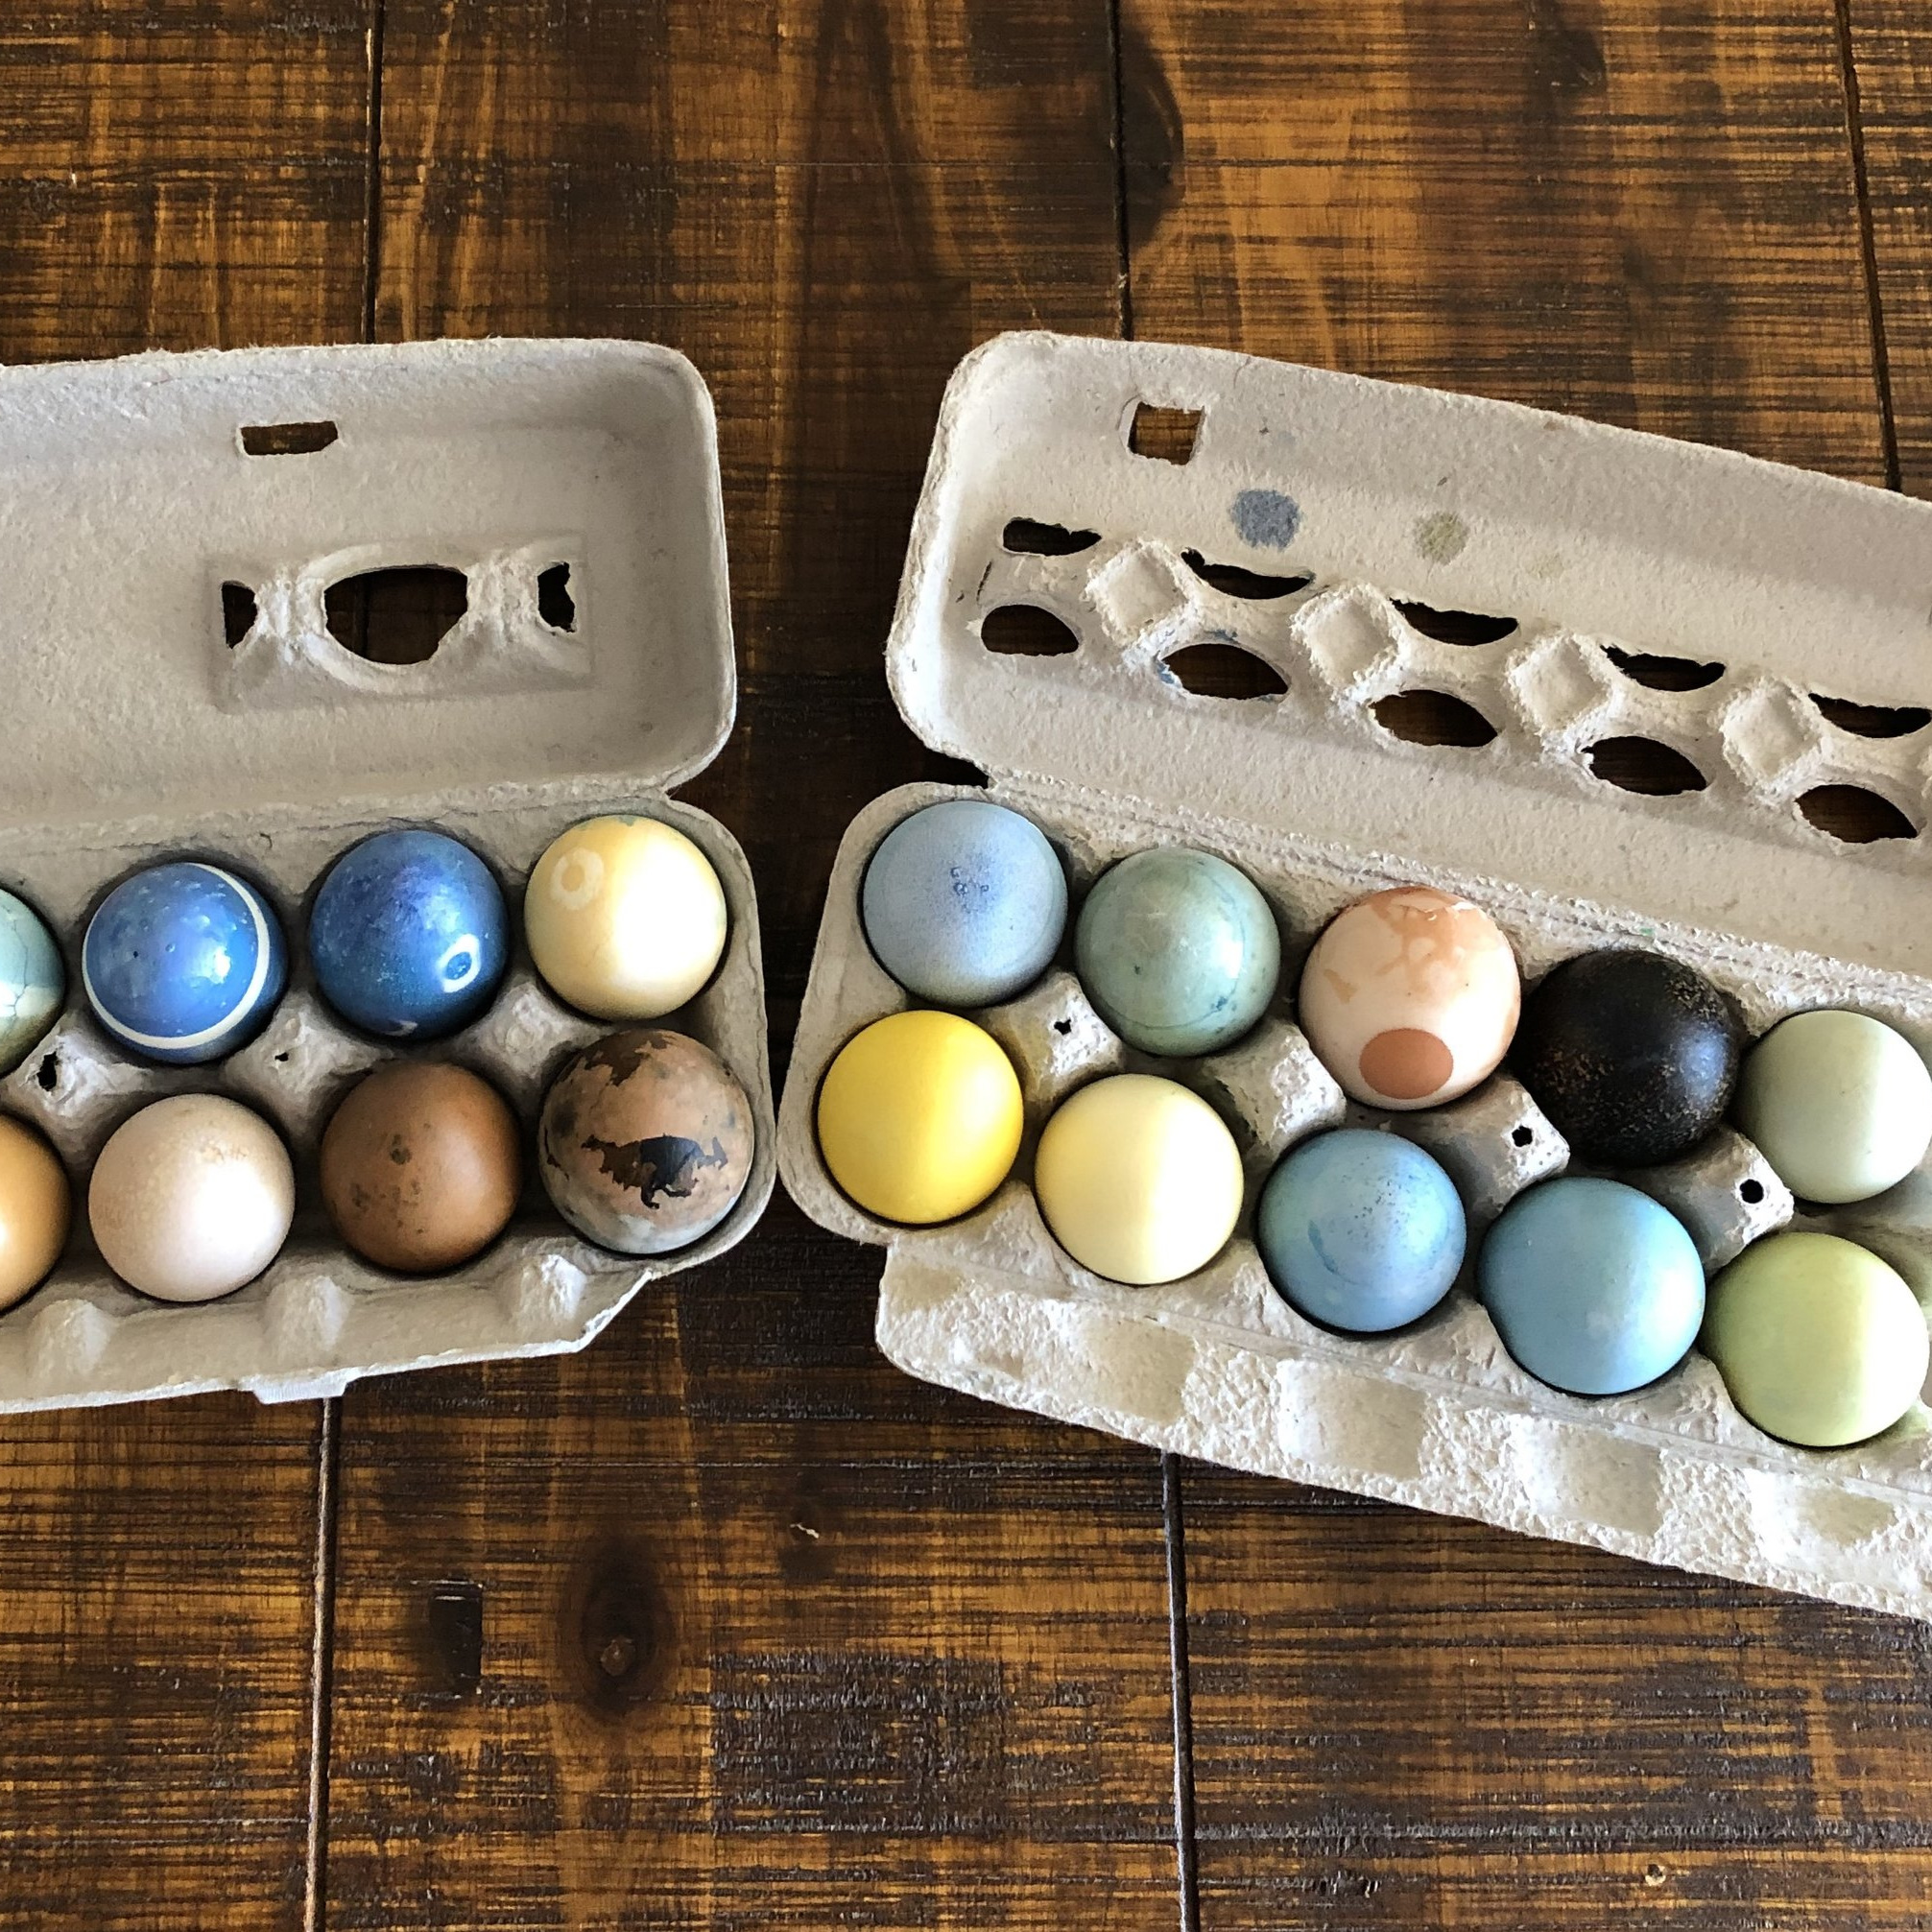
Chili Maple Glazed Squash with Runny Eggs
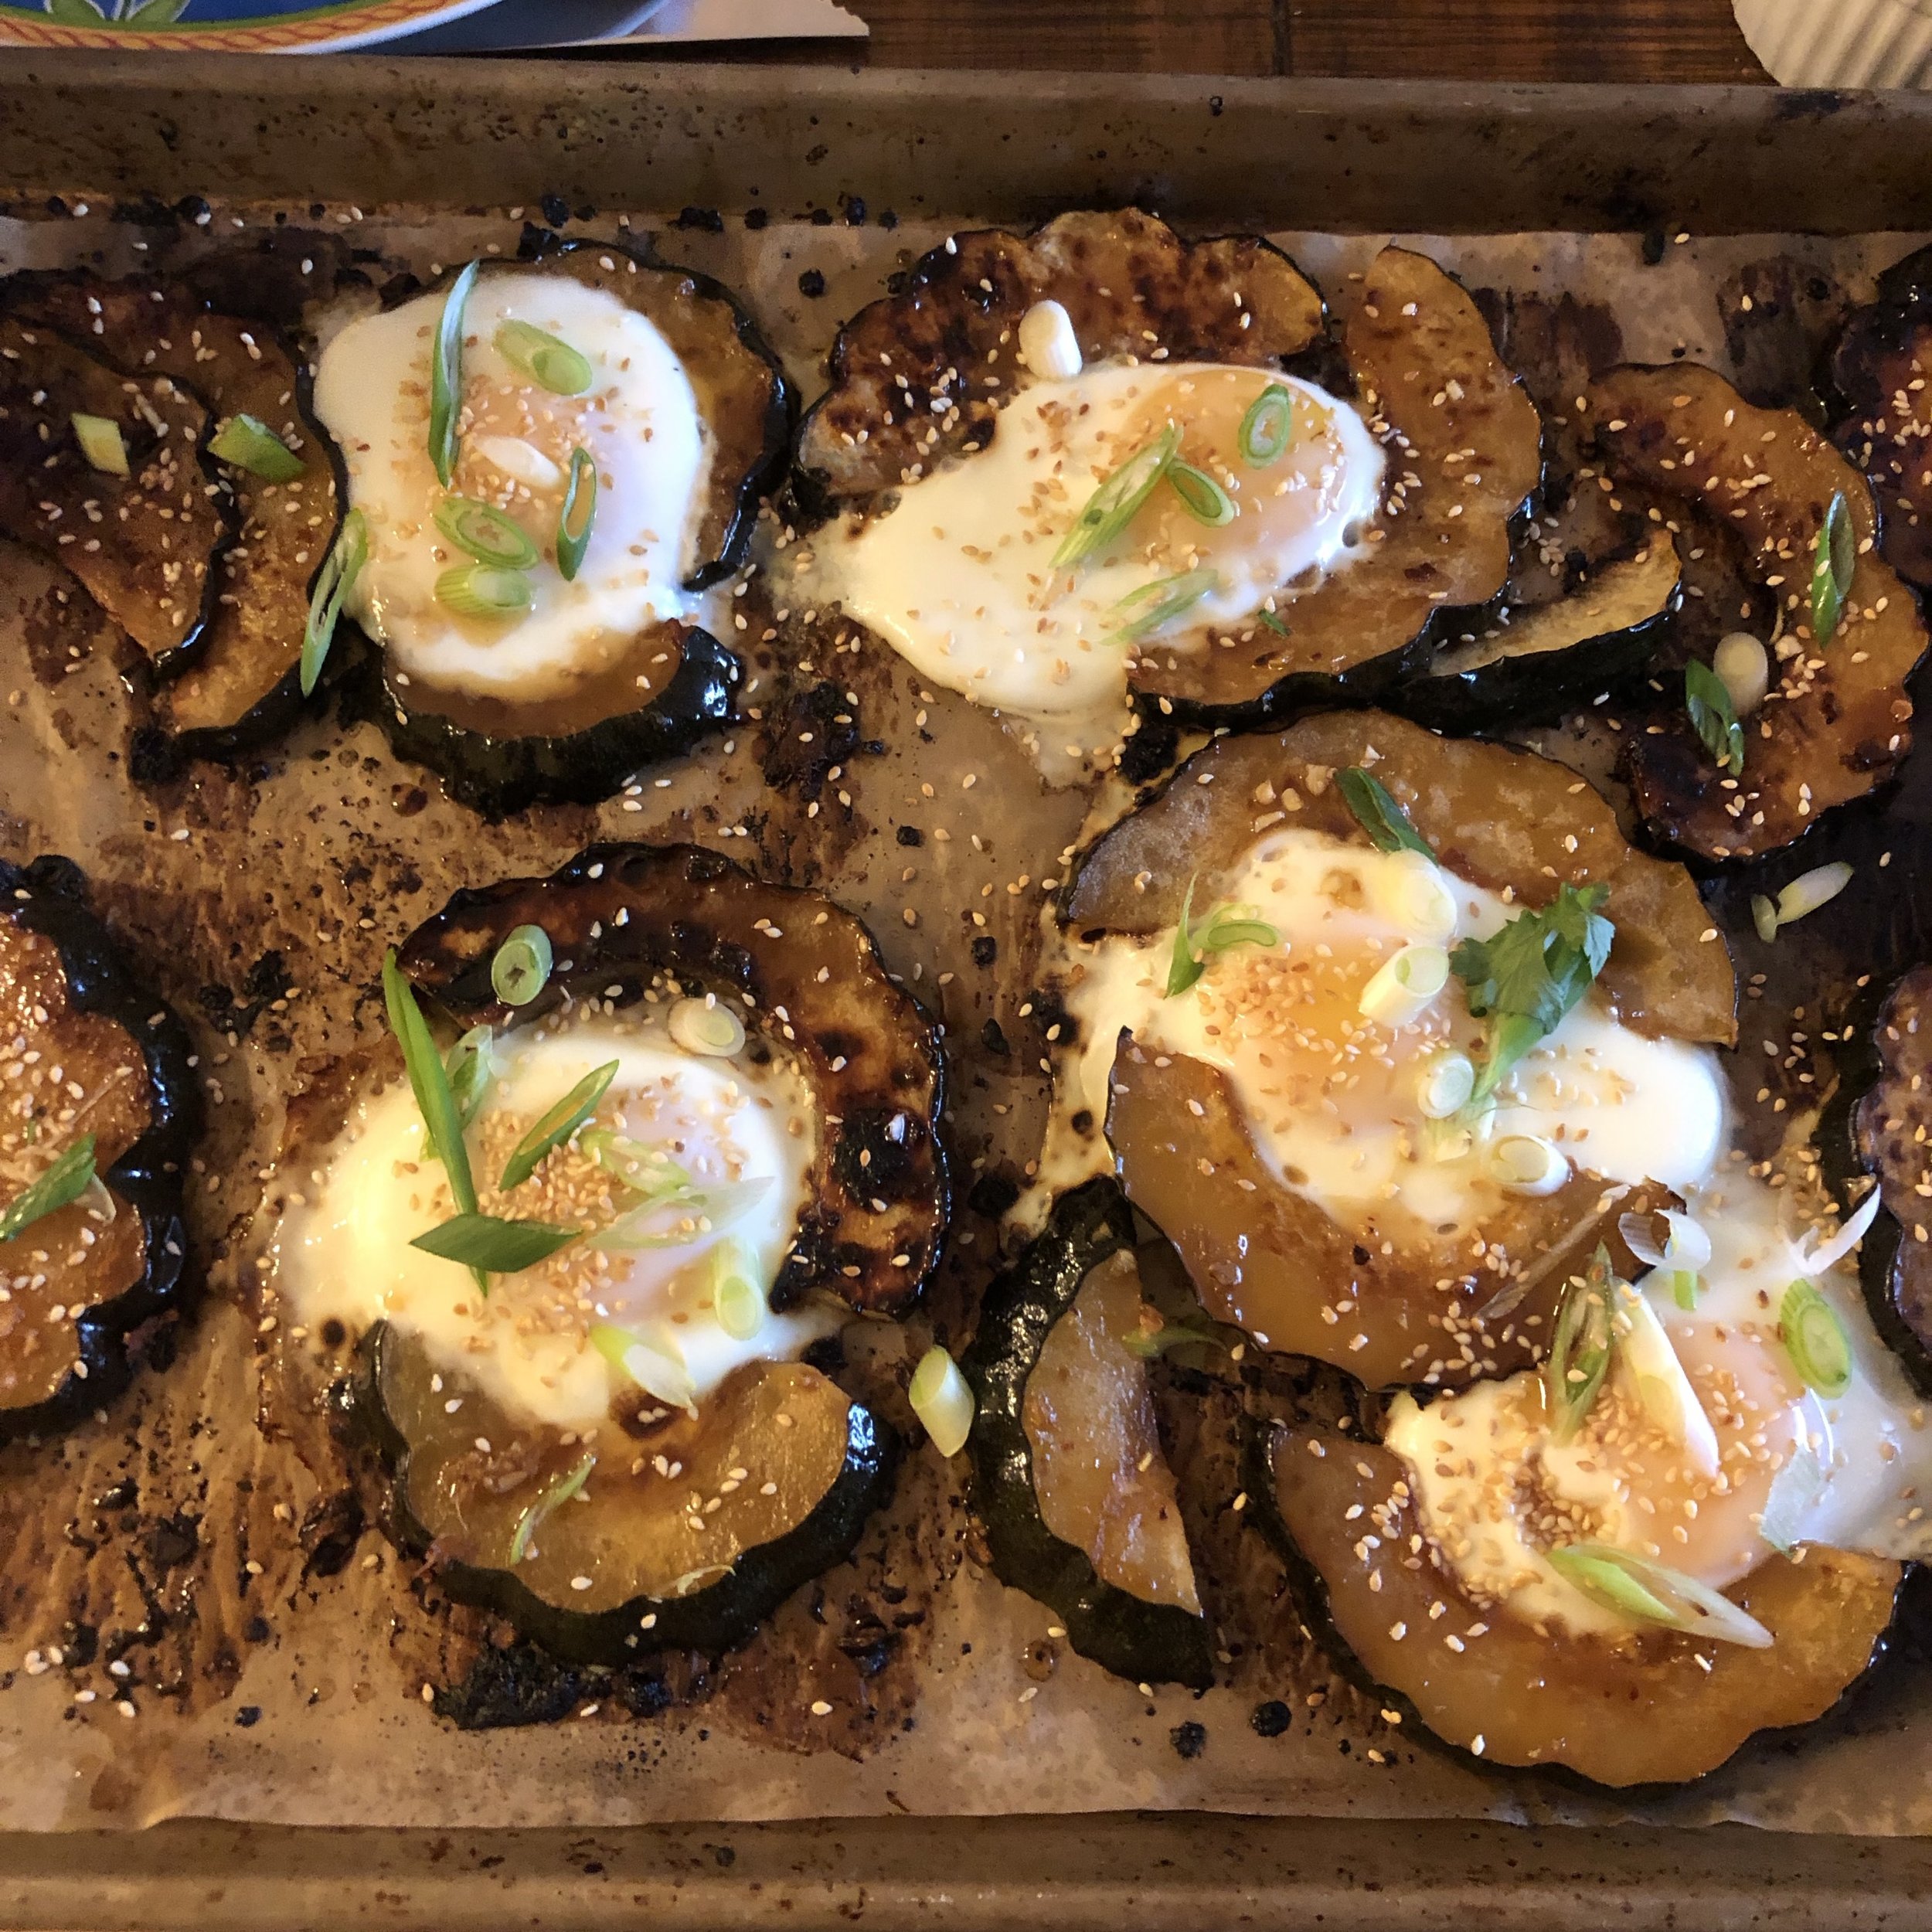
In my classes and conversations with many home cooks and those eager to become home cooks, I hear the same repeated request: Healthy. Easy. Meals. So here’s one of my favorites that meets this criteria and then some. As a sheet pan supper, you’ll only be washing one pan after you stuff your face with wholesome goodness. And since the incredible edible egg is the star protein, equally acceptable for breakfast, lunch and dinner (and of course BRUNCH), it’s easy on the wallet. The chili maple glaze turns the squash into crunchy on the outside, creamy on the inside, candy that even squash resisters can’t stop eating.
You can use any type of squash, but I find delicata or acorn work best in this dish, since the roasted skin is deliciously edible, upping the convenience and health factors (thank you, fiber). If butternut or another variety of squash is more readily available to you, go for it. Whichever you use, cut the squash into symmetrical crescent-shaped slices that can be ingeniously arranged to contain a cracked egg.
Make this for dinner on a weeknight. Make it for brunch and impress your friends. Make extra and put the leftovers inside a taco.
CHILI MAPLE GLAZED SQUASH AND RUNNY EGGS
Serves: 4 as a main dish
Acorn squash cut into crescent shaped slices and tossed in chili maple glaze before roasting.
What you need:
¼ cup maple syrup
2 tablespoons sesame oil
1 tablespoon grapeseed oil (or canola)
1 tablespoons apple cider vinegar
1 tablespoon tamari (or shoyu or soy sauce)
4 cloves garlic, peeled, minced or grated
1 inch piece ginger root, peeled, minced or grated
¼ - ½ teaspoon chipotle chili flakes, optional
½ teaspoon kosher salt
1 acorn or 2 delicata squash, about 2 pounds
8 eggs
2-3 scallions, sliced at an angle
2 teaspoons sesame seeds, toasted
Delicata squash after roasting, ready to get brushed with more glaze, and arranged for the eggs to get cracked on top.
Garnish with sesame seeds, sliced scallions and more glaze.
What you do:
Preheat the oven to 400 degrees and line a baking sheet with parchment paper.
Cut the squash in half lengthwise. Scoop out the seeds. Slice into ½ inch-thick crescent shaped slices. (Peeling delicata or acorn squash is optional.)
In a large bowl, whisk together the maple syrup, sesame oil, grapeseed oil, apple cider vinegar, tamari, garlic, ginger, and chipotle chili flakes.
Season the squash pieces with salt and add to the maple syrup mixture. Toss to coat. Set aside for 10 minutes.
Spread the squash in a single layer on the parchment lined sheet tray, reserving the extra glaze. Bake 25-30 minutes or until it is golden brown on the underside.
Remove the pan from the oven, flip the squash, brush with additional glaze and return the pan to the oven. Bake another 10-15 minutes or until squash is browned on both sides.
Arrange the squash so that two half moons create a circle with a well in the middle. Drop one egg into each well. Season with salt. Return the pan to the oven and bake 7-8 minutes or until whites are solid and yolks are cooked to your preference.
Garnish with toasted sesame seeds, scallion slices and more chili maple glaze. Serve immediately.
Spiced Sweet Potato Custard
Spiced Sweet Potato Custard
Make this custard merely because it is downright delicious — creamy, decadent, with a hint of spice and subtle sweetness, but if you should need to know, it is also gluten-free, grain-free, dairy-free and can be made without processed sugar. We use leftover mashed or baked sweet potatoes to whip up this one-bowl wonder. Your food processor or immersion blender combines everything to the perfect consistency in just a few minutes. All you have to do is wait (and fight off the aroma of maple and spices) while it sets to satin flawlessness in the oven. You can also adjust the level of sweetness — reduce the maple crystals and serve with additional maple syrup on top. We sometimes swap the sweet potato for cooked pumpkin or winter squash flesh. We eat this for breakfast, brunch or dessert (and 2-year-old Andy consumed multiple servings as a meal for weeks on end).
Some tips on making this dairy free custard:
Whip everything up in a food processor, blender or with an immersion blender. Since there is no gluten, it’s hard to overdo it. The blending will simply make it all smoother. But if you create a lot of bubbles in the process, tap those out once you fill your ramekins.
A water bath or bain marie is a good idea if not a necessity (and not a particularly difficult one) for cooking custard to satiny smoothness. Don’t skip this. Before starting, simply find a baking dish large enough to hold your ramekins with space for some hot water in between. But don’t add the hot water until you've put your baking dish with filled ramekins into the oven and handle carefully to prevent water from spilling into the custard.
Maple crystals are the result of boiling all of the water off of the sap harvested from maple trees. Maple crystals, also known as maple sugar, are becoming increasingly easier to find wherever you buy pure maple syrup. If you can’t find maple crystals, turbinado and coconut sugar are your next best options in this recipe.
Freshly grate your nutmeg — it makes all the difference.
Whole nutmeg grated on a microplane
Maple sugar or maple crystals
What you need:
¼ cup plus 1 teaspoon coconut oil, melted
1 ½ - 1 ⅔ cups cooked sweet potato flesh (peeled, skin discarded)
1 teaspoon ground cinnamon
¾ teaspoon freshly grated nutmeg
½ teaspoon ground cardamom
½ teaspoon ground ginger
¼ teaspoon ground cloves
pinch of sea salt
¼ cup maple crystals (or turbinado or coconut sugar)
¼ cup maple syrup
6 eggs
1 cup full fat coconut milk
2 tablespoons tapioca starch/tapioca flour
The custard is set when it no longer jiggles, except for a circle the size of a pinky fingertip in the middle.
Optional: With a knife, loosen edges of custard and invert ramekin onto a plate. Serve with additional maple syrup and a dusting of freshly grated nutmeg.
What you do:
Preheat oven to 350 degrees. Brush 8-10 ramekins with coconut oil and place in a large baking dish with high sides.
In a food processor or with an immersion blender in a medium bowl, purée sweet potato flesh with cinnamon, nutmeg, cardamom, ginger, cloves and sea salt until smooth. Stop and scrape down sides.
Add maple crystals, maple syrup, and remaining melted coconut oil. Purée until smooth. Stop and scrape down sides. Add eggs and process until creamy, about 2 minutes.
Add coconut milk and tapioca starch and process until smooth.
Pour into prepared ramekins. Carefully transfer to oven rack that is slightly pulled out. Pour hot water into the baking dish until it comes halfway to two-thirds up the sides of the ramekins. Carefully slide the baking dish and oven rack back into the oven. Bake 25-30 minutes until custard is set. A tiny pea-sized circle in center will jiggle just a little when done.
Allow to cool in baking dish 5 minutes. Then remove ramekins from baking dish and allow to cool further.
Serve warm or chilled with additional maple syrup or dusting of freshly ground nutmeg if desired.
To Freeze: You can freeze the unbaked custard mixture two ways: pour unbaked custard mixture into a freezer safe container or wrap filled ramekins tightly in plastic wrap. Freeze up to 3 months. Defrost in refrigerator about 3 hours and continue with procedure.
Alternatively, keep completely cooled baked custards in their ramekins and wrap tightly with plastic wrap. Freeze up to 3 months. Defrost in refrigerator about 3-4 hours and enjoy or allow to come to room temperature before enjoying.
Butternut Squash & French Lentil Stew
This blog post is a wee bit misleading. While I intend to give you a straightforward recipe for a hearty health-supportive one-pot wonder perfect to combat today’s winter chill from Florida to Maine and New York to Chicago, I’m also going to give you the tools to make countless plant-based stews out of any ingredients you’re craving or have on hand. If you’re just here for the Anti-Inflammatory Butternut Squash and French Lentil Stew, click the link for the no-frills version pronto. But if you want to know how to make stew for days, without eating the same one twice, read on… (illustrations coming some day soon).
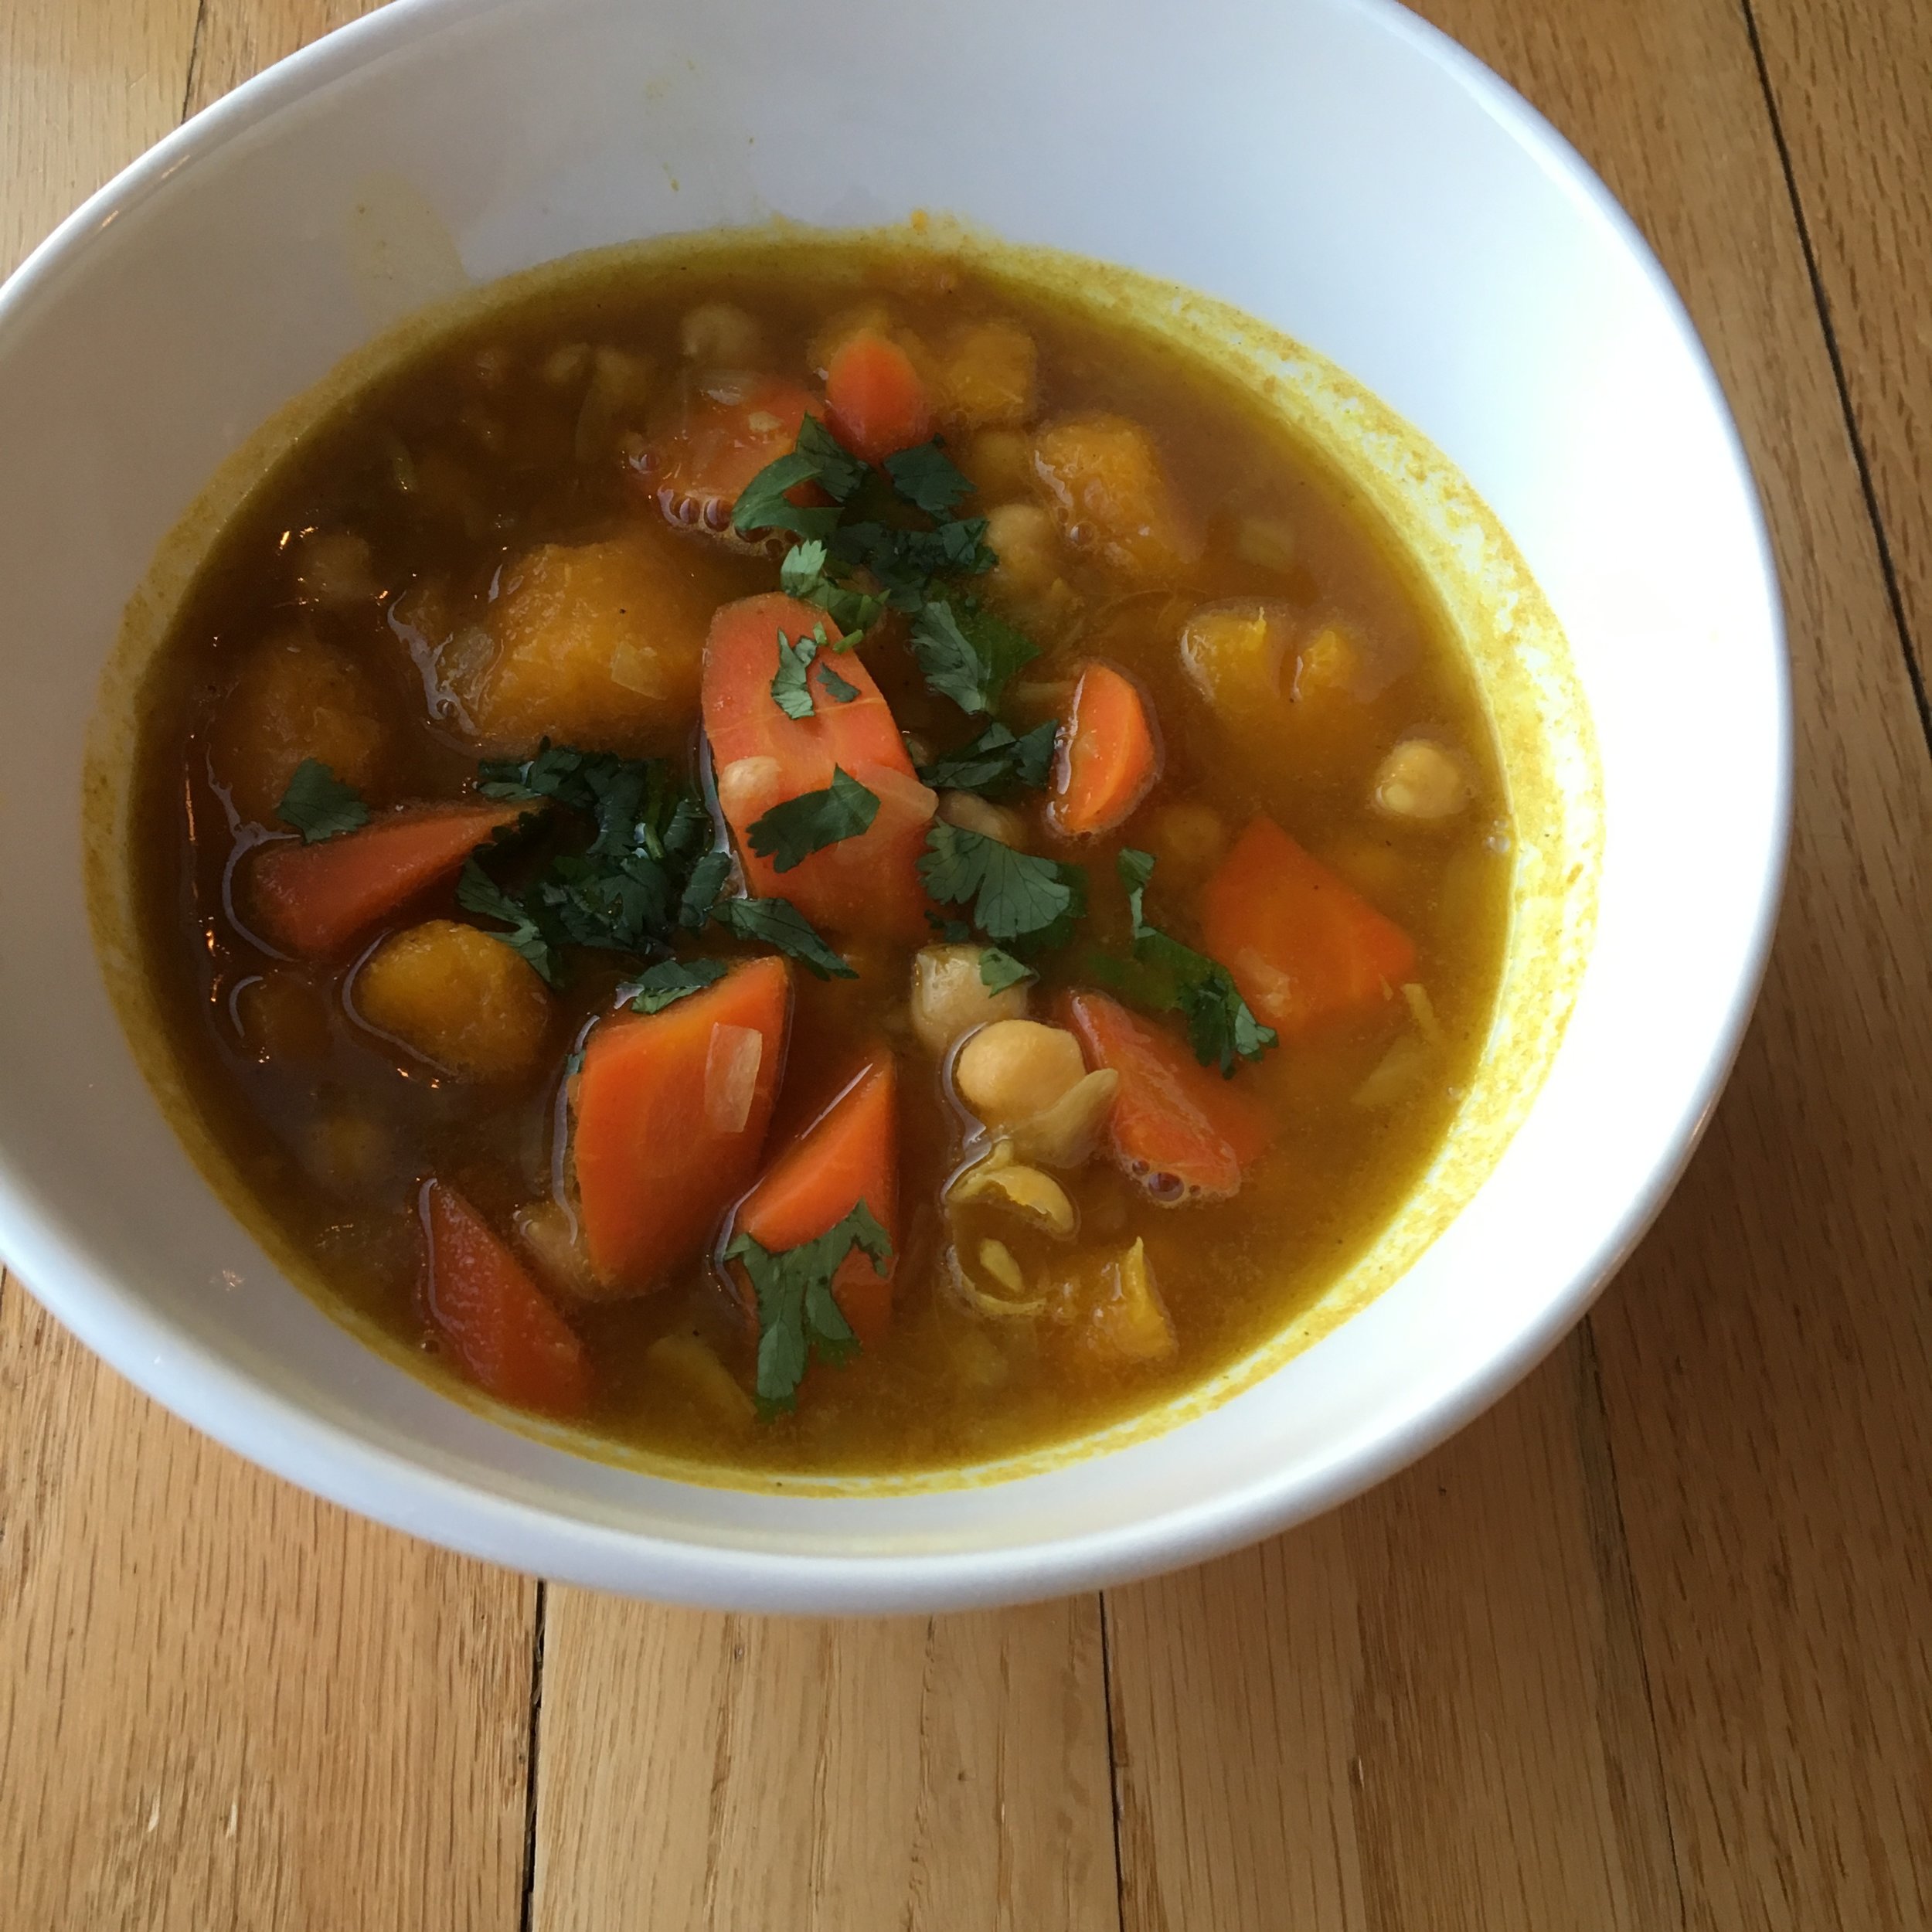
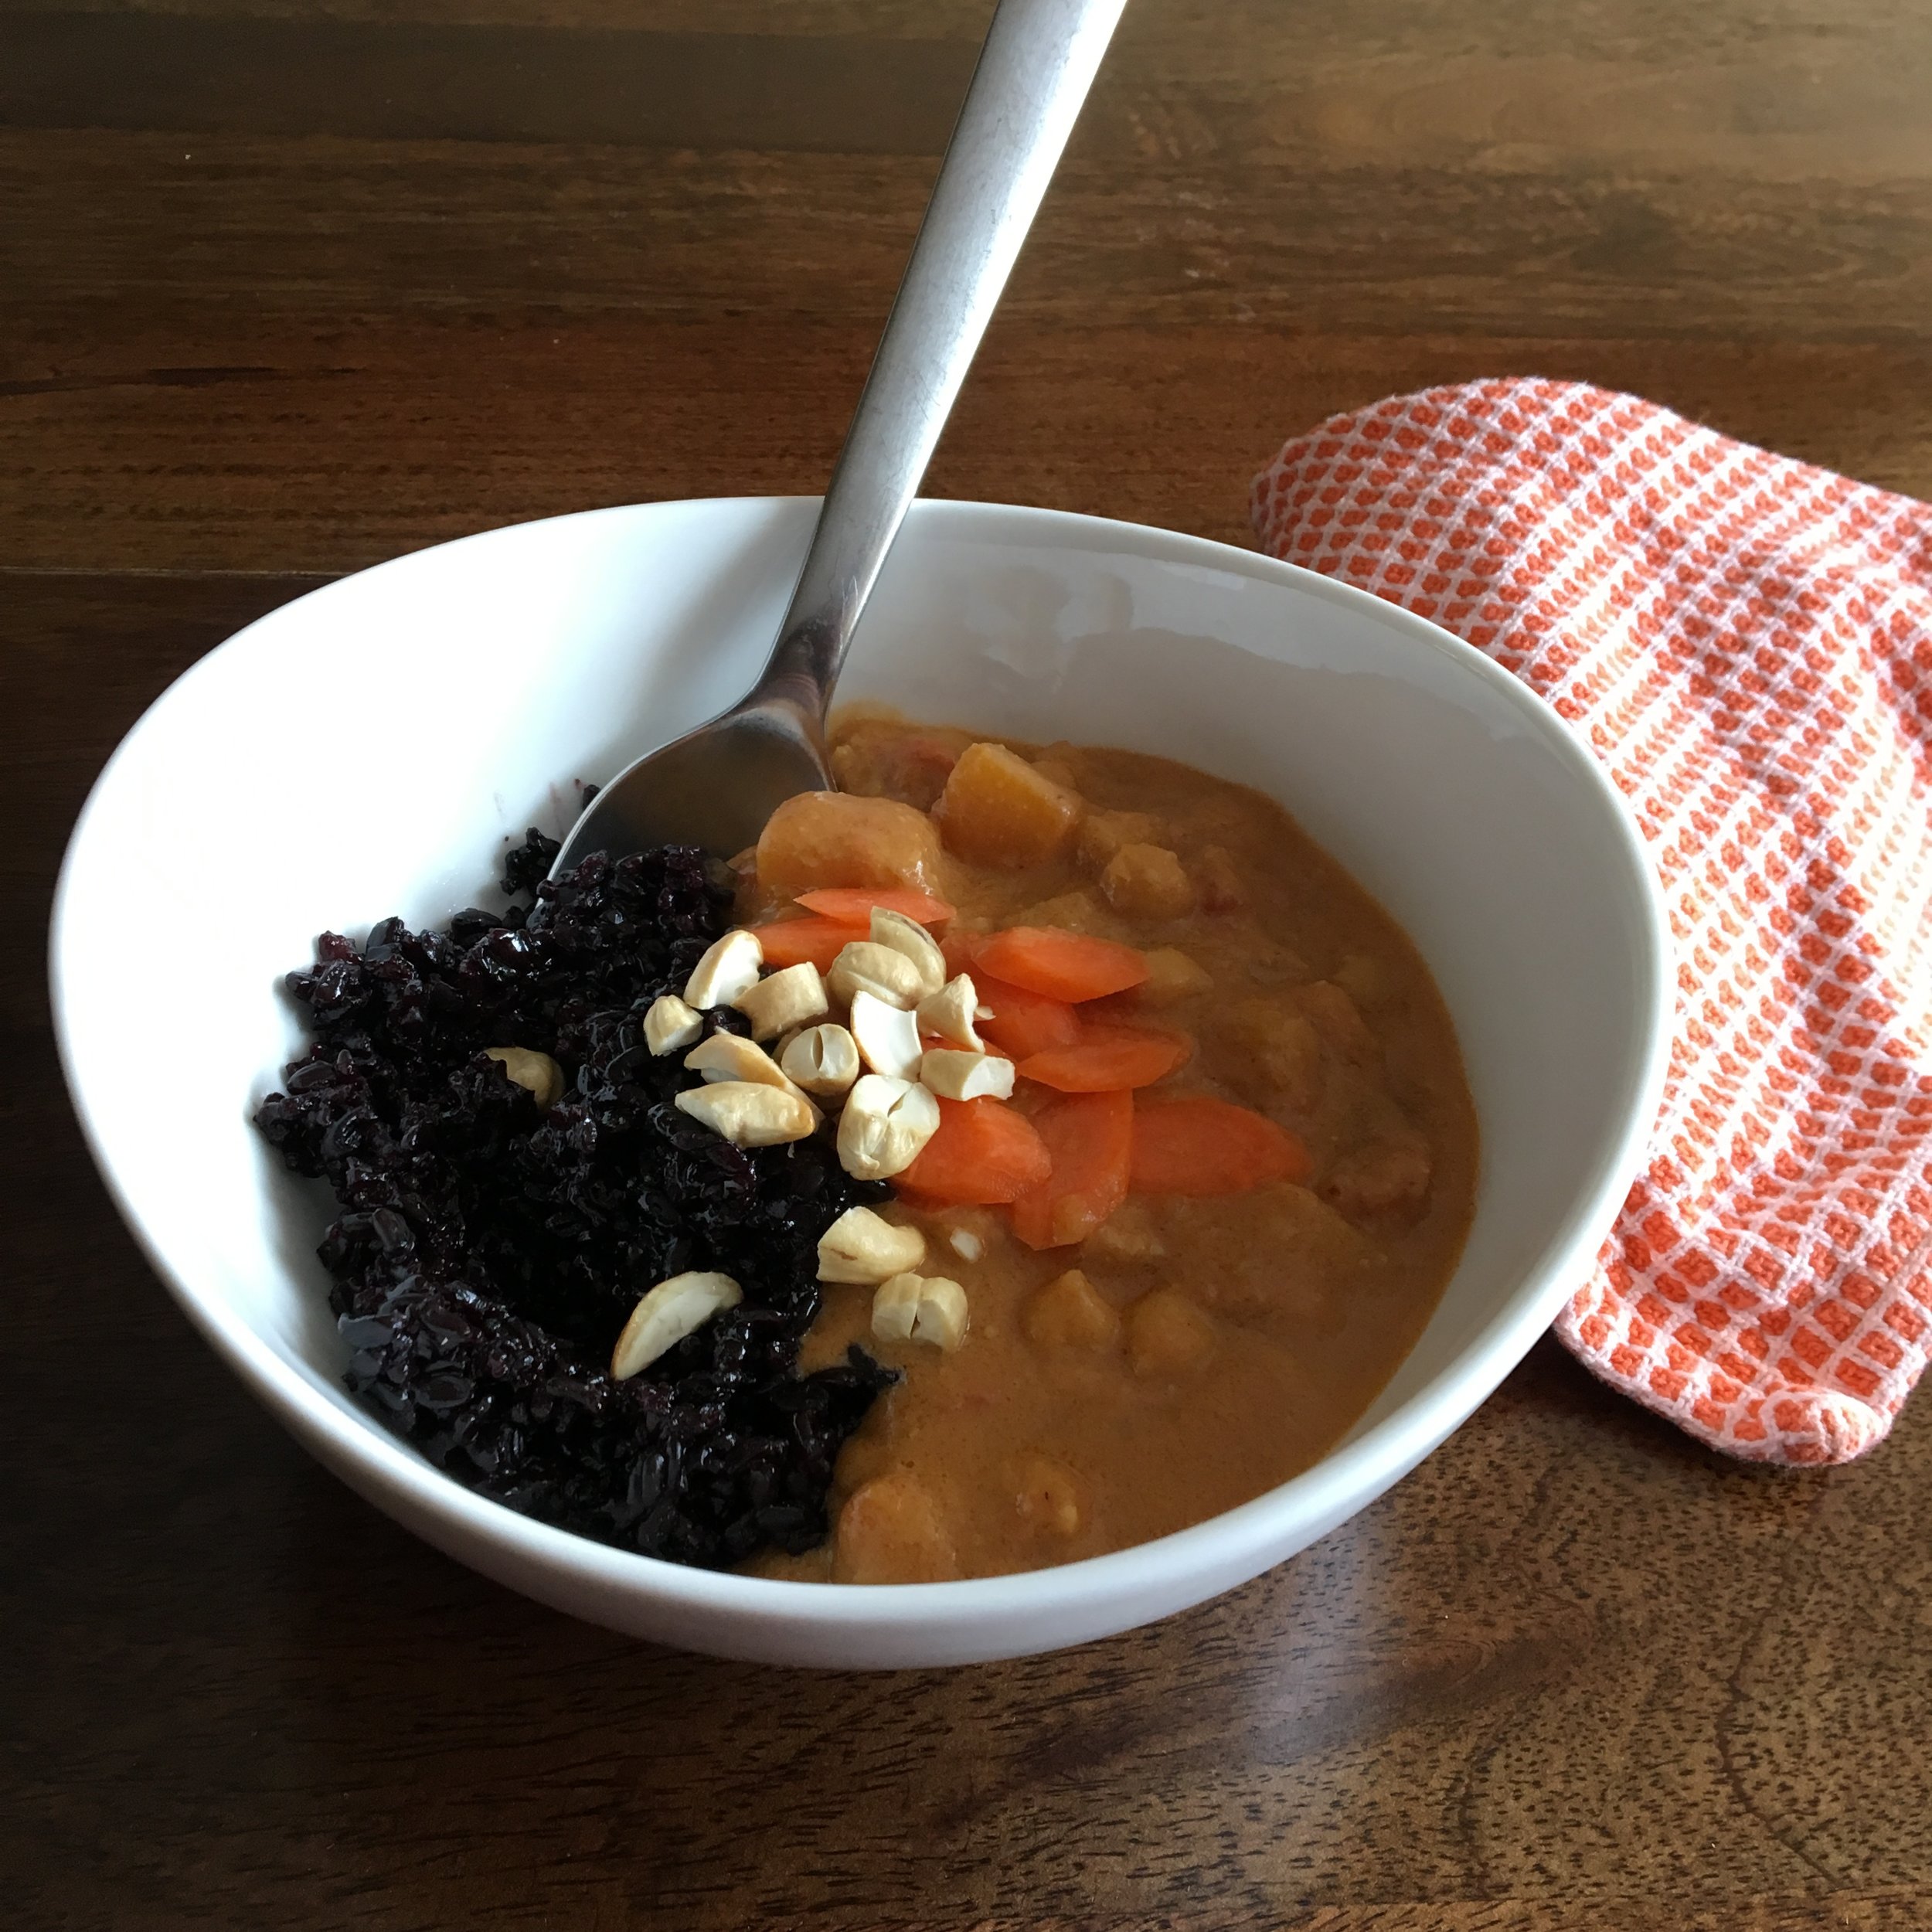
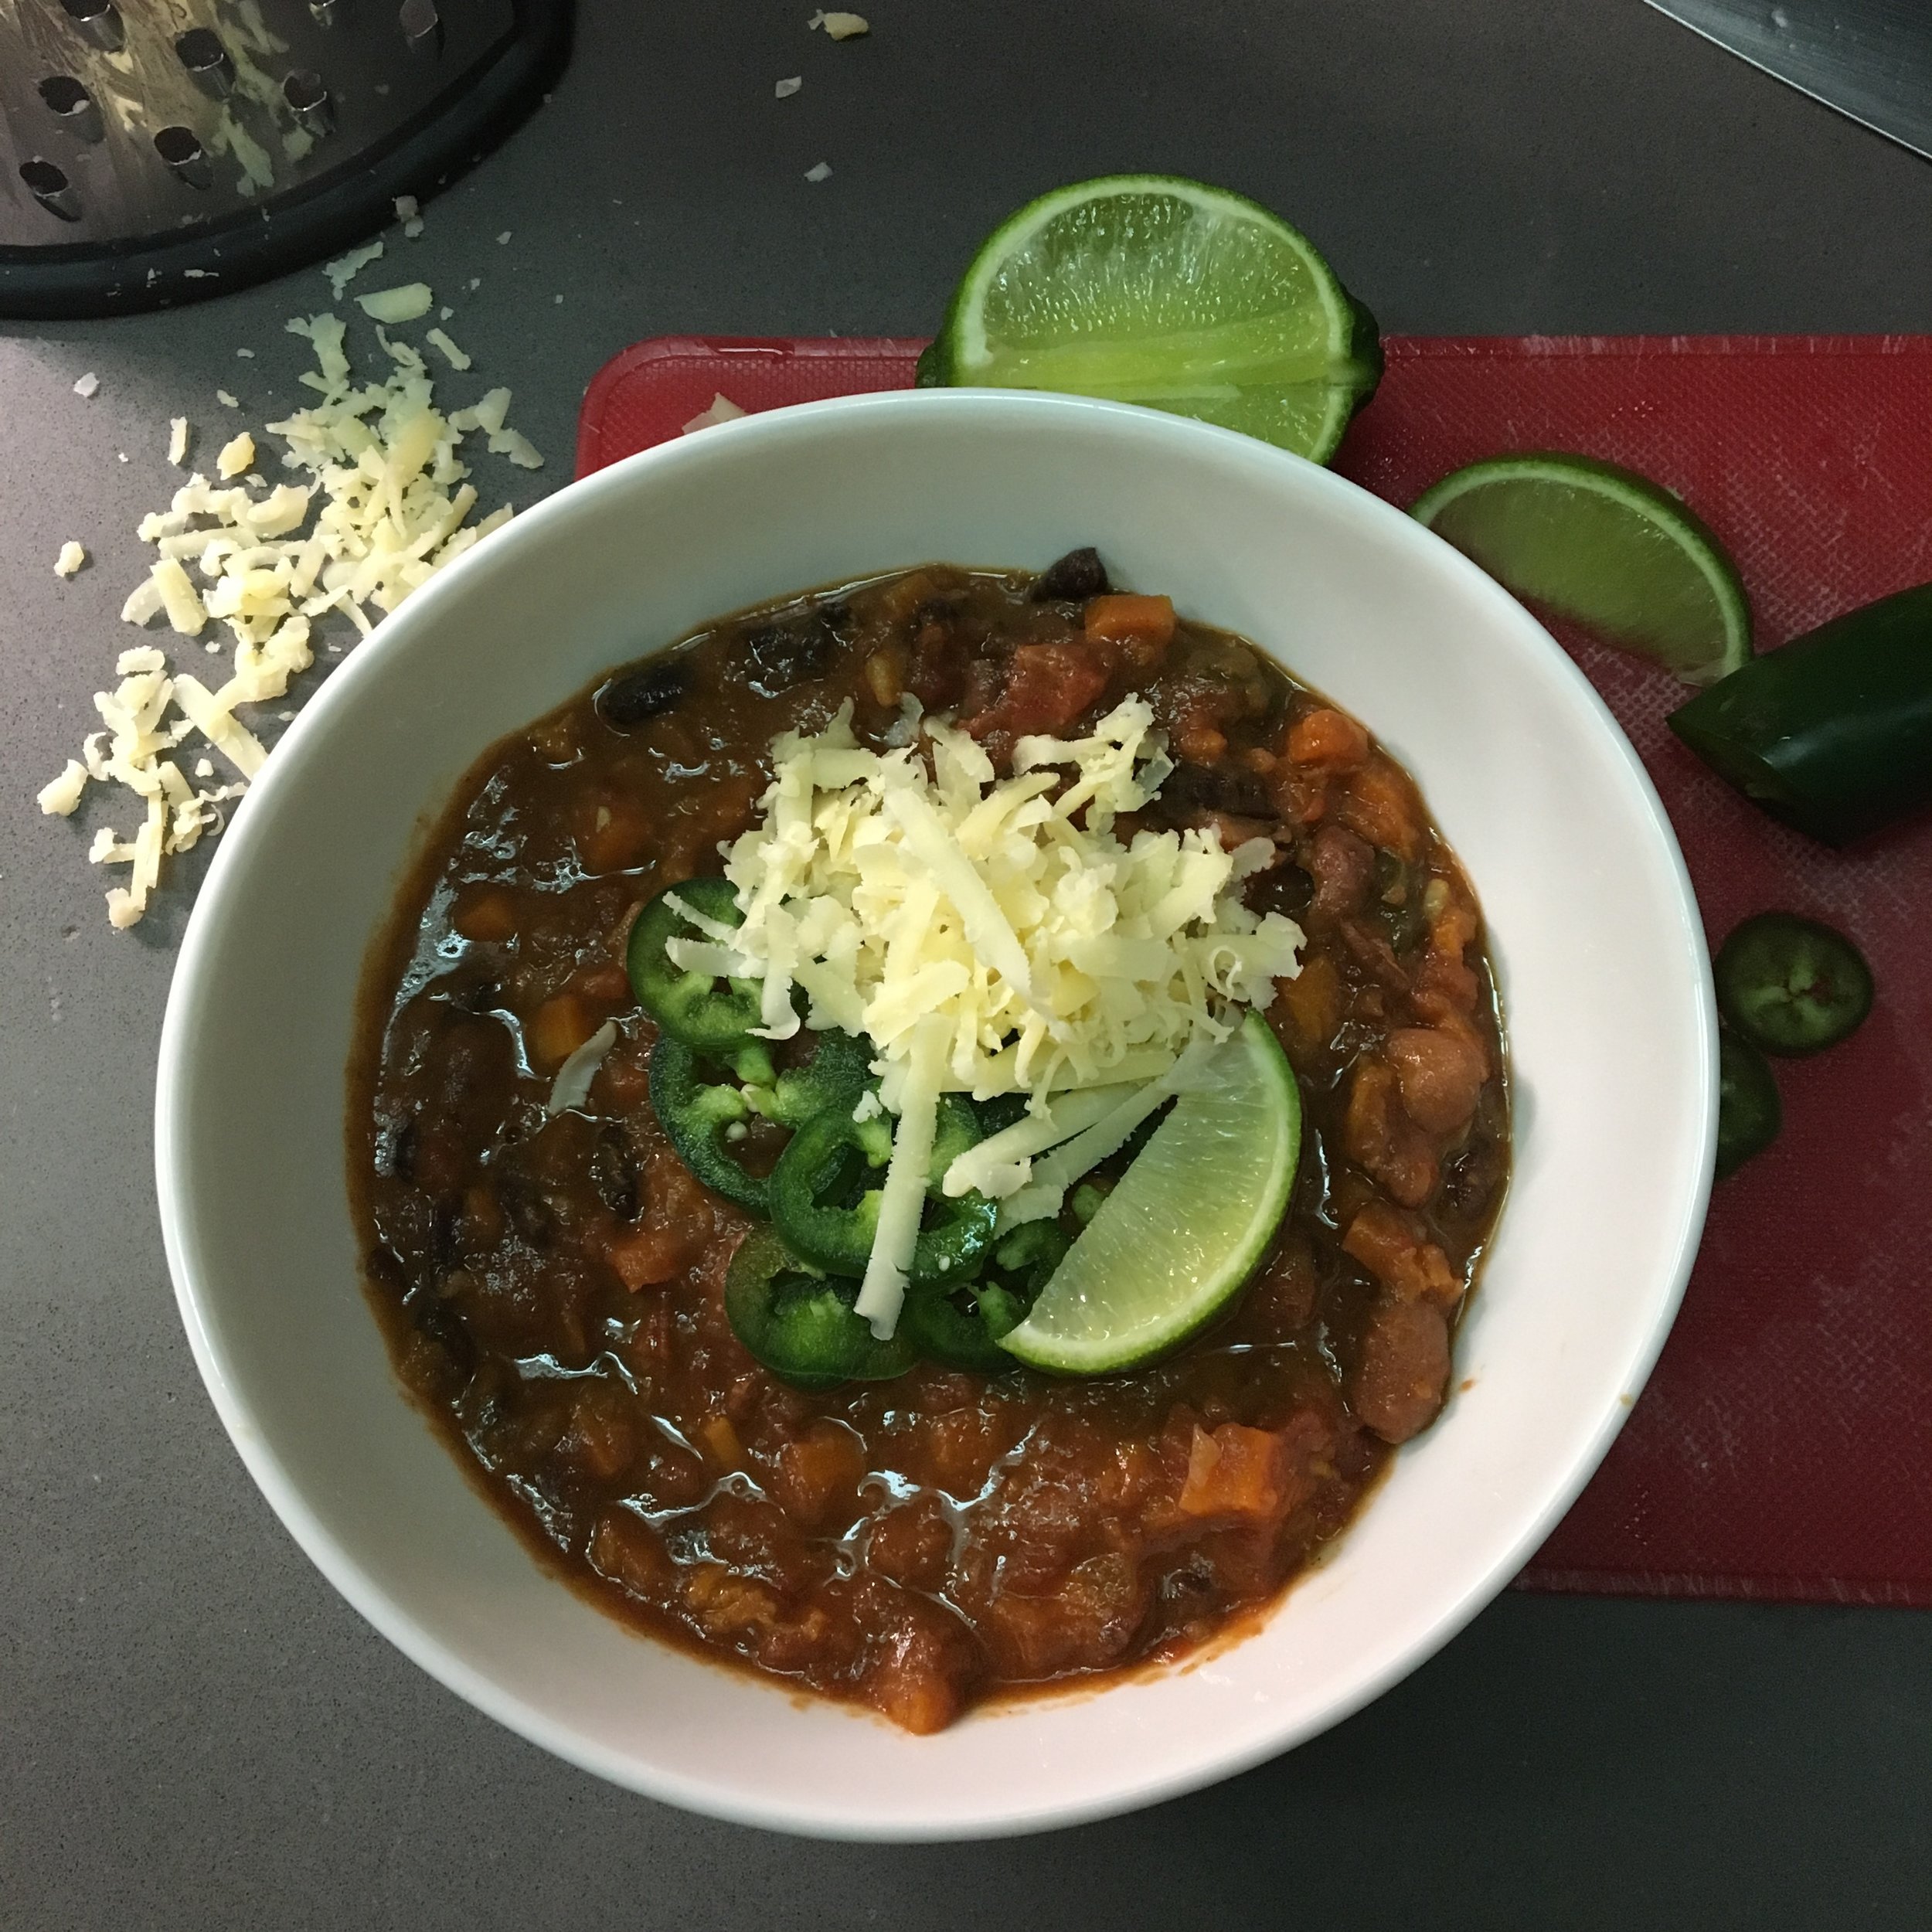
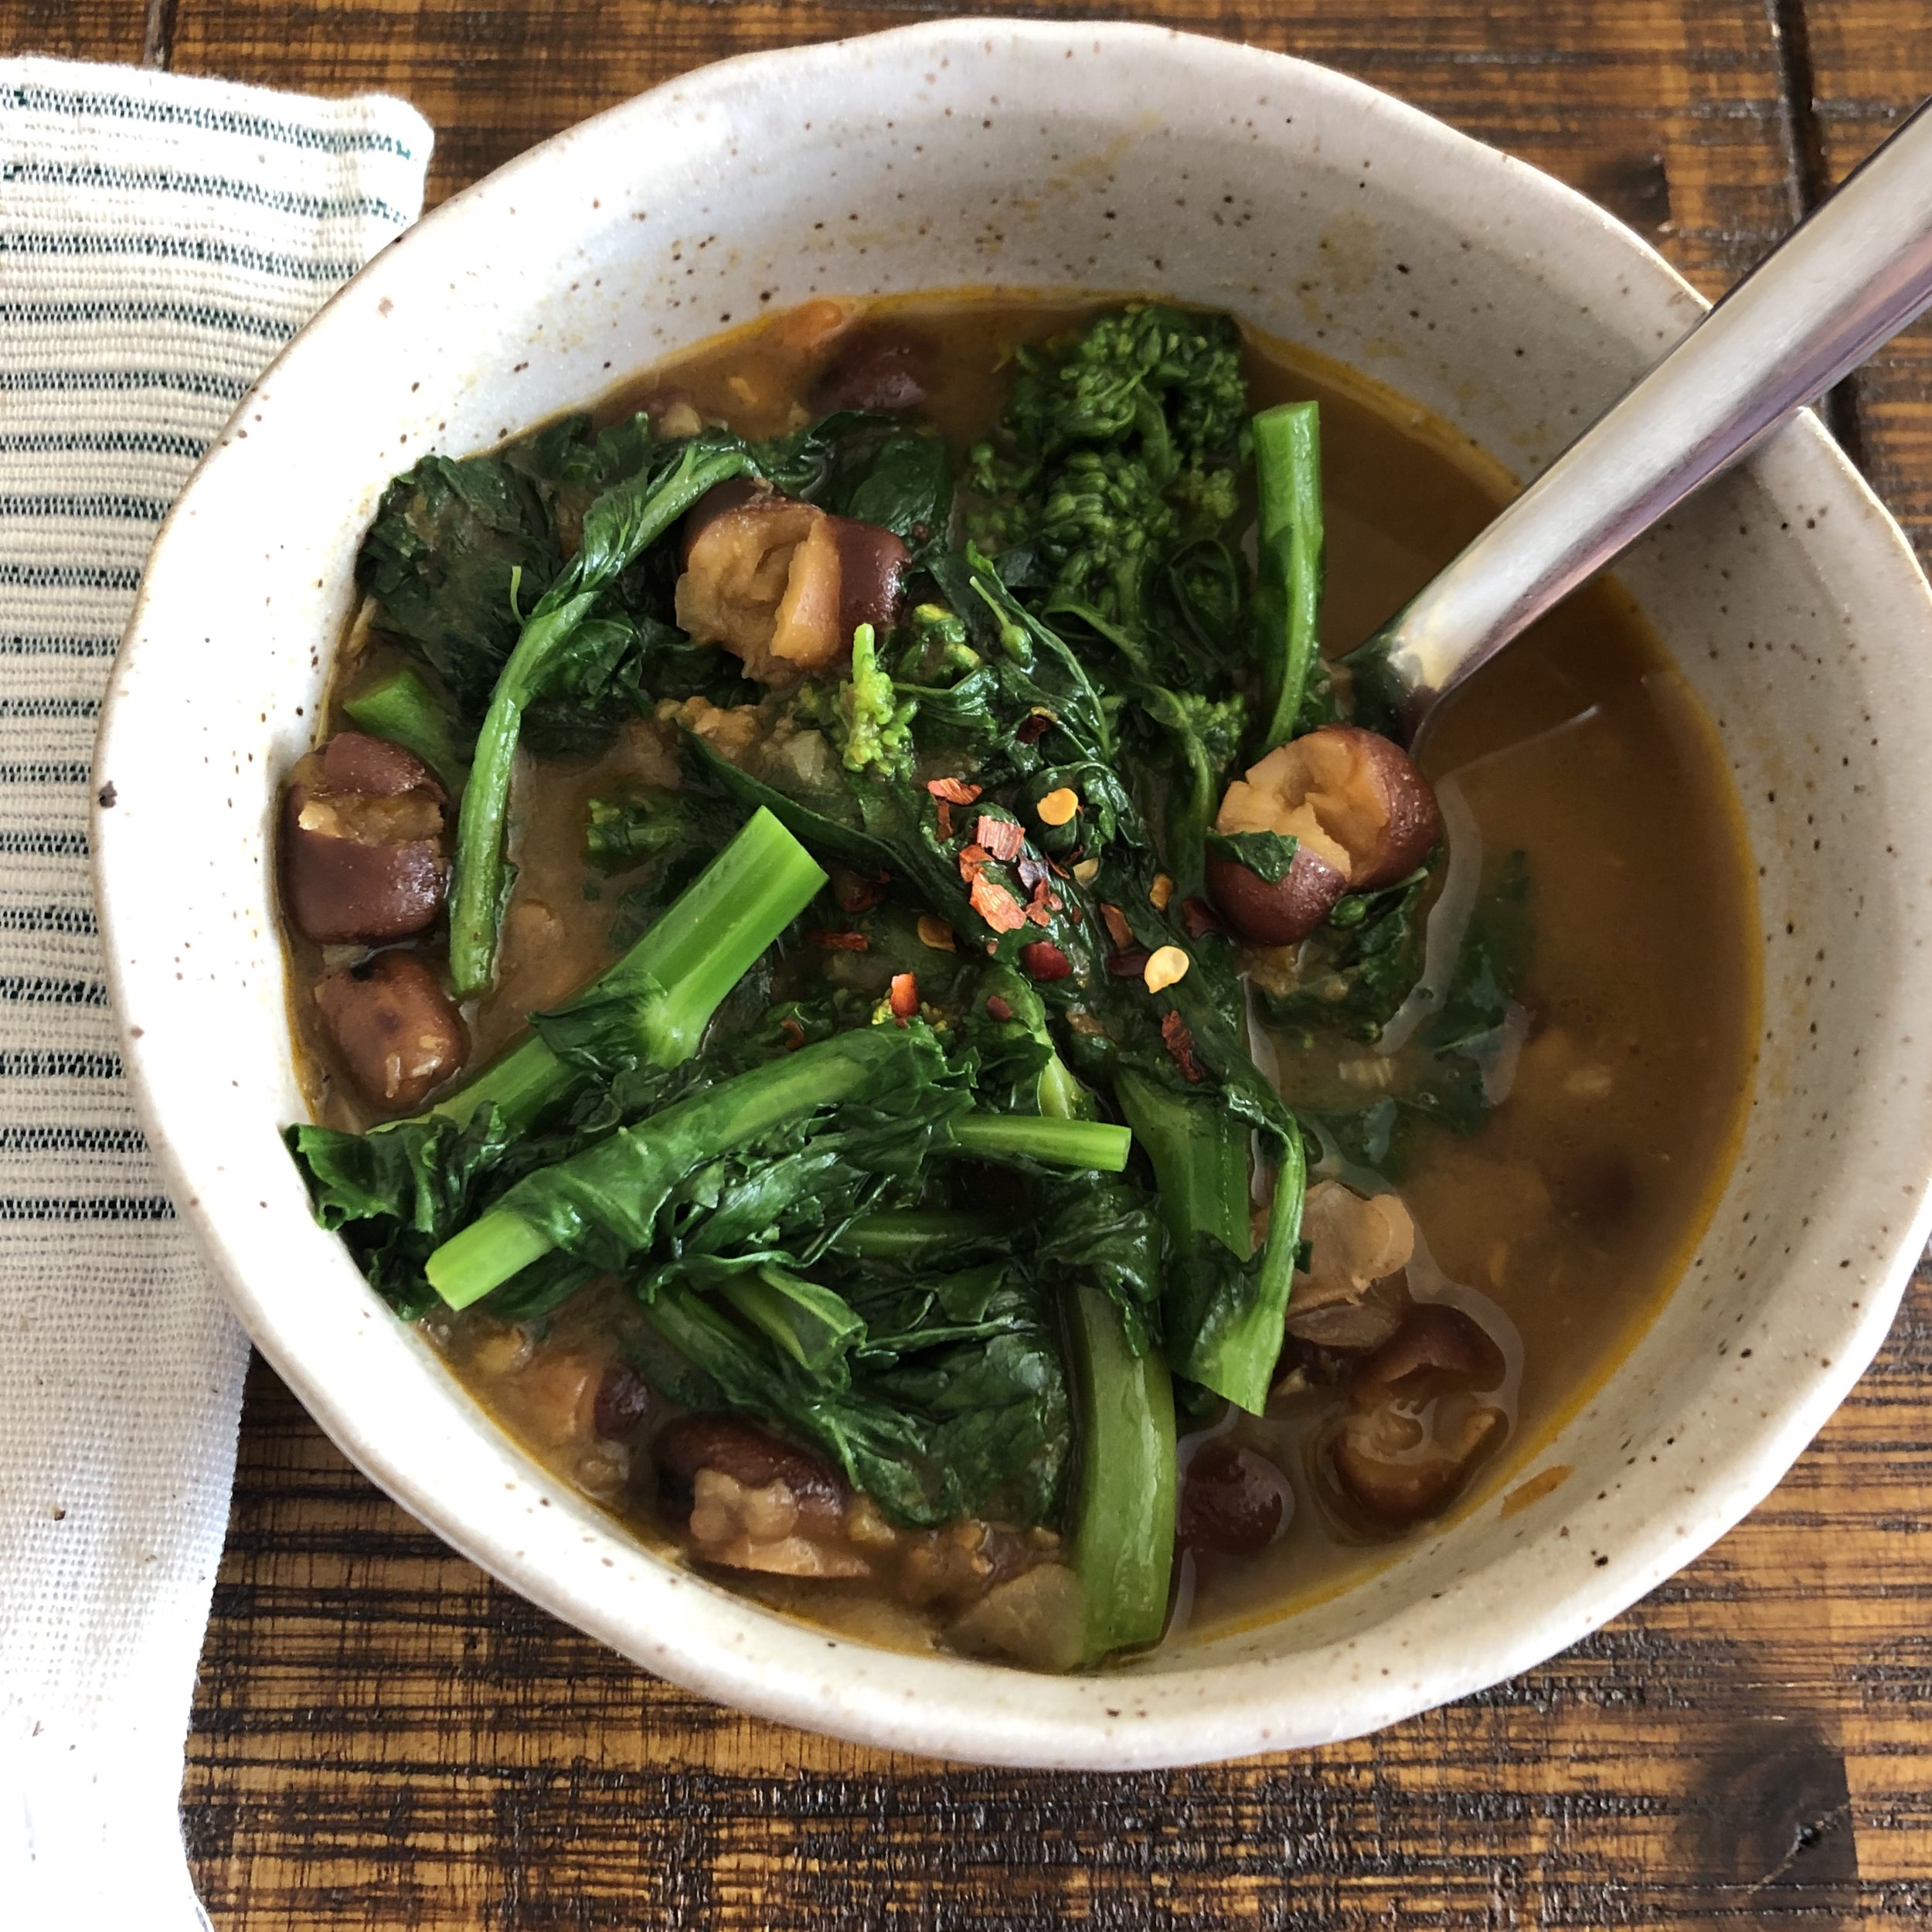
First, the formula for any Vegan Gluten Free Stew
What you need:
But Chef Laura, how do I know what pairs with what? I hear this question a lot. I leave with you a few tips:
what grows together goes together (seasonally, in the same parts of the country/world, etc.)
do a quick internet search for your ingredient in question and see what recipes come up not for the recipe itself but to see what others have paired with it
pick a genre or cuisine and choose ingredients to pair based on that cuisine’s classic combinations
and more you can read more strategies in this earlier blog on using what you have on hand.
Cooking oil (coconut, olive, canola)
Aromatics (ginger, garlic, onion, scallion, turmeric, chili peppers, etc.)
Salt (kosher or sea)
Dried spices
Pastes (curry paste, tahini, nut butters, tomato paste, etc.)
Liquids (water, stock, coconut milk, nut milks, juice, apple cider etc.)
Vegetables (raw, canned, frozen)
Cooked legumes (chickpeas, lentils, beans of all varieties, etc.)* or uncooked legumes but be sure to add sooner with more liquid or cook separately, then add
Acid and/or umami (lemon juice, vinegar, wine, soy sauce, umeboshi, tomato)
Greens and/or fresh herbs
What you do:
In a large stock pot, heat cooking oil over medium high heat.
Add aromatics and a pinch of salt. If using onion, allow to soften before adding other “smaller” aromatics like garlic to prevent browning or burning.
Add dried spices and seasoning and allow to bloom for a few minutes in the oil.
Whisk in paste(s). [You might add acid, like wine, at this stage].
Slowly incorporate liquid by whisking a small amount into the paste and then gradually adding 1-3 cups. Bring to a simmer.
Add vegetables that need the longest cook time. Bring back to a simmer. Continue to add vegetables in order of their cooking time. Add more liquid if needed or desired.
Add cooked legumes and simmer stew for at least 15-20 minutes more or up to 2 hours to incorporate flavors and reduce slightly. [You might add a touch of acid at this stage].
Just before serving, add any greens or fresh herbs, or simply top the plated stew with fresh herbs and greens.
Tips:
Add small pinches of salt at every stage.
If you don’t have/like an ingredient, leave it out or substitute something else from its category.
Cut vegetables into shapes and sizes that are appealing to eat relative to one another.
Amounts are relative -- add more of the ingredients you love, less of those you just want a taste of, and add as much liquid to get the consistency you want for your stew.
Add items that need to cook longer first such as carrots and those that cook quickly last, such as corn or frozen peas.
Now for the Soup du Jour:
Anti-Inflammatory Butternut Squash and French Lentil Stew
This hearty and flavorful stew highlights squash and fast-cooking french lentils. It’s spiced with Ras el hanout, a North African and Moroccan spice blend that means “head of the shop”. Ras el hanout is packed with anti-inflammatory agents, like ginger, turmeric and black peppercorn and delivers additional warmth with paprika, cinnamon and cayenne. Plant-based and lowcarb, this stew is thickened with tahini, the middle eastern staple made from ground sesame seeds. A bright finish of crisp spinach leaves and lemon juice give you everything you’re craving in one pot and 40 minutes.
Makes: 5-6 cups, serves 6-8
What you need:
½ cup french lentils
2 tablespoons olive oil
1 small red onion, diced
1 small yellow or white onion, diced
¾ teaspoon salt
3 cloves garlic, minced
1-2 tablespoons grated ginger root
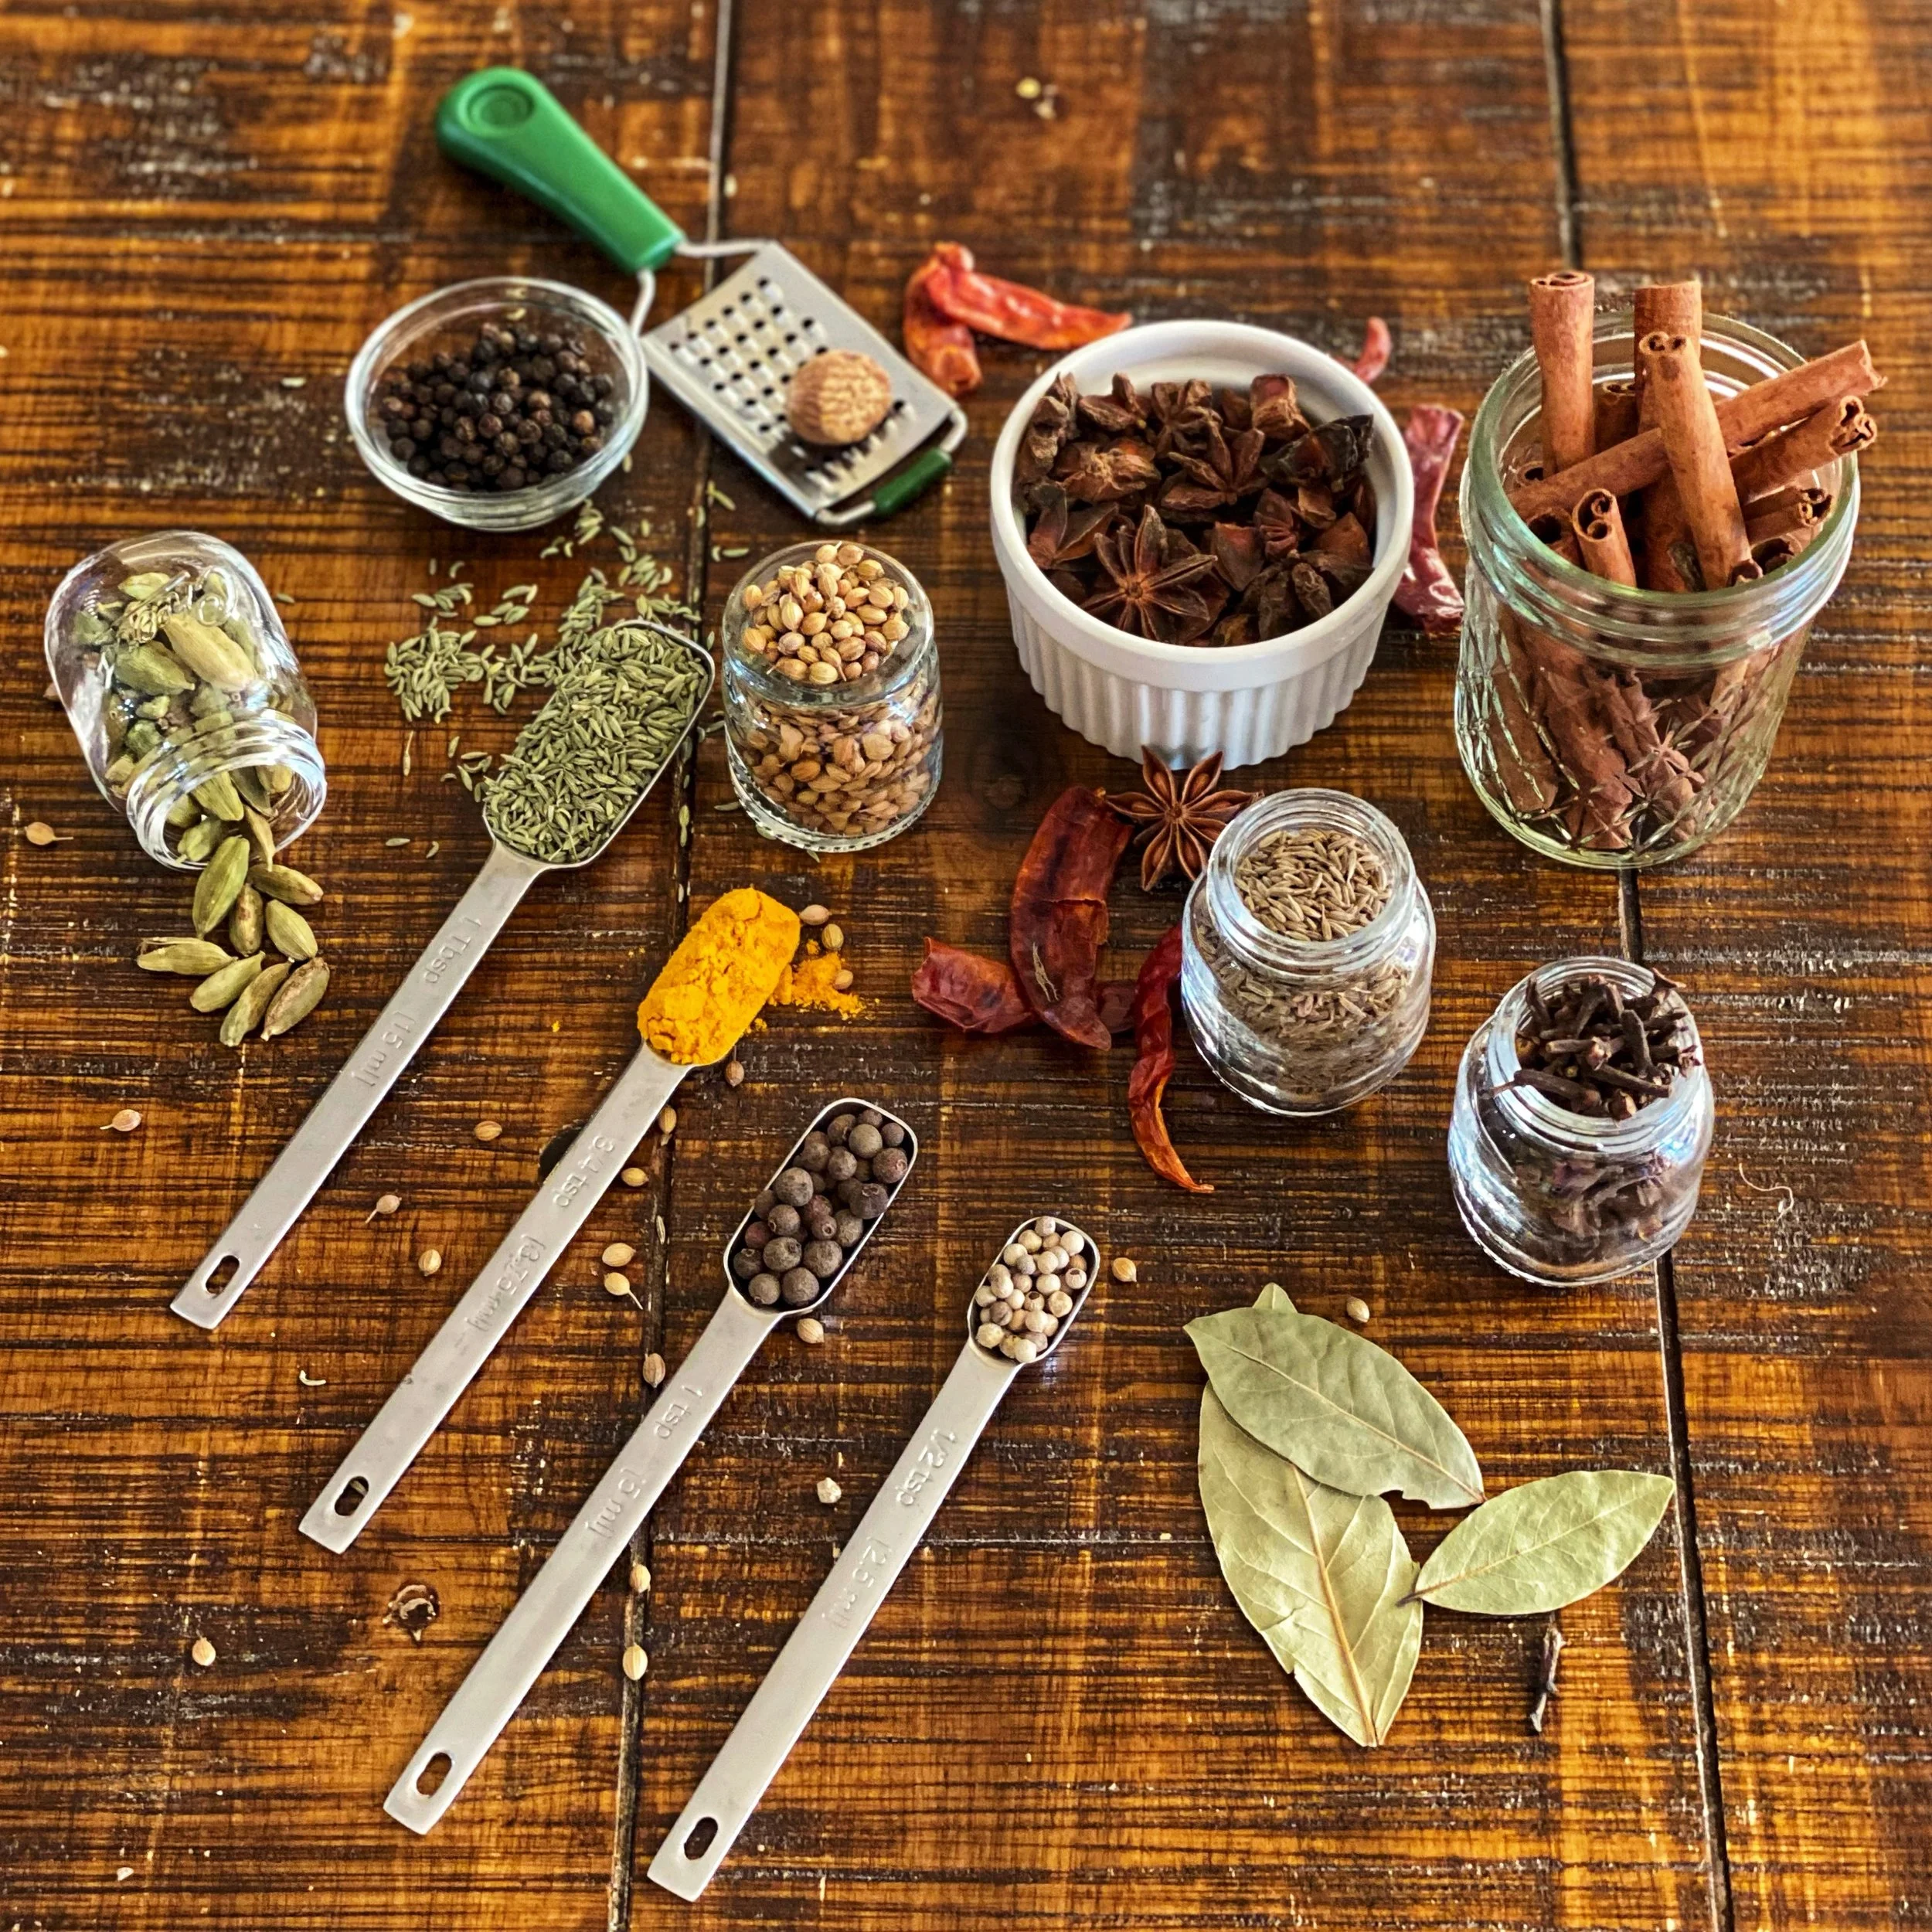
2 - 3 teaspoons ras el hanout spice (purchased or see my recipe)
2 tablespoons tahini
4 cups low sodium vegetable stock
1 medium butternut squash, ¼ inch cubes
3 carrots, ¼ inch thick half moons
Juice of 1 lemon
1 bunch of spinach, about 2 cups leaves, torn
Freshly cracked black pepper
What you do:
Rinse the lentils and soak in a bowl of hot tap water for about 10 minutes (or until it is time to add them to the stew).
Heat olive oil in a soup pot on medium high heat. Add the onion and a few pinches of salt. Sauté until soft, about 3 minutes.
Add the garlic, ginger and a pinch of salt. Sauté about 1 minute longer.
Whisk in the spice mixture and sauté 30 seconds longer.
Stir in the tahini, and then gradually whisk in the stock in a slow steady stream, allowing it to thicken before adding more.
Strain the lentils and add them to the pot with the remaining salt. Bring to a boil, then lower heat to medium and simmer gently about 20 minutes.
Add the butternut squash and carrots and simmer an additional 10-15 minutes or until lentils, squash and carrots are tender.
Taste and season the soup with lemon juice. Add the torn spinach leaves, stir and heat just a minute or two until they wilt. Serve with additional lemon juice and fresh cracked black pepper, if desired.

